
Last updated November 18, 2026
 Wrought iron
 Wood & steel frame
 Farm & ranch
 Sliding driveway gates
 LiftMaster operators
Free on-site gate assessment - hinges, posts, and your LiftMaster or Nice gate operator checked before anything is quoted
The assessment is free and the quote is the invoice.
Get your free estimateGate Installation Warning Signs Every Homeowner Should Know
We’ve pulled apart enough “brand new” gates to say this plainly: most installation failures we see were obvious on the day the installer finished, and the homeowner just didn’t know what they were looking at. A gate is one of the few purchases you make where the expensive mistakes hide for six months, then show up all at once – a sagging post in a windstorm, a weld that finally cracks, an operator that quits in the second summer. This guide is written from Spring Valley, where we’ve watched a lot of new gates go in, and it’s built around one idea: catch the sloppy work while the installer is still standing in your driveway.
Quick Answer
The biggest gate installation warning signs are shallow posts you can rattle by hand, hinge welds that are tacked instead of fully burned in, no auto-reverse safety test at punch-out, exposed or undersized conduit runs, and a gate that drags or grinds before you’ve signed off. Any one of these is a reason to hold the final payment and ask questions. All of them together mean you’re about to inherit somebody else’s shortcut.
Styles & brands we work with
- Wrought iron
- Wood & steel frame
- Farm & ranch
- Sliding driveway gates
- LiftMaster operators
Table of Contents
- Why a Brand New Gate Fails
- How to Check Post Depth on Installation Day Without Tools
- What a Properly Welded Hinge Looks Like (and What It Doesn’t)
- The Gate Swing and Auto-Reverse Test to Run Before the Installer Leaves
- Red Flags in the Conduit and Wiring Run
- Why a Gate That Closes Perfectly in March Binds in July
- What the Parts on Your Gate Tell You About the Install
- When to Call a Professional
Why a Brand New Gate Fails
A gate that fails in the first two years almost never fails because the parts were bad. It fails because a corner was cut where nobody was looking. We’ve seen $20,000 installations come apart in Spring Valley for reasons the homeowner could have caught with a ten-minute walk-through on the day the installer packed up.
Here’s the pattern we’ve come to expect. The failure is usually in one of five places: the post footing, the welds, the power or wiring run, the swing and latching alignment, or the safety hardware. Everything else – the finish, the panels, the operator brand – is a distraction from those five. If a homeowner only remembers one thing from this guide, it should be to look at those five things before the installer drives away.
The reason failures hide so well for six months is that a gate is a heavy moving structure under constant load. A slightly shallow post will hold up a static gate just fine in mild weather. The wobble doesn’t show until a windstorm, a shoulder against the post, or the freeze-thaw and clay movement in Spring Valley soils starts working on it. A tacked weld has the same problem – it holds the weight until the first dozen real cycles of swinging under load, then cracks. By then the installer is long gone, and the fix is on you.
That’s not a parts problem. That’s a workmanship problem, and it’s why the check you do at punch-out matters more than the brand name on the operator. If you want a plainer explanation of what a full install is supposed to include, our page on Gate Installation in Spring Valley walks through the parts that matter.
How to Check Post Depth on Installation Day Without Tools
You can’t measure the depth of a gate post from above the ground, but you can check the two things that matter and don’t require a shovel or a wrench. First: with the gate hanging on the post, grab the post near the top and push and pull. A properly set post in a proper footing should feel like a fence you can’t move with your whole weight. If it rocks even a quarter inch at the cap, that post is not deep enough or not set in enough concrete. That’s the whole test.
Second: ask the installer a direct question about depth and record the answer. Don’t ask if it’s “deep enough.” Ask how deep the post is buried and how many bags of concrete went in the hole. A real installer will answer without flinching. A shortcut installer will change the subject or say something vague about “standard practice.” Write the number down. It becomes a record if the post has to be dug up later.
In Nevada wind-load conditions, a gate post is doing serious work. A six-foot privacy gate on a windy day catches a huge amount of surface area, and a Spring Valley easement or open lot can deliver gusts that test every post on the block for decades. In our experience, a residential gate post footing for anything heavier than a small ornamental gate needs to be substantially deeper than what you’d bury for a fence post, and the concrete needs the full cure time before the gate is hung – not the next morning. If the installer hangs a heavy gate on posts poured the day before, that’s a warning sign worth flagging out loud. Wind load, gate weight, and soil type all matter, and in Spring Valley’s clay-heavy pockets, footing depth is not a place to guess.
What a Properly Welded Hinge Looks Like (and What It Doesn’t)
A properly welded hinge on a steel gate has a continuous, slightly crowned weld running the full length of the joint, all the way around. It should look like a smooth little row of overlapping coins – that’s the signature of a welder who was burning in the full joint. A tacked hinge looks like three or four tiny spots of weld with untouched metal in between. If your gate has hinge welds that look like dotted lines instead of solid seams, you’re looking at a job that will crack within a year of regular use.
Get down and look at the welds yourself. You don’t need to be a welder to spot the difference. Then ask:
- Did the same person weld the hinges on both the post side and the gate side of the joint, or is one side untouched?
- Is there any rust blooming around a weld that’s only a few hours old? That’s usually poor surface prep, not weather.
- Are the welds consistent around the joint or only on the visible top? The bottom of the hinge is where a shortcut hides.
- If it’s aluminum and they used a bolted hinge, are all the fasteners the same finish and pattern? Mixed fasteners are a sign the right hardware didn’t come in the box.
Here’s where repair-first thinking pays off. When a hinge cracks later, a lot of installers only know one move: replace the whole gate. On-site welding means the gate gets fixed where it hangs, not hauled off or swapped for a new one. We weld on site for exactly that reason – it’s cheaper for the homeowner and faster, and it keeps the original steel that was already engineered for your opening. If the gate ever fails out of warranty, that’s the kind of repair you want available.
The reason this matters in Spring Valley specifically is that most of our steel gates are on a hinge joint that’s under constant loaded swing – an operator cycling the gate several times a day, every day. A tacked weld on a hand-swung ornamental gate might live quietly for years. A tacked weld on an operator-cycled gate almost never does. If your gate is motorized and the hinge welds are spotty, plan on a repair, not a maybe.
The Gate Swing and Auto-Reverse Test to Run Before the Installer Leaves
Before the installer’s truck leaves your driveway, run a real test – not a gentle open-and-close while you’re chatting by the gate. Run it like the gate will be run at 2 a.m. by somebody in a hurry, with a car in the way. If it’s a manual gate, this test is about swinging it your full effort from open to close and paying attention. If it’s a motorized gate, this test is the safety test.
- Cycle the gate fully open and fully closed at least three times in a row. Watch for any hesitation, jerking, or change in speed mid-travel. A gate that stutters now is a gate that will fail later.
- Run the auto-reverse test with a real obstruction. Put a 2×4 or your own foot against the closing direction of the gate and let it power into the obstruction. It should reverse on contact, or within very small travel on an operator using photo-eye sensors. If it grinds through the board, that’s a stop-the-job issue – do not sign off.
- Disconnect the operator and swing the gate by hand. This is how you’ll open the gate during a power outage, and it’s also the best test of whether the gate is actually balanced. It should move smoothly with modest effort. If you can’t budge it by hand, the springs, hinges, or rollers are already misaligned.
- Watch the gate close from open with the operator engaged and let it come to rest. A properly installed gate settles softly into the stop. A gate that bangs at the end of its travel is going to wear the hinges and the operator frame.
- Cycle it ten times and time it. If each cycle gets slower or louder, something is binding and heating up, and it won’t fix itself.
If any of those tests fail, ask the installer to fix them before the check clears. The auto-reverse function is not a feature to be tested “later” – it’s the one piece of safety hardware on a motorized gate that protects people. If you want to understand how the operator ties into the gate’s safety behavior, our page on Gate Motor & Opener in Spring Valley goes into the mechanics. Our job on every install we touch is to make sure that test passes on day one and every day after, which is part of why every job carries the 90-Day Done Right Promise in writing.
Red Flags in the Conduit and Wiring Run
The wiring run is the invisible half of your gate installation, and it’s where a shocking number of operator failures get their start. You don’t need to be an electrician to spot the signs. You need about five minutes with the installer and a flashlight.
- Exposed wiring anywhere along the run. Low-voltage control wire can be exposed if it’s in conduit the whole way. Line-voltage power for the operator should be in conduit the entire run, buried below grade where it leaves the house or the panel. If you can see wire outside conduit anywhere, that’s not finished work.
- Undersized conduit. A single 1/2″ conduit with three wires squeezed through may pass code and still be a bad idea, because you’ll have no room to add a keypad, an intercom, or a second sensor later. A good installer runs conduit sized to allow additions.
- Sharp bends or pinched corners. The wire inside a conduit is being pulled through those bends. If the installer bent the conduit by hand at an extreme angle, the wire inside is likely nicked. That nick becomes a hot spot and an intermittent fault within a year.
- Conduit terminating in a low spot that holds water. Spring Valley’s monsoon-season storms put a lot of water through a yard fast. If the conduit entry into the operator housing is at a low point, water finds its way in, and the operator fails within 18 months. We’ve seen it more than once.
- No separate power shutoff at the operator. A licensed electrician runs the line voltage. If the installer wired the operator to a circuit with no local disconnect, service work later becomes a bigger job than it needs to be.
Anything that touches line voltage – the panel, the trench, the connection to the house power – should be done by a licensed electrician, not handyman-wired on a Friday. If your installer says they’ll “just tie into the garage circuit,” stop and get that in writing as work by a licensed electrician. Unsafe electrical work is the one shortcut that can hurt somebody, so never take a shortcut on it to save a few hundred dollars.
Why a Gate That Closes Perfectly in March Binds in July
If your gate closes perfectly in March and starts dragging in July, the gate hasn’t changed – the steel has. Steel expands as it warms, and in a Nevada summer the metal on a gate can be 40 to 60 degrees hotter than the ambient air by mid-afternoon. Over a run of a few feet of gate frame, that expansion adds up. A gate that was fit to a hair-thin clearance at install time will bind when the frame grows. A spring-loaded latch that clicked shut in spring will fight in July. An operator that loped along in March will struggle with the current draw in late summer, and that struggle is exactly what kills operators before their time.
The fix is in the design, not in a service call. A properly engineered install leaves the right amount of clearance at the hinge post and the latch post for thermal expansion, chooses the right hinges and rollers for the gate weight, and uses an operator with enough torque margin to handle the hottest day of the year without strain. A thorough installer will account for this on the install sheet. A shortcut installer will fit the gate to zero clearance, call it tight, and the second summer is when you find out.
Spring Valley’s thermal swing between a cold January morning and a hot July afternoon is larger than a lot of installers account for, especially when they’re working from a template designed for a mild coastal climate. If a gate closes perfectly in February, remember to cycle it again during the hottest week in July. If it’s suddenly dragging or grinding at the latch, that’s your answer.
What the Parts on Your Gate Tell You About the Install
You can learn a lot about the installer by looking at what brand of hardware they installed, and whether the parts match the job. There’s nothing wrong with a budget operator on a small residential gate, just as there’s nothing wrong with a heavier-duty unit on a wide driveway gate. The problem is a mismatch: an operator sized for a lightweight driveway gate strapped onto a heavy gate, or a smart keypad added to a system with no controller that can talk to it.
We service nine major gate brands – LiftMaster, FAAC, BFT, Linear, Viking, Ghost Controls, DoorKing, Elite, and Mighty Mule. That range matters because different brands have different duty cycles, different app integrations, and different parts availability. A DoorKing system is a great fit for a commercial-grade HOA or shared driveway. A Mighty Mule is a sensible option for a single residential swing gate. A Ghost Controls is a solid choice for a DIY-friendly install where the homeowner may want to tinker with the programming later. Every one of those is a fine choice on the right gate. The warning sign is not the brand – it’s the installer who insists on one brand regardless of the job, usually because it’s the one they get the best margin on. If the parts don’t match the gate, ask why.
One more thing to check on the parts list: spray-in or stick-on weatherproofing on the hinges, rollers, and hardware. Spring Valley’s dust and heat wear hinges fast, and hardware that wasn’t spec’d for outdoor duty is a warning sign in itself. If you want to see what a fair parts-and-install estimate looks like, our Gate Repair in Spring Valley page is a useful baseline for what’s normal in this market.
Common Mistakes to Avoid
- Paying in full on the day of install. Hold back enough to guarantee a callback if the gate binds in July. A written offer with a final-payment checkpoint protects you; the 90-Day Done Right Promise we put in writing on every job is what happens when a company stands behind the gate after you’ve paid.
- Skipping the auto-reverse test because “the installer said they’d already done it.” Run it yourself with a real obstruction. This is the one test you cannot take on trust.
- Saying yes to a phone-quoted price without a written estimate. Ask for the number in writing, with the parts list attached, before any work starts. A fair installation quote in Spring Valley should be in writing, and the price should not change when the installer arrives and sees the gate. If it does, that’s the wrong installer.
- Letting a fence company hang a gate without gate-specific experience. Gates are hinges, welds, operators, and safety systems. A fence guy can set the posts. A gate installer installs the gate. Ask which one is doing your job.
- Not asking what happens after the 90 days. Any installer can promise a fix “if anything happens.” Ask what the callback looks like, who answers the phone, and whether there’s a real person on the line at 9 p.m. on a Saturday. If you get a voicemail, you know what the answer is.
- Ignoring a small sag for a season. A gate that sags a quarter inch this year is going to need a post repair next year, and it’ll be twice as expensive then. Fix it while the fix is small.
- Assuming the operator will fix bad swing alignment. An operator pushes through resistance. If the gate binds, the operator wears out the hinges, the frame, and itself. No operator fixes a gate that doesn’t swing right by hand.
See the difference
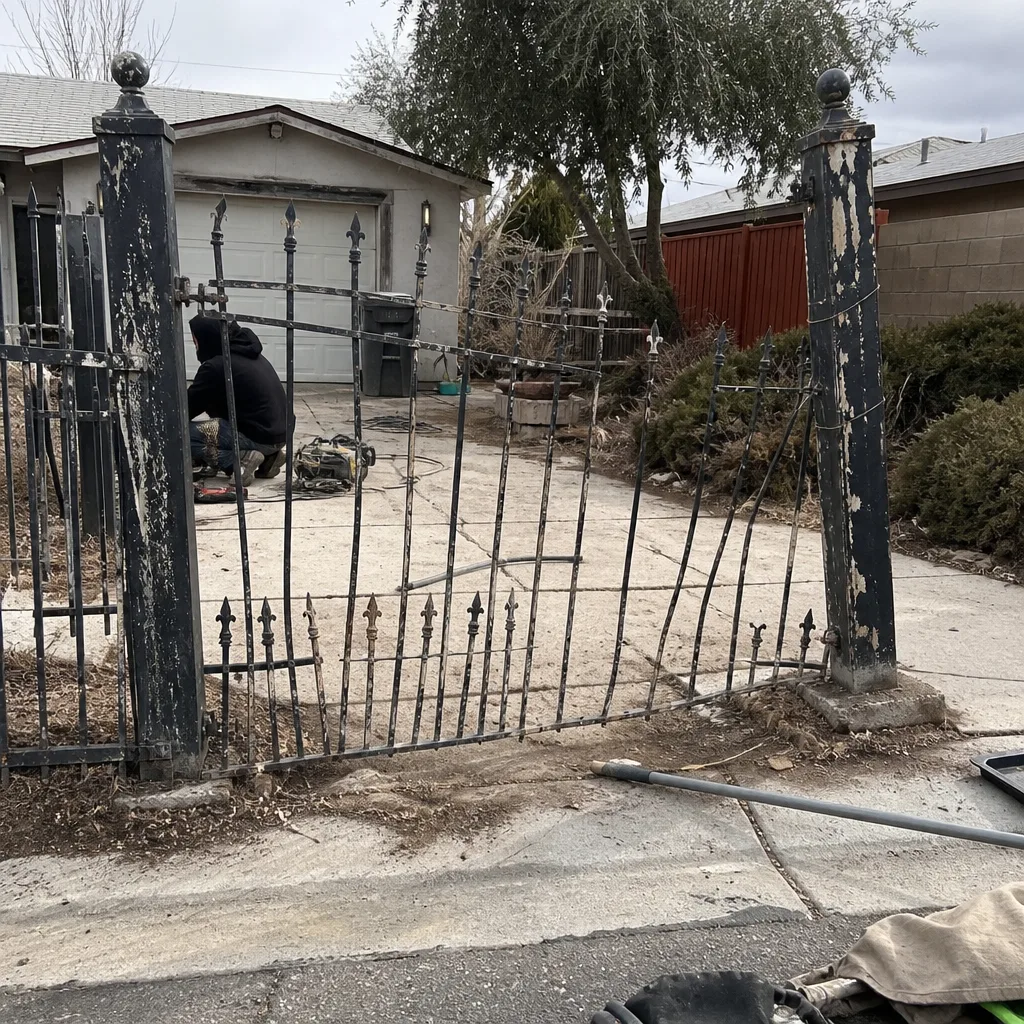 Before
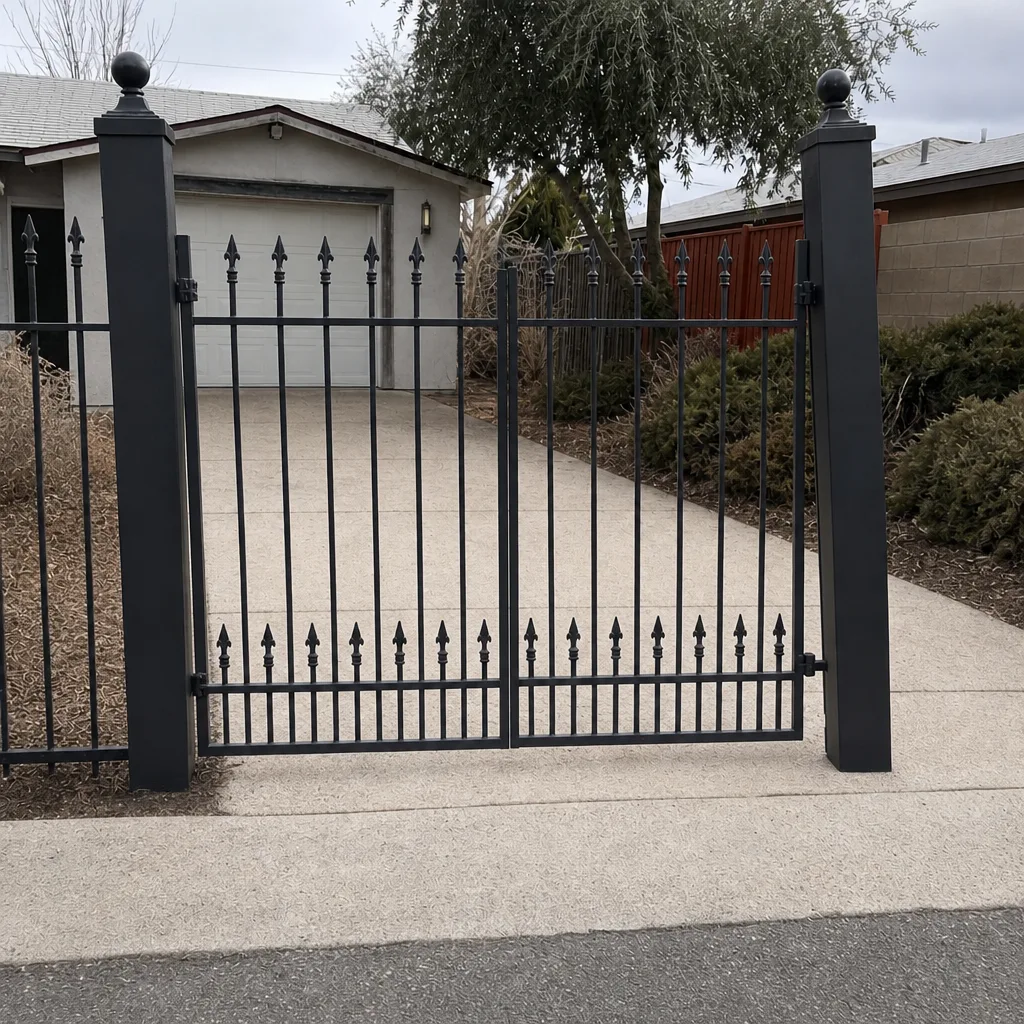 After
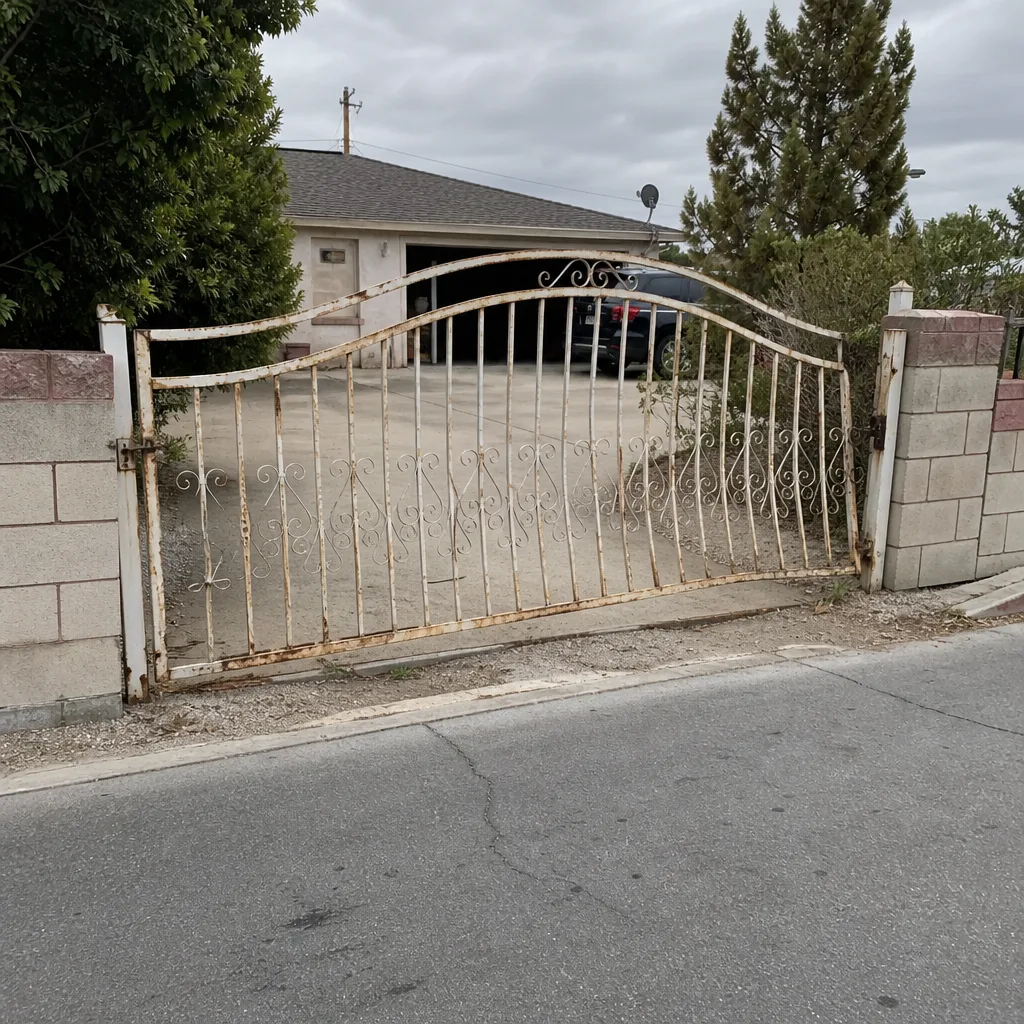 Before
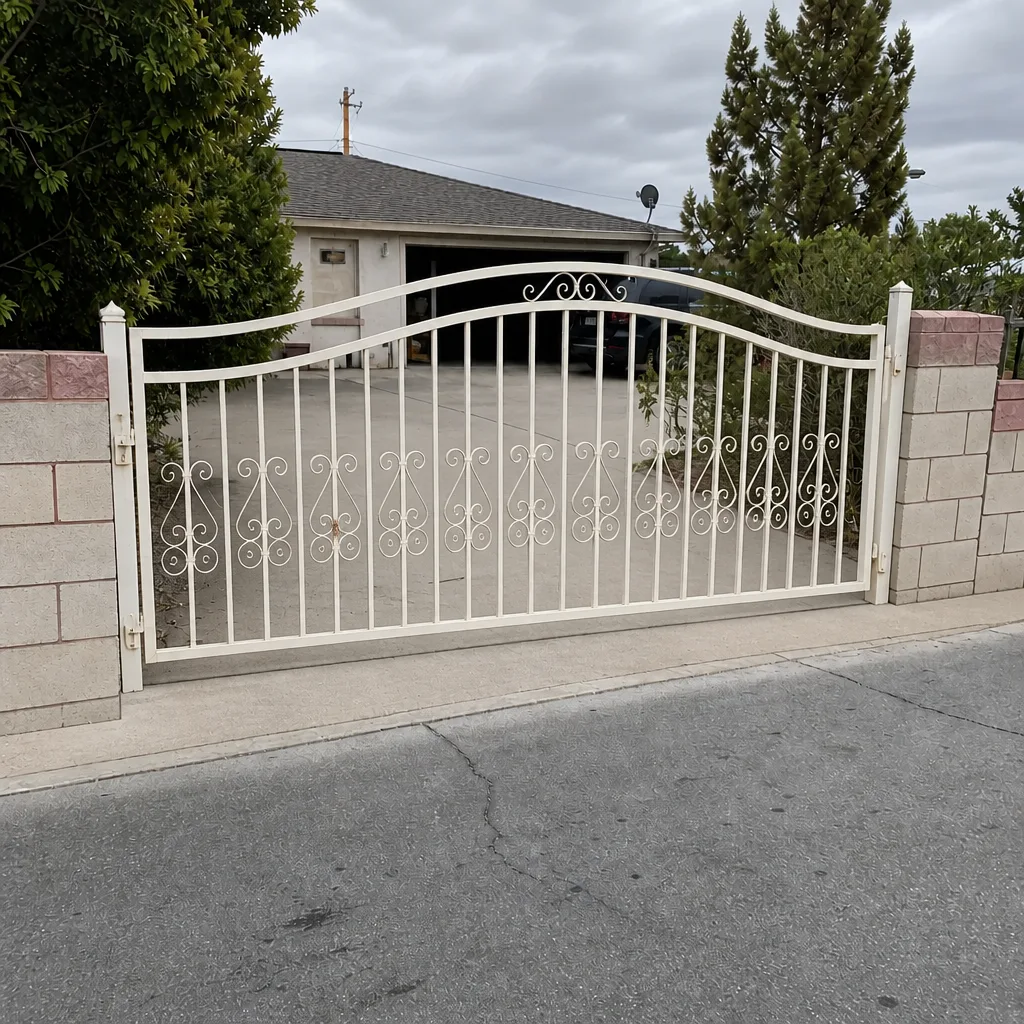 After
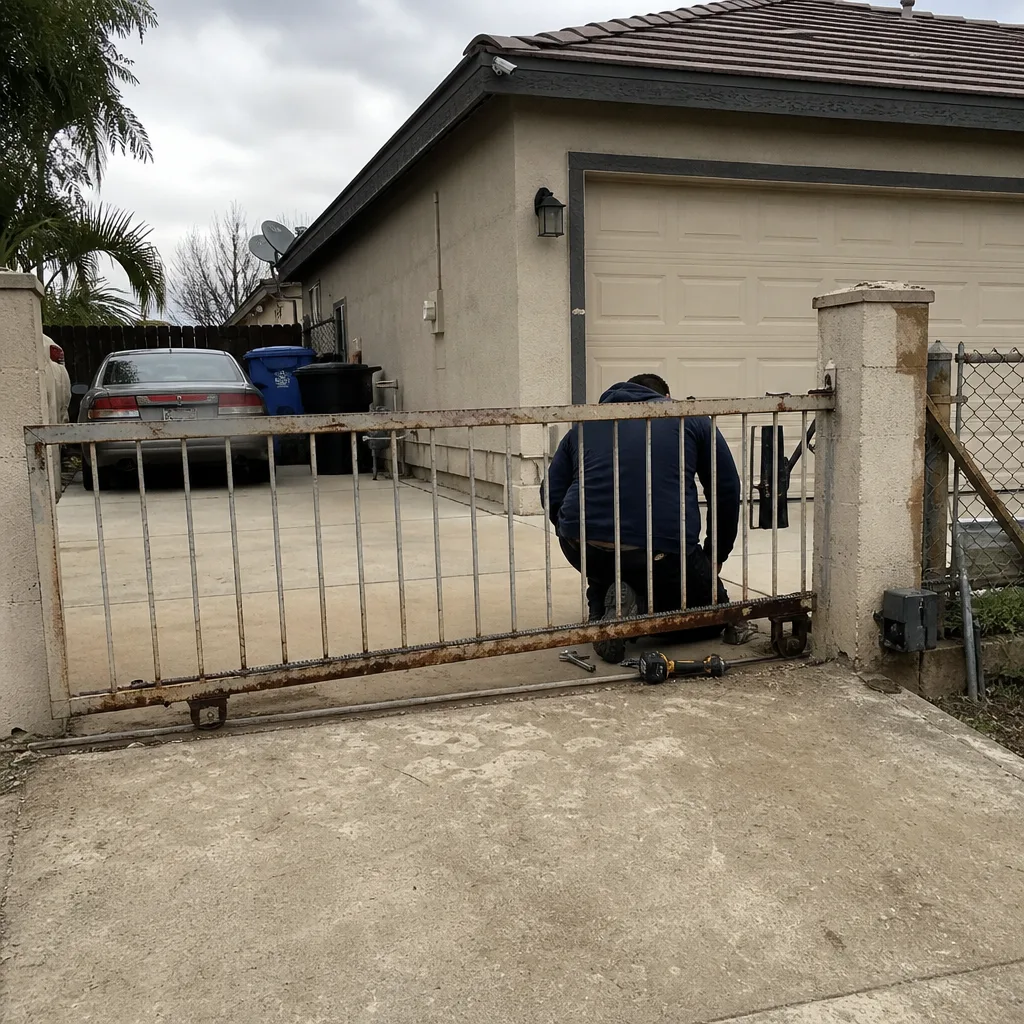 Before
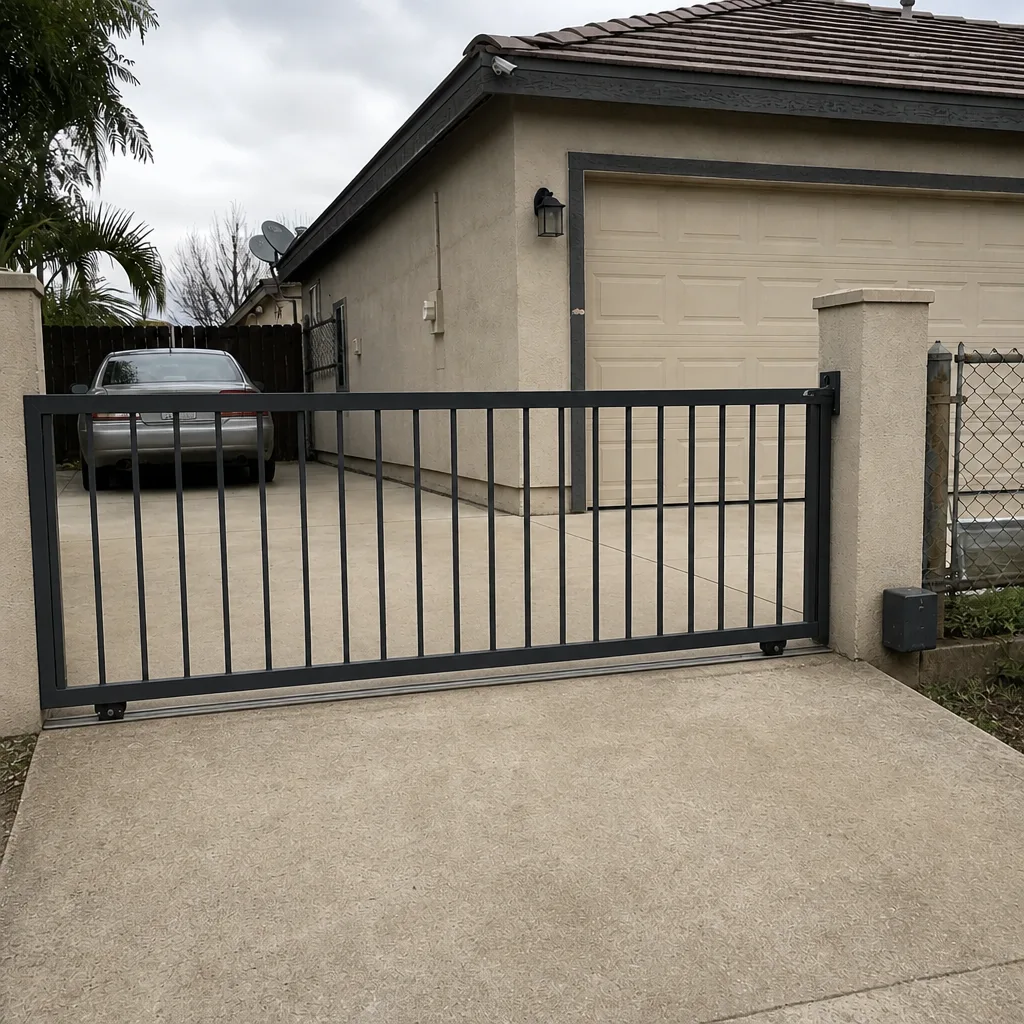 After
When to Call a Professional
Call a professional before the installer finishes if the gate rocks on its post, the weld on the hinge is spotty, the auto-reverse test fails, the conduit is exposed or undersized, or the gate can’t be swung by hand with the operator disengaged. Any one of those is a stop-the-job issue. Call a professional after install if the gate sags within a few months, the operator struggles in hot weather, the welds crack at a hinge, or the latch stops catching. And call a professional instead of a general handyman if line voltage, a safety edge, or a photo-eye sensor is involved – that work needs a licensed electrician and a gate specialist working from the same sheet.
Gatewood Fence & Gate Spring Valley offers free estimates in Spring Valley – call (888) 300-3906. A live person answers, not a voicemail, and we’ll walk the installation with you and tell you what we see. Our full service overview is on our Gatewood Fence & Gate Spring Valley home page.
Frequently Asked Questions
The single biggest warning sign is a gate post you can rock by hand, because it means the footing is too shallow or the concrete was improperly installed. Second is tacked hinge welds instead of full-length seams, and third is a gate that fails the auto-reverse test with a real obstruction. Any one of these is a hold-the-check issue. Call (888) 300-3906 if you want a second opinion before you sign off.
Residential gate posts in Spring Valley need to be significantly deeper than fence posts because of Nevada wind loads and clay-heavy soils, and the correct depth depends on gate weight, width, and exposure. We won’t give a single number that covers every gate, because a six-foot privacy gate and an ornamental aluminum gate don’t carry the same load. Ask your installer for the depth in writing, and if they won’t answer that question, that tells you something. Call (888) 300-3906 for a free estimate.
You can install a small ornamental gate yourself if you’re comfortable with the post depth and the footing concrete. You should not install a motorized gate, an automatic gate with a safety edge, or anything tied into a home electrical panel without a professional and a licensed electrician. The auto-reverse function alone is a life-safety issue. We handle installs in Spring Valley with licensed electricians and gate-specific experience. Call (888) 300-3906 for a free estimate.
Your gate binds in summer because steel expands in the heat, and if the installer fit the gate with too little clearance at the hinge or latch post, the expansion takes up the slack. The fix is in the frame design and the operator sizing, not in a mid-summer field adjustment that only lasts until the next season. We see this regularly in Spring Valley because of the wide temperature swing between January mornings and July afternoons. Call (888) 300-3906 for a free estimate on getting it corrected.
A full installation should include properly set posts with adequate concrete cure time, fully welded or fully bolted hinges, a completed auto-reverse and stop-reverse test, a conduit run in code-compliant condition with the right number of wires, a licensed electrician’s connection to line voltage, and a written 90-Day Done Right Promise covering the whole job. Ask for that in writing before you pay. Our Gate Installation in Spring Valley page covers what we include. Call (888) 300-3906 for a free estimate.
Gate installation cost in Spring Valley depends on the gate material, weight, operator brand, and how far the power run travels from the panel. We quote in writing, free, and the price is agreed before any work starts – we don’t change the number at the door. Never accept a verbal-only quote for a gate install. Call (888) 300-3906 for an exact written estimate, free of charge.
The Bottom Line
The warnings that matter on a gate installation almost always show up at the punch-out walk-through, before the installer leaves your driveway. Rock the post. Look at the welds. Run the auto-reverse test with a real obstruction. Put a flashlight on the conduit. Swing the gate by hand with the operator disengaged. Cycle it in July. If any of those fails, the gate is not finished, and the fix is far cheaper now than it will be two summers from now. The right installer shouldn’t be uncomfortable answering any of those questions – we’ve been on both sides of that test, and we know which side feels better.
If you want a plain second opinion on an installation, or a free written estimate on getting one corrected, call (888) 300-3906. A live person answers, we come out, and we’ll tell you what we see in writing before any work starts.
Written by the team at Gatewood Fence & Gate Spring Valley.