
Last updated November 18, 2026
 Wrought iron
 Wood & steel frame
 Farm & ranch
 Sliding driveway gates
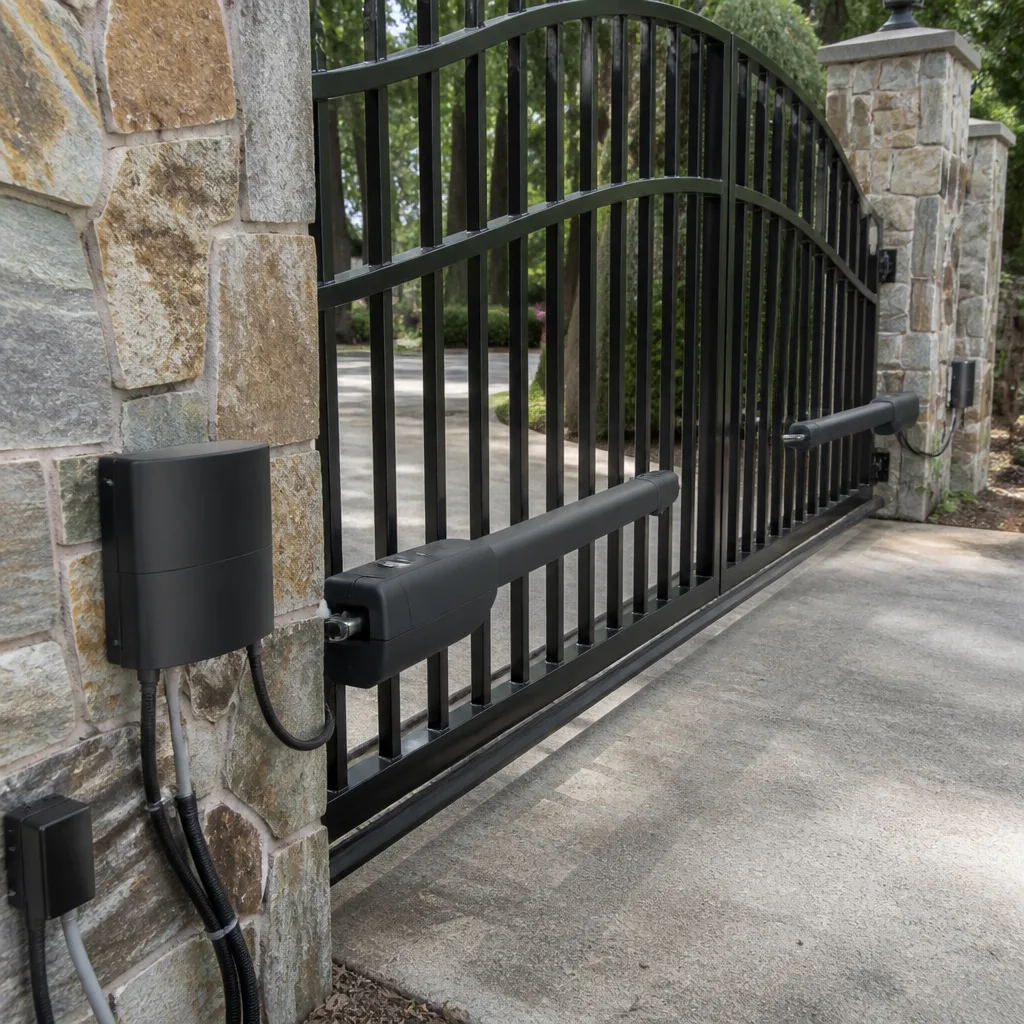 LiftMaster operators
Free on-site gate assessment - hinges, posts, and your LiftMaster or Nice gate operator checked before anything is quoted
The assessment is free and the quote is the invoice.
Get your free estimateGate Motor & Opener Troubleshooting: Common Problems and How to Fix Them
When a gate stops working, the instinct is to assume the motor died. In our experience, the motor is the last thing to blame. It is almost always a sensor, a limit switch, or a logic board getting bad information from something upstream. Around ninety percent of the calls we run in Spring Valley trace back to five specific faults, and a homeowner can identify most of them in under ten minutes without opening a single electrical box. This guide gives you the diagnostic logic, not just a list of things that break, so you stop chasing the wrong problem and can describe what is actually happening when you call.
Quick Answer
Most gate openers that quit are not dead – they are getting a false reading from a photo-eye, a limit switch, or a battery that has gone soft. Check the diagnostic LED on the control board, confirm the safety sensors are clean and aligned, and listen to the motor before you assume it needs replacing. Roughly a third of “gate won’t close” calls are solved by realigning the sensors with no parts at all.
Styles & brands we work with
- Wrought iron
- Wood & steel frame
- Farm & ranch
- Sliding driveway gates
- LiftMaster operators
Table of Contents
- How to read a gate operator’s LED fault codes without the manual
- The photo-eye alignment check that solves 30% of “gate won’t close” calls
- What a sluggish open cycle tells you about your battery versus your motor
- The sound of a failing capacitor versus a failing gear set
- Why failures that only happen in the afternoon are a thermal issue
- Limit switches and why the gate stops in the wrong spot
- Common mistakes to avoid
- When to call a professional
How to Read a Gate Operator’s LED Fault Codes Without the Manual
Every modern gate operator – Ghost Controls, DoorKing, Elite, Mighty Mule, all of them – has at least one LED on the control board that blinks when something is wrong. Homeowners see that blinking light, assume it is a secret code, and call us. Here is the thing: the pattern logic is shared across most brands, so you can read it without hunting down a manual.
Count the blinks in a cycle. Pause. Count again. The pattern repeats.
- One or two blinks, then a pause: almost always an obstruction signal. The board thinks something is in the path – a stuck photo-eye, a misaligned sensor, or a leaf wedged against the beam.
- Three or four blinks: a limit switch or position error. The board cannot find where the gate should stop.
- Five or more blinks, steady: motor or control board fault. This is the one that usually means a repair, not an adjustment.
- Solid, no blink: the board has power but is not receiving a command. Check your remote battery and the wall switch before anything else.
The exact count varies by brand, and a Spring Valley gate that sees heavy driveway dust tends to throw false obstruction codes more than one in a quieter neighborhood. But the pattern holds. If you count the blinks and write down the number before you call, you have already saved the tech fifteen minutes of guessing – and in our shop, that is a real cost.
The Photo-Eye Alignment Check That Solves 30% of “Gate Won’t Close” Calls
Here is the stat that surprises people: roughly thirty percent of the “my gate won’t close” calls we run in Spring Valley are fixed by aligning the photo-eyes. No new part. No motor replacement. Just a safety sensor that drifted a quarter inch or got dusty.
Your gate has a pair of safety sensors – typically one on each side of the driveway – that shoot an invisible beam across the opening. If anything breaks that beam, the gate will not close because the board thinks a child or a car is in the way. That is a good thing. The problem is when the sensors drift out of alignment, get coated with dust, or have a spider web across the lens.
What to check, standing safely on the ground:
- Look for the LED on each sensor. Most brands have a small indicator light. When both are lit steady, the beam is good. When one is dark or flickering, the beam is broken.
- Wipe the lenses with a dry cloth. Spring Valley dust and pollen coat these fast.
- Look for physical obstruction. A twig, a weed that has grown up through the driveway, a bag of sand. Anything in the beam path.
- Check that the sun is not blinding the receiver. The afternoon sun hitting the receiver straight on will register as a closed beam. Shade the lens with your hand for a few seconds and see if the gate closes.
None of that requires touching a wire. If the sensor is clean, aligned, and the gate still will not close, the next step is a diagnostic – and that is where we come out. When a sensor or a control board reaches the end of its road, often a gate repair in Spring Valley is a fix, not a full replacement. Hal will weld the post and reset the geometry on site rather than hauling the whole gate to the shop.
What a Sluggish Open Cycle Tells You About Your Battery Versus Your Motor
A gate that opens slowly is telling you something specific, and it is almost never “the motor is dying.” On a solar or battery-backed operator, a slow open is usually the battery sagging under load. On a 120-volt operator, a slow open is usually a mechanical bind – a hinge, a roller, or a sag in the post.
You can tell the difference with a $12 multimeter and about two minutes of patience. Turn the power off, disconnect the battery lead, and measure the battery voltage after the gate has cycled once. Compare it to the battery’s rated voltage.
- Battery more than 10% below rated voltage under load: the battery is soft. It cycles the gate when nothing else is drawing on it, then dies when the motor pulls current.
- Battery at or near rated voltage, gate still slow: the problem is downstream – the motor draw or the mechanism.
On a 120-volt operator, unplug the gate (or trip the breaker at the panel, since the operator will be hardwired and you do not want to work near live current), then swing the gate by hand through its travel. If it binds or drags, you have a mechanical problem, not an electrical one. If it swings free and smooth, you have a motor or control draw problem. That distinction is the entire call.
Solar operators on the outskirts of Spring Valley get plenty of sun but plenty of heat too, and a battery that sits in direct afternoon sun cooks down faster than one in shade. If your operator is solar and more than four or five years old, a battery test is the first thing worth doing. Our gate motor & opener service in Spring Valley does that test on every call – and we tell you the battery number before we quote anything else.
The Sound of a Failing Capacitor Versus a Failing Gear Set
Sound is the fastest diagnostic tool you have, and most homeowners hear the difference without realizing it. The trick is to describe it accurately when you call, because that one sentence changes the whole visit.
A failing capacitor makes a hum. The motor clicks, tries to start, and hums for a second or two before the board shuts it down. No motion at all. Sometimes it will catch and run if you give the gate a nudge. That is the sound of a start capacitor that has lost its ability to give the motor the jolt it needs – a small part, and a cheap one.
A failing gear set makes a grinding or a rhythmic knocking. The motor runs, the gate moves a little, then stutters or reverses. You hear metal-on-metal as the teeth skip. That is a worn gear or a stripped shaft, and it does not get better on its own.
Say it out loud at the gate, and see which one matches:
- “It hums but does not move” – capacitor or start circuit. Call it in as a hum.
- “It grinds, then reverses” – gear set or drive coupling. Call it in as a grind.
- “It clicks once and stops” – control board or remote receiver. Call it in as a click.
- “It whines, gets louder over a few seconds, then quits” – motor overheating, often a thermal cutout.
Brands differ in the exact motor, but the sound profiles are universal. A Ghost Controls swing operator and a Mighty Mule slid gate whisper the same three sounds when their gears or caps go. If you can describe the sound, you have already narrowed the job.
Why Failures That Only Happen in the Afternoon Are a Thermal Issue
If your gate works perfectly in the morning and fails every afternoon, you do not have a random fault. You have a thermal issue – something getting hot, cutting out, and coming back once it cools down. This is the single most misdiagnosed problem we see, because the gate “works fine” by the time the tech arrives.
The mechanical reasons are simple. The control board, the motor, and the battery all have a temperature limit. When it trips, the operator goes into a shutdown, and the gate will not respond until the temperature drops. Spring Valley afternoons in summer reach 105 and above. A control box in direct sun, on a west-facing wall, in an unshaded corner of the driveway, is going to hit that limit.
What to look for:
- Time of day. If the failure clusters between noon and 4pm, it is thermal almost every time.
- Shade. Is the control box in direct sun? A simple shade panel over the box can help, but only after we confirm the thermal cutout is the actual fault.
- Recent addition of a second gate or a heavier panel. A motor rated for the original load will pull more current after an upgrade, and current is heat.
- A failing cooling fan or a clogged vent on the operator housing. Dust and pollen build up fast on an outdoor box.
The wrong move is to reset the operator and hope. The right move is to note the time of day on the calendar and tell the tech. That pattern is worth more than any code, because it tells us exactly which part of the system is overheating before we lift a wrench. If you are already considering swapping the operator, a gate installation in Spring Valley can include proper shading, ventilation, and a correctly rated motor so you are not back out there next August.
Limit Switches and Why the Gate Stops in the Wrong Spot
If the gate opens fine but stops two feet short of the post, or swings out and slaps into the driveway every time, the limit switch has drifted. Limit switches are small physical contacts that tell the board “this is the end of travel.” When they move even an eighth of an inch – from a bumped post, a loose bolt, or a gate that has sagged a little – the board thinks the gate is at the end when it is not.
Resetting them is a mechanical adjustment, not an electrical one, and you can often see the problem without a meter:
- Open the gate by hand to the fully open position.
- Look for the limit cam or the adjustable switch arm on the operator arm or slide rail.
- Confirm the arm is making firm contact with the switch lever at that position, or that the cam passes the switch.
- If the cam is past the switch, loosen the lock screw (if accessible from ground level) and nudge it back. Tighten and cycle.
A word of caution: on a slide operator, this adjustment is often inside the housing near moving parts. If you have to reach into the operator or move the gate by hand near a moving chain or belt, stop and call. The gate’s kinetic energy is not worth a finger. On a swing operator, the adjustment is usually visible from the outside and safe to inspect. When in doubt, film the travel with your phone and send it over – we can often tell you in thirty seconds whether it is the limit switch.
Common Mistakes to Avoid
- Resetting the operator without noting the pattern. The blink count before you reset is the only evidence the board gives up. Write it down first. Once it resets, that information is gone and we start at zero.
- Replacing a battery that is only two years old without testing it. A load test takes two minutes. Guessing the battery is only a step above guessing the motor, and it is the single most common part swap we undo. Battery first, part second.
- Spraying the operator with a hose to clean it. Spring Valley dust is real and it is tempting, but water into a control box will corrode the board. Dry cloth, compressed air only.
- Assuming “gate won’t close” means a motor problem. Thirty percent of the time it is the photo-eye. Check that first. It costs nothing.
- Paying a national outfit a “diagnostic fee” before they will tell you the price to fix. Ask what the repair costs before anyone touches the gate. Our pricing is upfront and agreed before we start, and you get a free second opinion on any written estimate you have been handed.
- Parking a car where it blocks the far photo-eye. Oddly common, weirdly frustrating. A bag of sand, a trash bin, even a kid’s bike can break the beam and your gate “failure” is a lawn chair.
- Ignoring the afternoon pattern. “It works fine when you are here” is not a random fault. It is a thermal issue, and noting the time of day is worth more than a callout charge.
See the difference
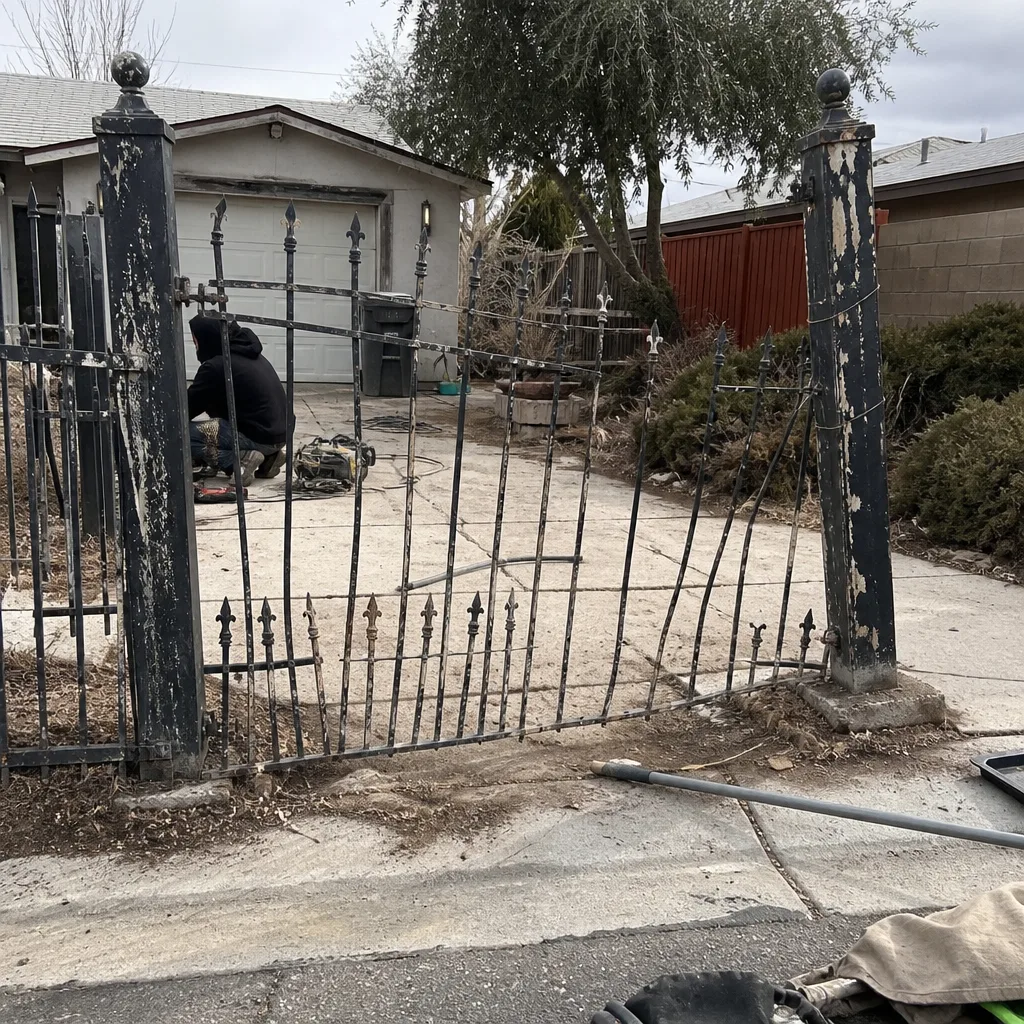 Before
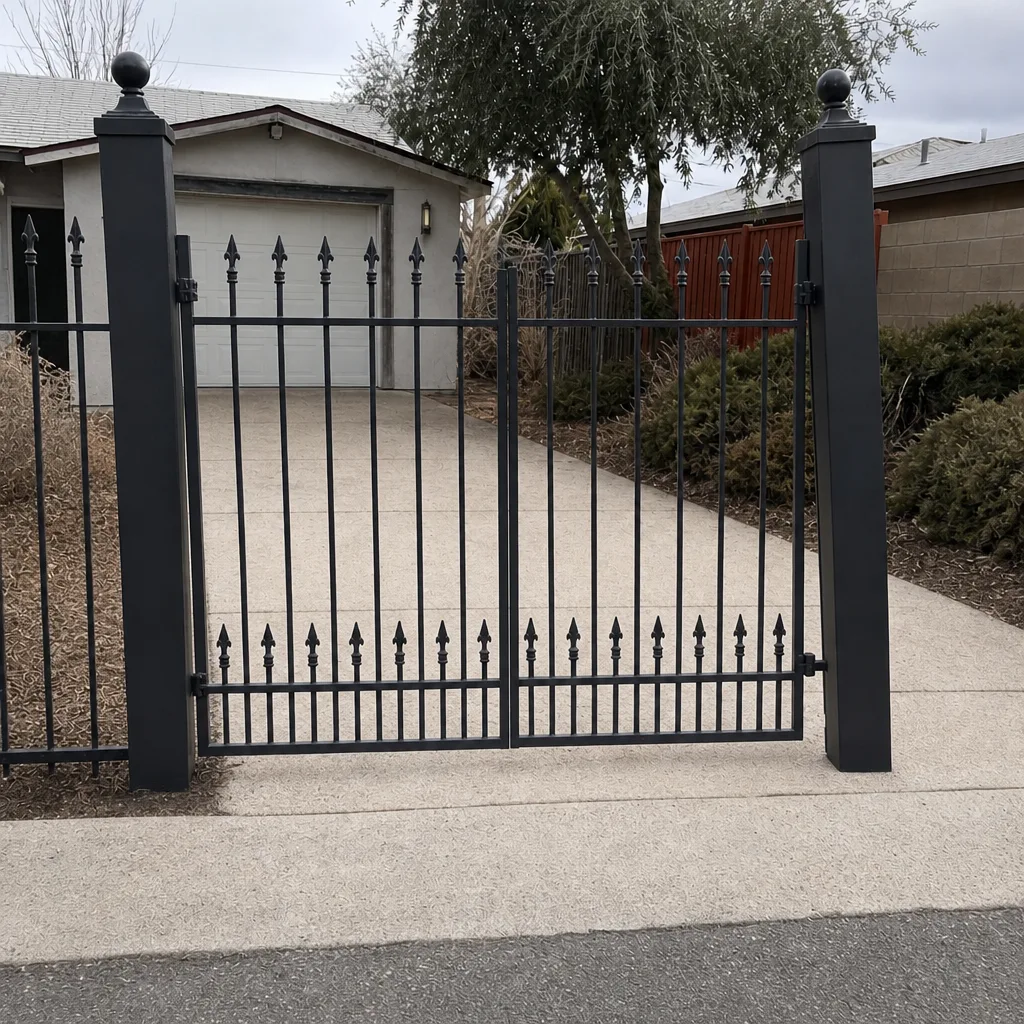 After
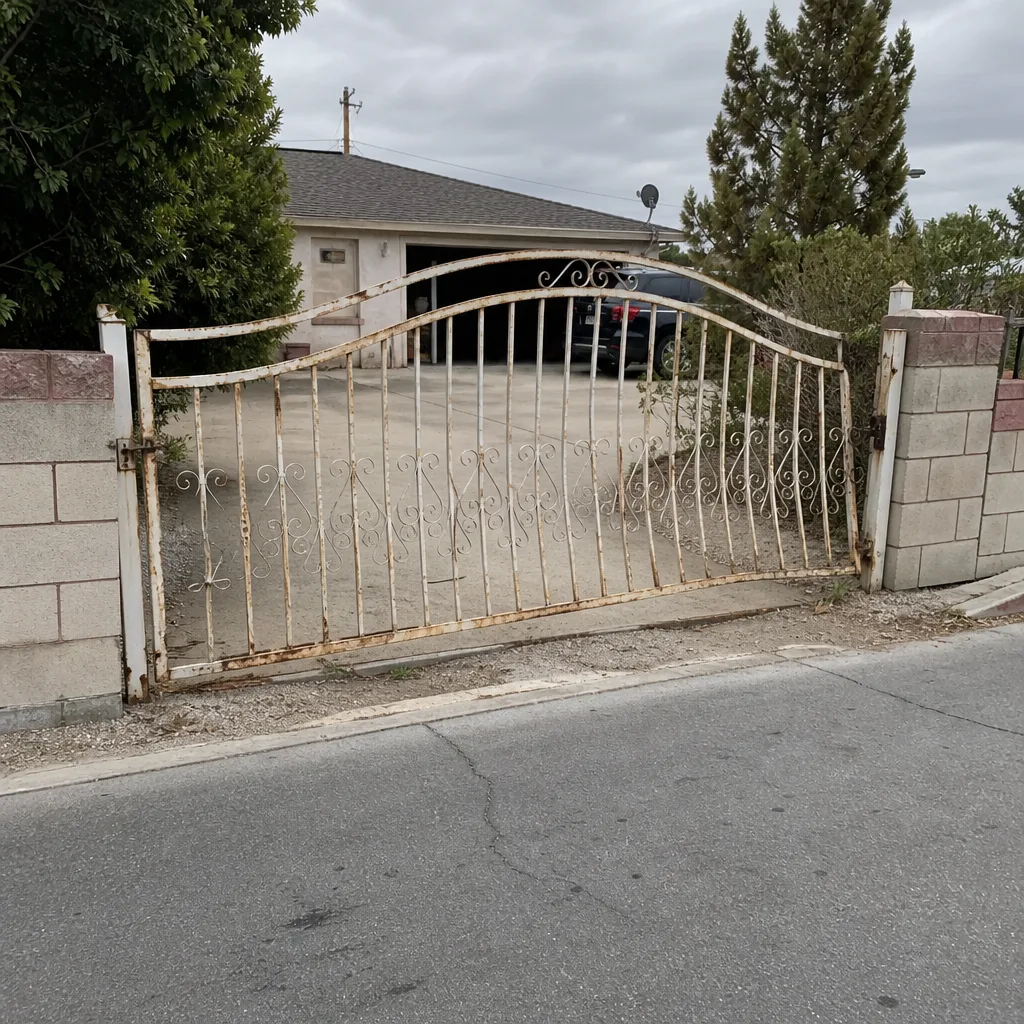 Before
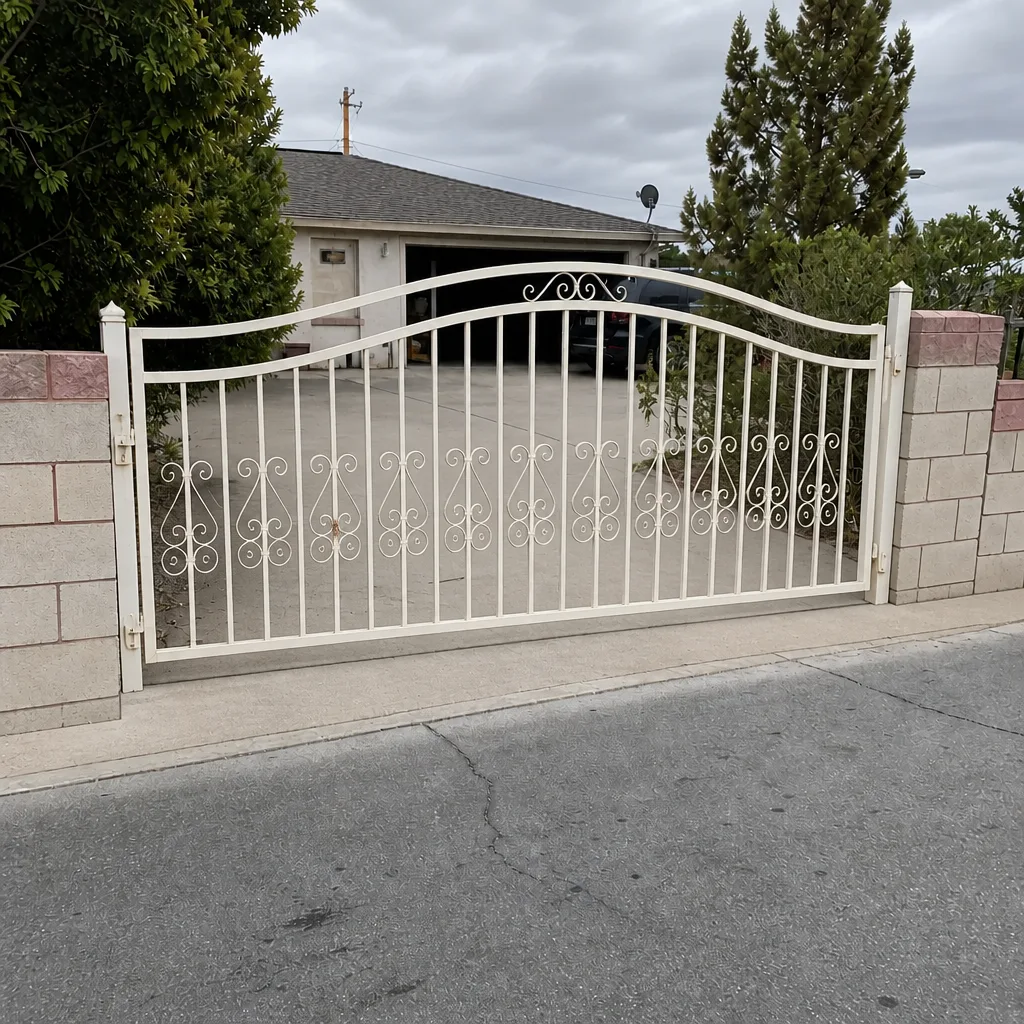 After
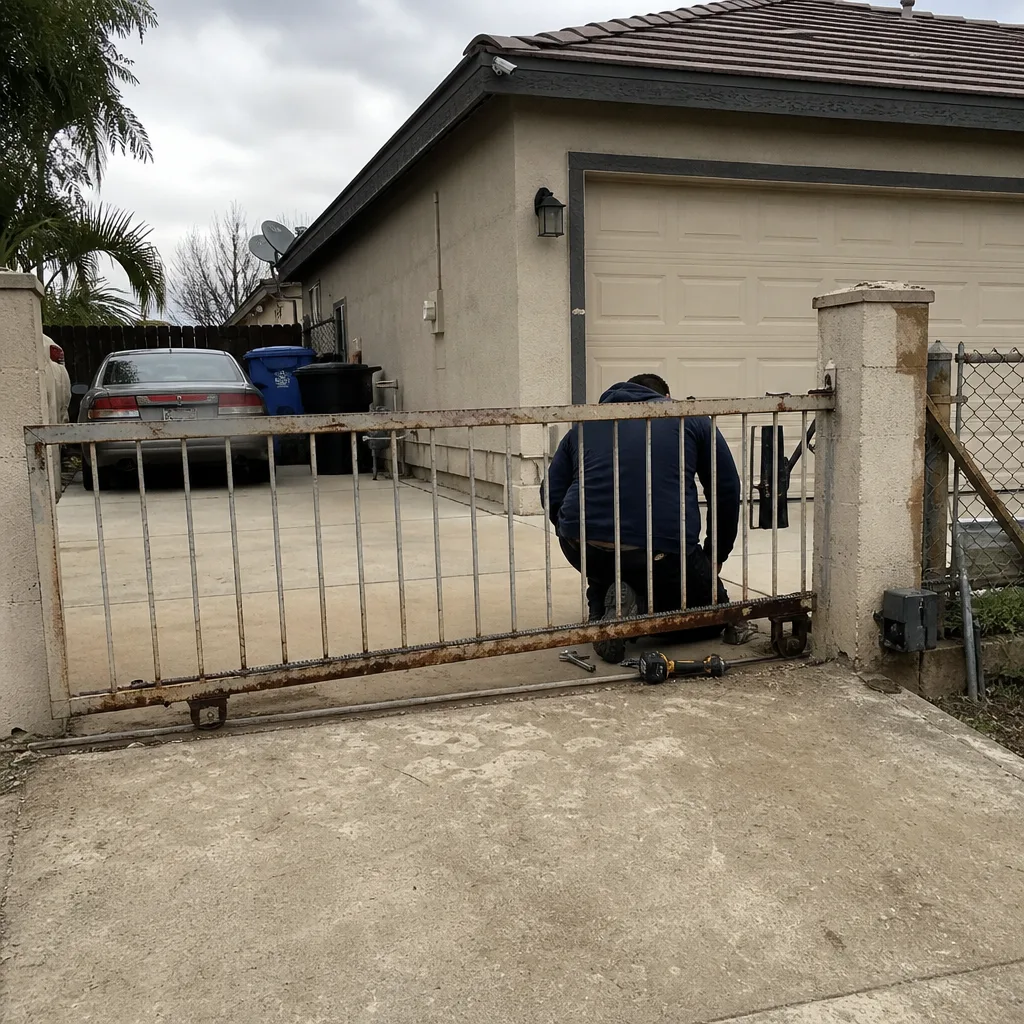 Before
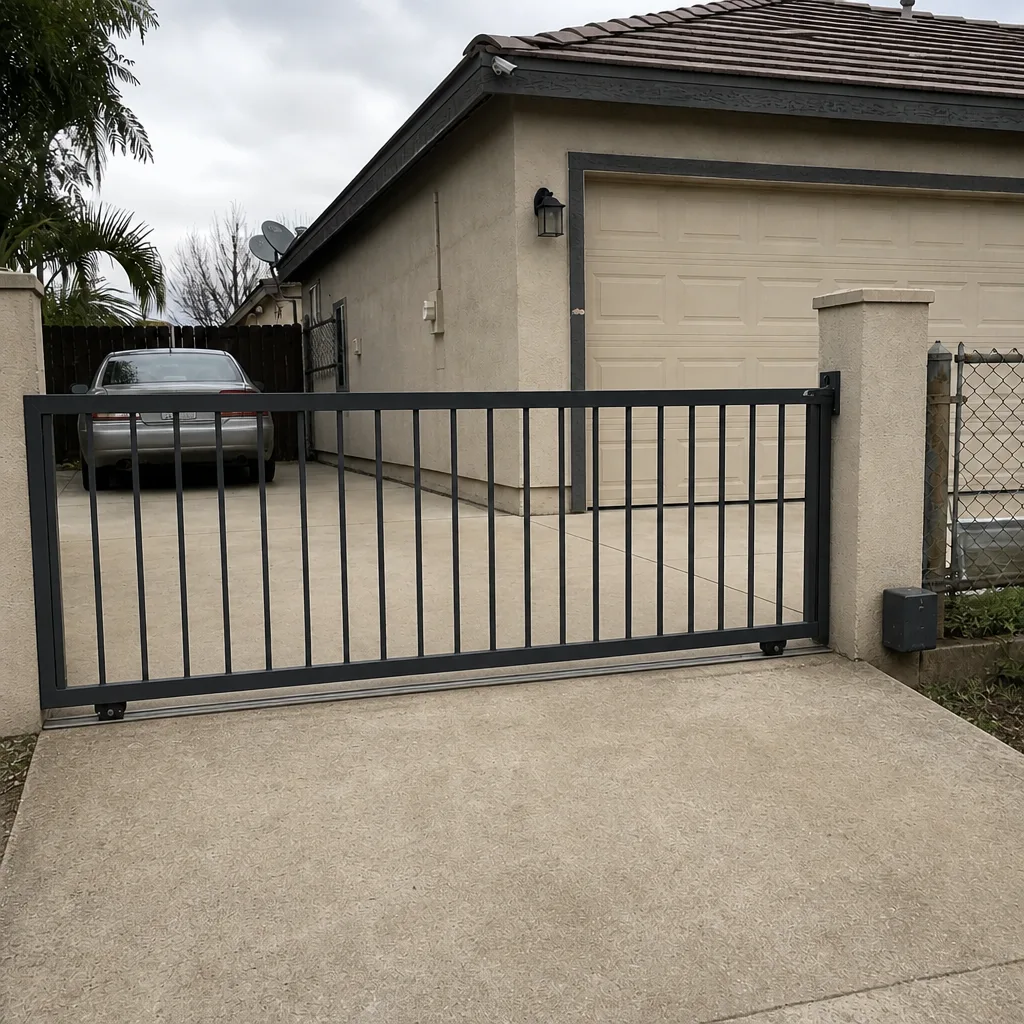 After
When to Call a Professional
Some of this you can do yourself: the photo-eye check, the battery test, the blink count, the by-hand swing to feel for a bind. All of that is safe, all of it is useful, and it is exactly what we want you to know.
Other things you should not do. Anything that has you opening a control box while power is live. Anything that has you reaching into a chain or gear housing. Anything with a 120-volt hardwired operator. And anything where you have to climb or kneel on a steep slope to get to the box – a fall off a driveway embankment will ruin your month. Those calls are what we are here for.
Gatewood Fence & Gate in Spring Valley offers free estimates on every job, and the price is quoted and agreed before any work starts. We answer the phone live, around the clock – not a voicemail, not a queue. If your gate went down today, call (888) 300-3906 and we will come out, read the code, test the battery, and give you a straight answer on what it takes to fix it – not replace it. Our techs have up to 25 years of experience, and every job carries the 90-Day Done Right Promise in writing. Learn more about Gatewood Fence & Gate Spring Valley and how we work.
Frequently Asked Questions
The photo-eye sensor is the most common cause of a gate that will not close while the motor still runs. A misaligned, dirty, or obstructed safety sensor tells the board something is in the path. Check the sensor LEDs and wipe the lenses before you assume a repair is needed. If they are clean and aligned, call (888) 300-3906 and we will test the whole safety circuit on site – estimates are free.
You can tell a soft battery by observation: the gate cycles fine on the first open of the day, then acts sluggish or stalls on the second or third. That load-then-fail pattern is the signature of a weak battery, and it is more common on solar operators in Spring Valley because the box gets hot. A $12 multimeter will confirm it in two minutes, but the pattern alone is worth a call. We test batteries on every motor call.
Afternoon-only failures are almost always thermal. The control board or motor hits a temperature cutout, shuts down, and recovers once it cools. Direct sun on a control box, a heavy gate pulling more current than the motor is rated for, or a clogged vent can all cause it. Note the time of day, and we can narrow the fault before we arrive. In Spring Valley we see this often on west-facing boxes that take the afternoon sun straight on.
Yes, and this happens more than you would think. A rusted hinge or a sagging hinge post forces the motor to work harder than it was designed to, and that extra current shows up as heat and premature wear. A gate sags in the hinge post, not in the middle, and that is where we start on a diagnosis. On-site welding lets us fix the post in your driveway instead of replacing the gate.
We are certified to service nine major gate brands: LiftMaster, FAAC, BFT, Linear, Viking, Ghost Controls, DoorKing, Elite, and Mighty Mule. That covers most of what we see in Spring Valley, but if yours is a brand we have not heard of, call us anyway – we will tell you straight whether we can work on it before we schedule anything.
Often it is worth repairing. Most older operators still have parts available, and replacing a battery, a capacitor, or a limit switch costs far less than a new unit. The decision usually hinges on the condition of the motor and the control board, not the age alone. We will tell you honestly which way it swings and give you the free second opinion on any other written estimate you have.
The Bottom Line
When your gate fails, the answer is almost never “the motor died.” Read the blink pattern before you reset, check the photo-eye before you call, test the battery before you buy a new one, and listen to the sound before you describe the problem. Those four steps solve most of what we see in Spring Valley, and they make the call to a pro much faster when one is needed. If the gate needs a real repair, or you want a second opinion before you spend, call (888) 300-3906 for a free estimate. Gatewood Fence & Gate in Spring Valley stands behind every job with the 90-Day Done Right Promise in writing.
Written by the team at Gatewood Fence & Gate Spring Valley.