
Last updated November 18, 2026
 Wrought iron
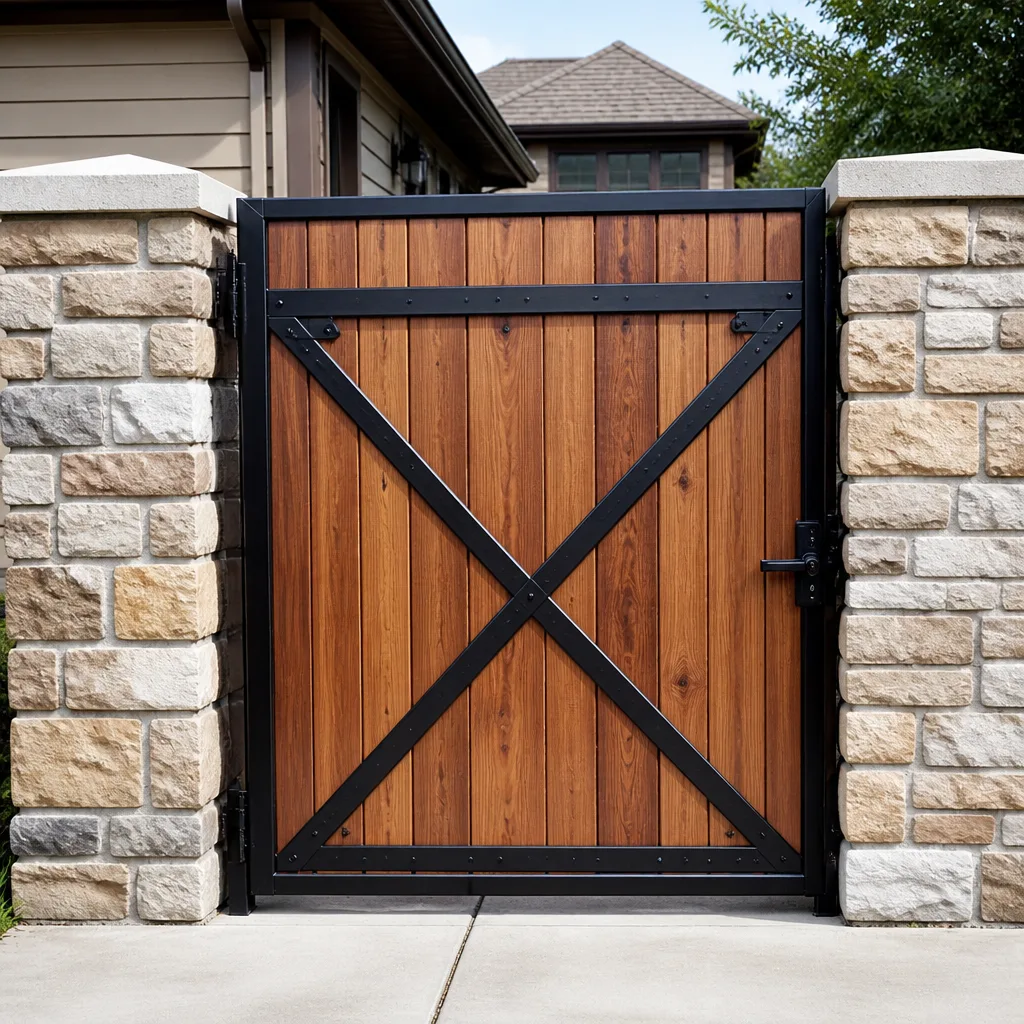 Wood & steel frame
 Farm & ranch
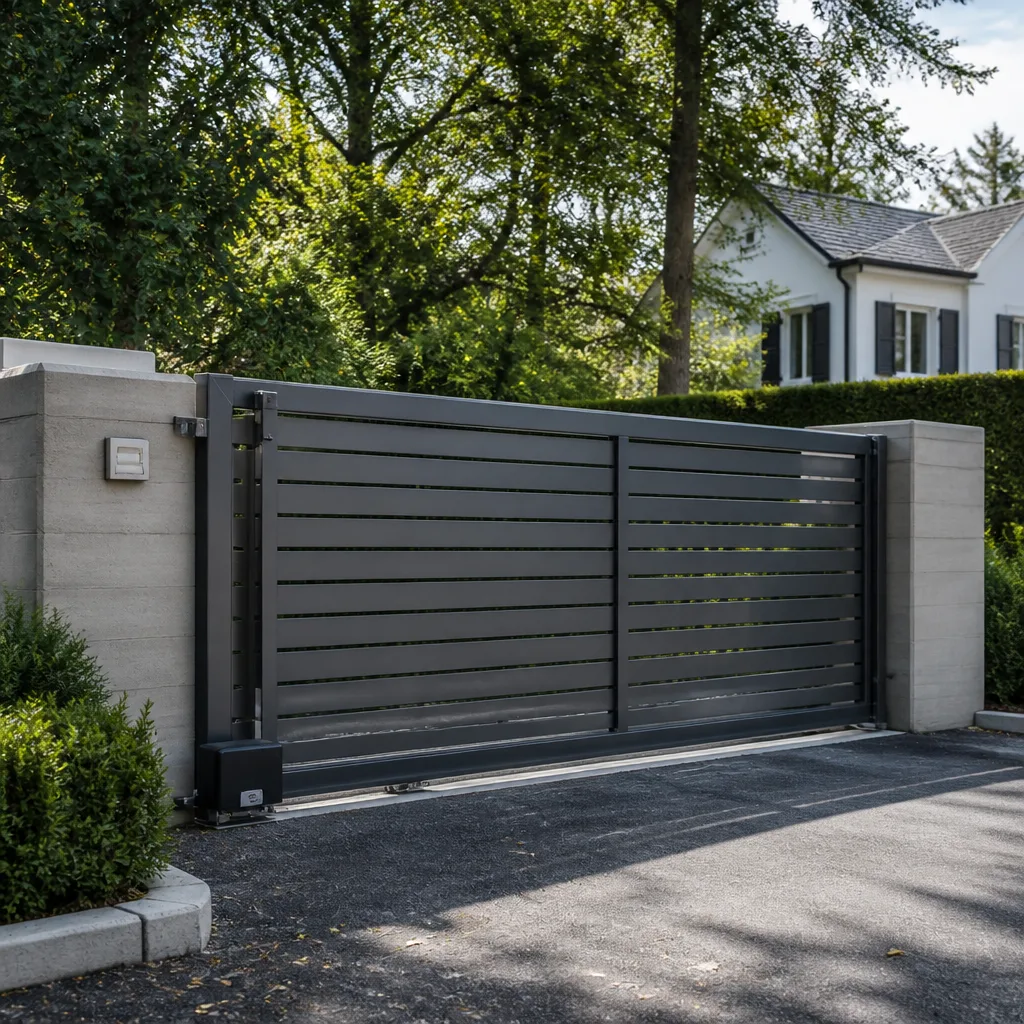 Sliding driveway gates
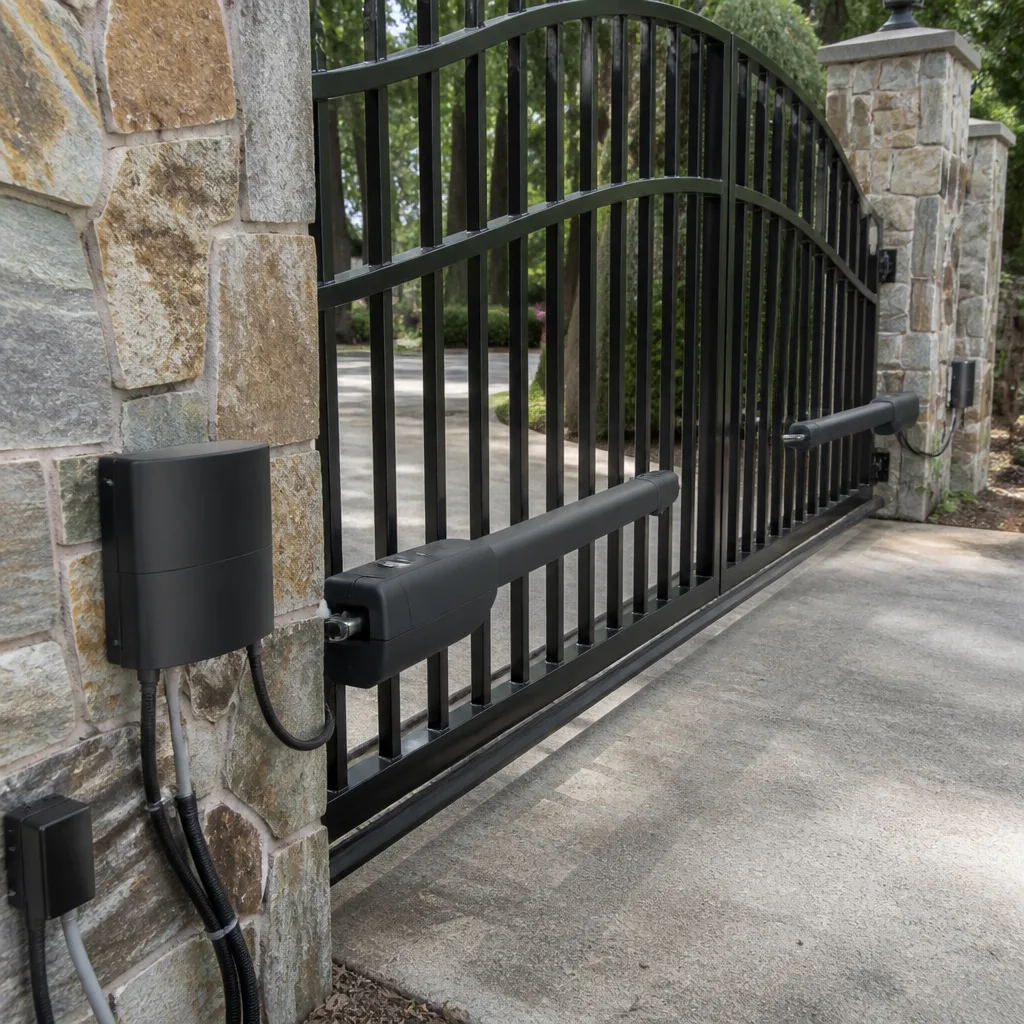 LiftMaster operators
Free on-site gate assessment - hinges, posts, and your LiftMaster or Nice gate operator checked before anything is quoted
The assessment is free and the quote is the invoice.
Get your free estimateGate Installation Troubleshooting: Common Problems and How to Fix Them
If a newly installed gate doesn’t close flush on day one, the installer will often say “it needs to settle.” Here’s the thing: gates don’t settle. Posts settle. And a post that’s already moving in the first week of a Las Vegas summer was never set right in the first place. The ground out here doesn’t ease into anything – it bakes, it cracks, and it pulls at whatever footing you gave it. Most of the failures we see in the first 90 days after a gate installation in Spring Valley aren’t random bad luck. They’re installation errors that got locked in before the concrete dried. This guide walks you through which problems are normal break-in adjustments, which are real defects, how to measure and document them yourself, and what to put in writing so you’re protected when you call the installer back.
Quick Answer
Most new-gate problems fall into two buckets: normal break-in adjustment (hinge tension, latch position, opener limit settings) and genuine installation defects (leaning posts, uneven gaps, undersized footings, openers calibrated to a gate that isn’t balanced). The first you can often handle yourself in an afternoon. The second requires the original installer to come back under warranty – and the sooner you document it with a level, a tape measure and photos, the stronger your position. In Spring Valley’s heat, post settling shows up fast, usually within the first six to eight weeks, so watch closely right after install.
Styles & brands we work with
- Wrought iron
- Wood & steel frame
- Farm & ranch
- Sliding driveway gates
- LiftMaster operators
Table of Contents
- Normal Break-In Adjustment vs. Actual Installation Defect
- How to Check If Your Gate Post Is Truly Plumb and Level
- Why Openers Fail on Unbalanced Gates (and How to Catch It Early)
- Spring Valley Heat, Soil and What It Does to New Gates
- What You Can Fix Yourself vs. What Needs the Installer Back
- What to Put in Writing When You Request Warranty Service
- Brand-Specific Quirks: Mighty Mule, LiftMaster and FAAC
- When to Stop Troubleshooting and Call a Professional
Normal Break-In Adjustment vs. Actual Installation Defect
Every new gate needs a little tuning in its first few weeks. Hinges seat, latches wear in, and an opener’s limit switches settle into their travel. That’s normal, and it’s not what you should be worried about. What you should be worried about is the stuff that shouldn’t move at all.
Here’s the line we draw, and we’ve been drawing it in Spring Valley driveways for a long time:
- Normal break-in: A hinge that needs a quarter-turn of tension, a latch that needs a slight shift to catch cleanly, opener limits that need a small adjustment after the first week of use. These are small, they’re fixable in minutes, and they don’t get worse.
- Installation defect: A post that’s leaning more than 1/8 inch out of plumb, uneven gaps between the gate and post that change from top to bottom, an opener that groans or strains under the gate’s weight, concrete that’s cracked and separated from the post within weeks, or a gate that swings open on its own when you let go.
The difference matters because one is a favor you ask of the installer, and the other is a warranty claim you’re entitled to. If your gate is doing any of the defect-list items inside 90 days, that’s not settling – that’s a do-over, and the sooner you say so in writing the better. Gate installation in Spring Valley done right means footings sized for our soil and a post set with proper bracing so it doesn’t move after the pour.
How to Check If Your Gate Post Is Truly Plumb and Level
This is where a lot of homeowners get talked in circles. The installer says it’s fine, you’re not sure, and neither of you has numbers to work with. So get numbers. It takes 20 minutes and a $15 level, and it changes the entire conversation.
- Get a 4-foot spirit level and a tape measure. A torpedo level is too short to catch real lean on a gate post. You want length.
- Check plumb on two faces of the post. Hold the level against the face of the hinge post (the one the gate hangs from, not the latch post). Read the bubble. Then check the adjacent face, 90 degrees over. A post can be plumb one way and leaning the other – you have to check both.
- Write the number down. A bubble off by a hair within the lines is fine. A bubble that’s half a bubble or more out of the marks means the post is out of plumb. Note it in fractions or degrees if you can.
- Measure the gate gap top and bottom. With the gate closed and latched, measure the gap between the gate frame and the post at the top hinge and at the bottom hinge. They should be within about 1/8 inch of each other. A gap that’s wider at the top than the bottom means the post is leaning or the gate is sagging – and on a new install, that’s a post problem, not a hinge problem.
- Check level along the top rail. Lay the level on the top rail of the gate. If it’s off level, the gate was built or hung crooked.
- Photograph everything with the level in frame. Date-stamp it if your phone does that. This is your evidence file.
One caution – don’t loosen anything to “check” it. Just measure. If you start backing out bolts, you can void the installer’s willingness to honor the warranty, and you’ll be arguing about who did what. Measure, photograph, write it down, then call.
Why Openers Fail on Unbalanced Gates (and How to Catch It Early)
This is the number-one premature failure we see on automatic gates, and it almost never gets caught before the warranty runs out. Here’s what happens: an opener – a Mighty Mule, a LiftMaster, a FAAC, doesn’t matter the brand – is rated for a certain gate weight and length. But it’s also rated for a certain amount of resistance. A gate that’s properly balanced swings with almost no effort. A gate that’s binding, dragging, or hung heavy on one side forces the opener to work harder than it should on every single cycle. The opener doesn’t fail the day it’s installed. It fails eight months later, and by then the installer says “that’s a motor problem, not an install problem.”
You can catch it yourself. Do this test:
- Disconnect the opener (most have a manual release key or lever – check your manual).
- With the gate free, push it through its full swing by hand. It should move smoothly with light pressure the whole way – open to close – and stop on its own where you leave it.
- If it binds, drags, or wants to swing back to one side, the gate isn’t balanced. That’s a hinge, post or alignment issue, and it will eat your opener.
If you can’t disconnect the opener, listen instead. A healthy opener sounds smooth and even. An opener working against a bad gate chatters, groans, or speeds up and slows down mid-travel. If you hear that in the first month, call the installer back before the opener’s own warranty clock runs out – and ask them, in writing, to check gate balance, not just the motor. For automated systems specifically, our gate motor and opener service in Spring Valley starts with the gate, not the box on the post – because the motor isn’t the problem, the gate it’s pushing is.
Spring Valley Heat, Soil and What It Does to New Gates
Our climate is hard on new installations in ways installers from wetter parts of the country don’t always account for. Three things happen here that matter:
- Caliche and shrink-swell soil. A lot of Spring Valley sits on soil that moves with moisture. A post footing that’s undersized – or set with too little concrete for our conditions – will shift in the first big temperature swing after install. This is why a gate that looked perfect in March can be out of plumb by June.
- Heat expansion. Metal gates grow in the Las Vegas summer. A gate that was hung with a tight 1/8-inch gap in cool weather can bind against the latch post once the metal heats up. If your gate only sticks in the afternoon, that’s temperature, and it needs a slightly looser fit than an installer used to cooler climates might give it.
- UV and wind. Spring Valley wind events push against a gate hard, and a marginal post or a marginal hinge that would survive elsewhere will show its weakness here fast.
What this means for you: if your new gate is in Spring Valley, Spring Valley’s heat is the stress test, and the first summer tells the truth. Watch for the gate sticking in the heat of the day, posts that moved after the first monsoon, or footing concrete that cracked and pulled away from the post. If any of that shows up in the first 90 days, it’s the install – not the weather. A properly set footing in our soil should hold for years, not months.
What You Can Fix Yourself vs. What Needs the Installer Back
We’re all for a homeowner handling the small stuff. It saves you a service call and it saves the installer a trip, and most installers appreciate a customer who knows the difference. But touching the wrong thing can void your warranty, so here’s the honest split.
Safe for you to handle
- Hinge tension. If your hinges are the adjustable kind (a nut or set screw on the hinge barrel), a quarter-turn to take up slack is fine.
- Latch alignment. A latch plate that needs a slight shift to catch cleanly, if it’s held by screws and not welded, can usually be moved a hair.
- Opener limits and force settings. Only if your manual spells it out and only within the ranges the manual gives. If it doesn’t, don’t guess.
- Cleaning and lubrication. Hinges and tracks, per the manufacturer’s schedule. That’s maintenance, not repair, and it’s expected of you.
Leave for the installer (this is warranty work)
- Anything involving the post. A leaning or moving post means the footing needs re-doing. You cannot fix a post problem from the gate side – fix the panel without the post and you’ll fix it twice.
- Welded joints. If a weld is cracked or a seam has opened, that’s a fabrication defect or an installation stress problem, and it needs to be welded on site by the installer, not ground off and bolted.
- Opener mounting and calibration to gate weight. If the opener was mounted too high, too low, or on a bracket that’s flexing, that’s the installer’s bracket and the installer’s job.
- Footing concrete. Cracked or separated concrete at the base of a post is a footing problem, full stop. That gets re-poured.
For a full breakdown of the repair side (not just install), see our gate repair in Spring Valley page – a lot of “new gate” problems are really just swing and hardware corrections that a good repair tech handles in an afternoon.
What to Put in Writing When You Request Warranty Service
This is the part nobody tells you. A phone call is easy to forget or misremember. A written request protects you, and it also gives a good installer everything they need to show up prepared. Send it by email or text so there’s a record, and keep it short and factual. Here’s what to include:
- The install date and the contract or invoice number.
- A plain description of the problem, with measurements. “The hinge post is out of plumb approximately 1/4 inch (bubble past the lines on a 4-foot level against both faces), and the gate gap is 3/8 inch wider at the bottom than the top. Photos attached.”
- Photos with the level in frame and a date stamp. Send them with the message, not from memory later.
- A reference to the warranty terms. Don’t argue about them – just reference them, and quote the line from the contract if you have it. “Per the warranty on my invoice dated [date], I’m requesting service.”
- A reasonable timeline request. “I’d like this addressed within 14 days” is fair. “I need it done today” is not, and it weakens your position.
- Ask for confirmation in writing. A simple “please confirm receipt and your proposed visit date in writing” puts the ball in their court and creates the paper trail you may need later.
One last thing: keep it friendly. The installer who shows up is the installer you want on your side. Our own 90-Day Done Right Promise exists because a new gate shouldn’t be a fight – if it isn’t done right, it gets made right, one call, no runaround. A written request is not an accusation; it’s just clarity, and the good ones will treat it that way.
Brand-Specific Quirks: Mighty Mule, LiftMaster and FAAC
Different openers fail differently, and knowing your brand’s quirk saves time:
- Mighty Mule: common on residential swing gates in our area. Their force/obstruction sensitivity settings are easy to bump too high during install to “make it work” against a stiff gate – which masks a balance problem until the gear strips. If a Mighty Mule won’t hold its settings in the first month, suspect the gate, not the box.
- LiftMaster: solid commercial-grade units, but the mounting brackets have to be dead-on. A bracket mounted on a post that’s even slightly out of plumb will cause the arm to bind through part of its travel. That’s an install error, not a LiftMaster error.
- FAAC: European-style, sensitive to gate weight and wind load. On a heavy metal gate in a Spring Valley wind corridor, a FAAC that’s marginally over its rated weight will stall on hot days. Catch it in the first 90 days and it’s a warranty issue; miss it and it’s your problem.
If you’re not sure who installed your opener or you inherited a system from the previous owner, a free second opinion on the install is worth more than a guess. It’s one of the standing offers we make – because we’d rather tell you what’s actually wrong before you pay anyone to fix the wrong thing.
When to Stop Troubleshooting and Call a Professional
There’s a point where the DIY checklist stops being useful. If any of these are true, stop and call someone who does this for a living:
- The gate post is moving more than 1/4 inch or has visibly shifted since install.
- Footing concrete is cracked or has separated from the post.
- The gate binds, drags, or won’t hold its position with the opener disconnected.
- The opener chatters, stalls, or trips a breaker during a cycle.
- A weld is cracked or a hinge has pulled away from the frame.
Post footing work, welded repairs and opener calibration aren’t homeowner projects – the first is a structural re-do, the second needs a welder on site, and the third is where a wrong setting strips a motor. Gatewood Fence & Gate Spring Valley offers free estimates in Spring Valley – call (888) 300-3906 and a live person will answer, day or night. Hal fixes the gate in the driveway rather than hauling it off, and every job carries the 90-Day Done Right Promise in writing.
Common Mistakes to Avoid
- Accepting “it needs to settle.” Posts settle; gates don’t. If it’s out of plumb in the first week, it was never set right, and waiting just lets the concrete finish curing around a mistake.
- Adjusting the opener force to hide a stiff gate. Turning up the force makes the gate work today and strips the motor in a year. The force setting is a symptom fix; the balance is the real problem.
- Ignoring the first hot week. In Spring Valley, the first heat wave after install is the real test. A gate that only sticks in the afternoon is telling you the fit is too tight for our climate.
- Calling from memory instead of in writing. A phone call gets forgotten. A dated email with photos of a level against the post does not.
- Letting a well-meaning neighbor “fix” a welded joint with a bolt. It’s a nice gesture and it voids the warranty on a fab problem that was the installer’s job to weld.
- Waiting past 90 days to report a defect. Report it the week you find it. Warranty windows are real, and the earlier you’re in, the cleaner your claim.
- Comparing installers on price alone. We’ve seen Spring Valley gates installed for noticeably less because the footing was undersized and the post was set without bracing. You pay for that twice.
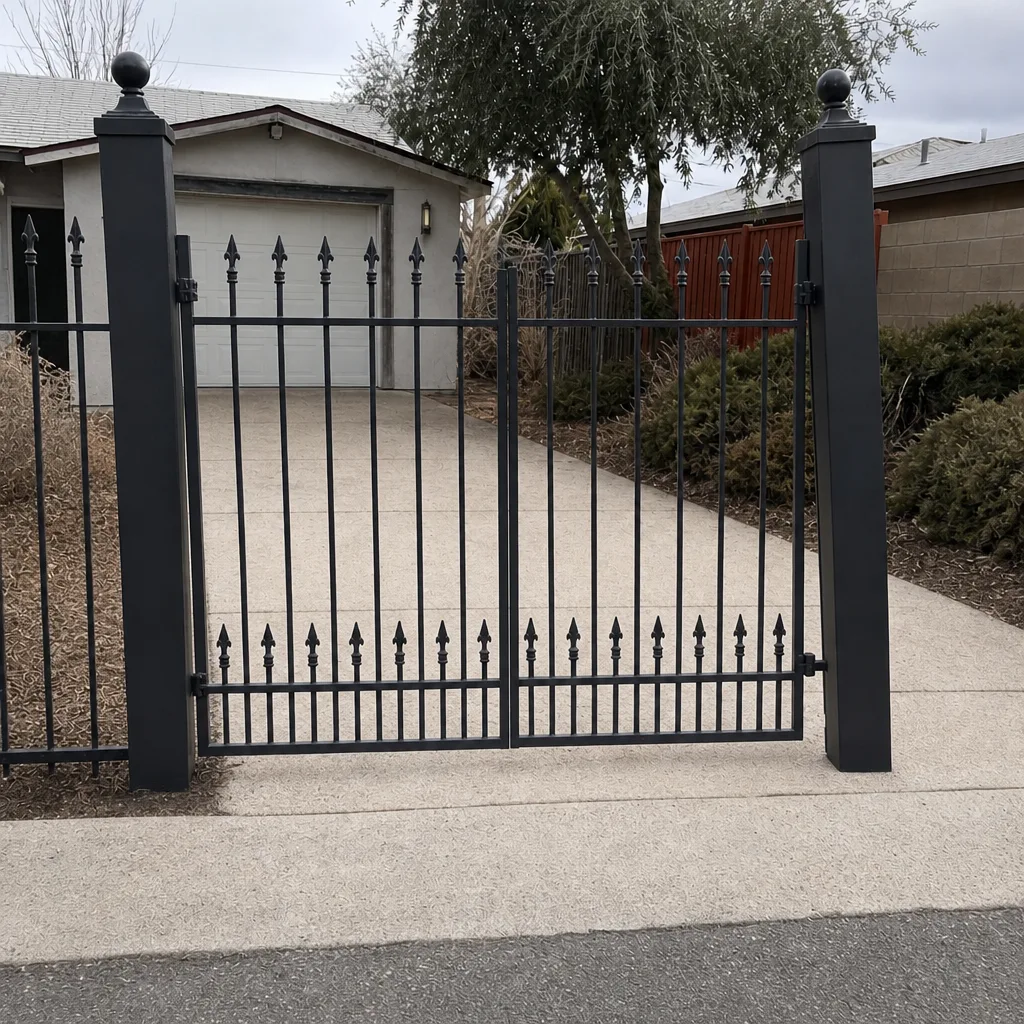
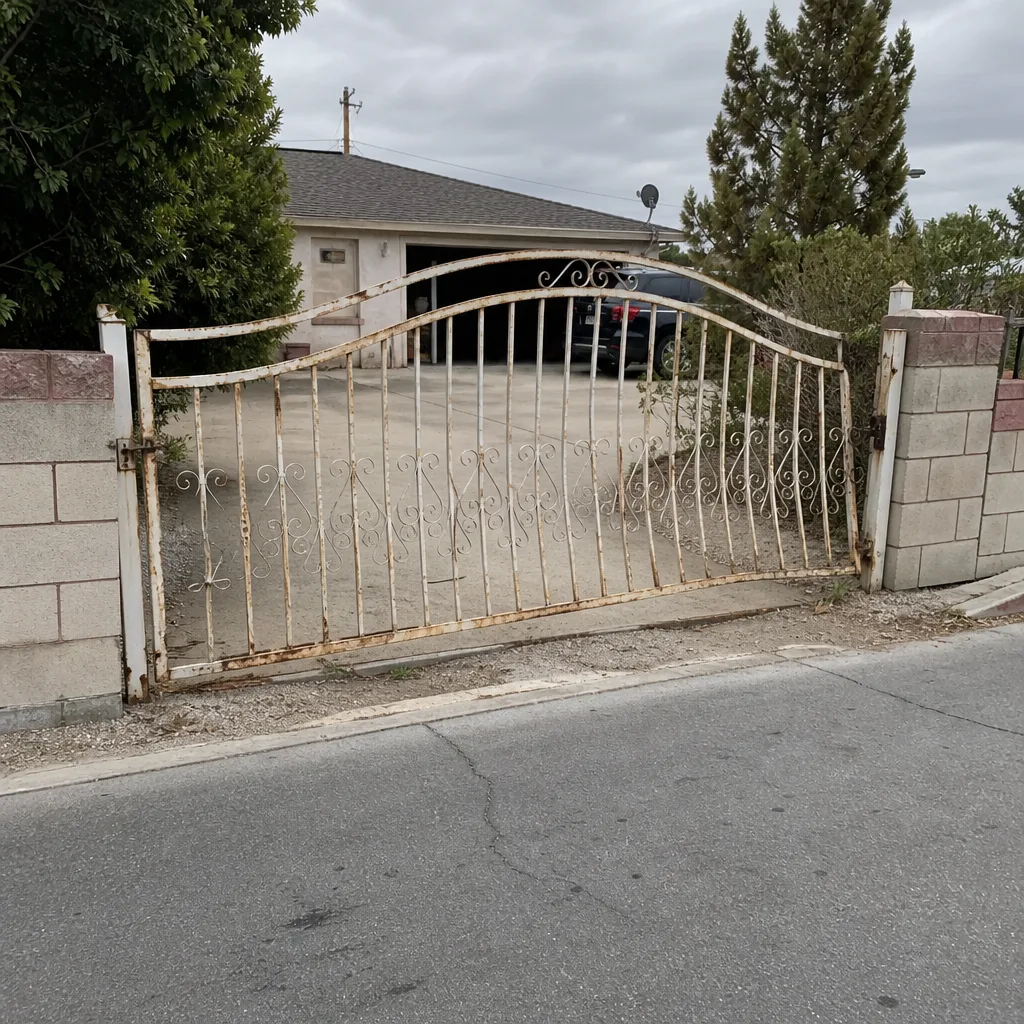
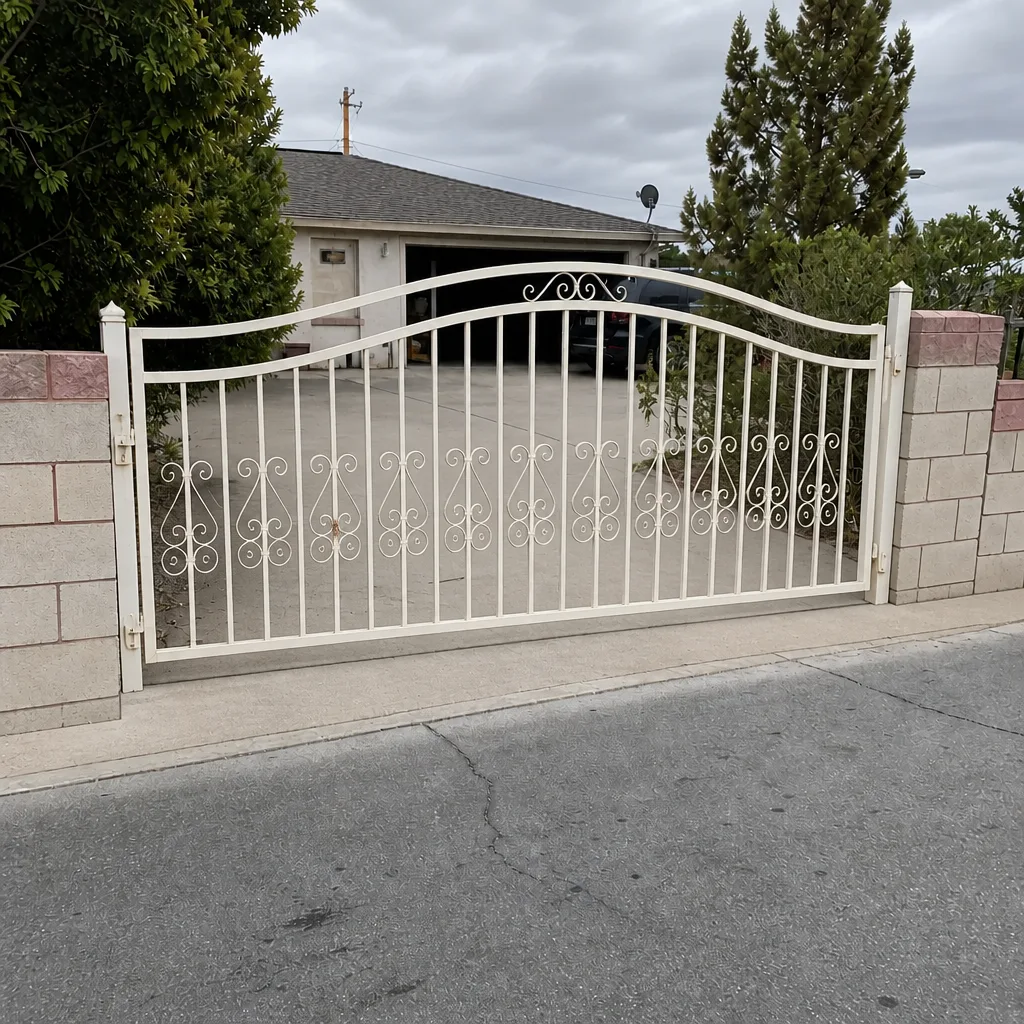
See the difference
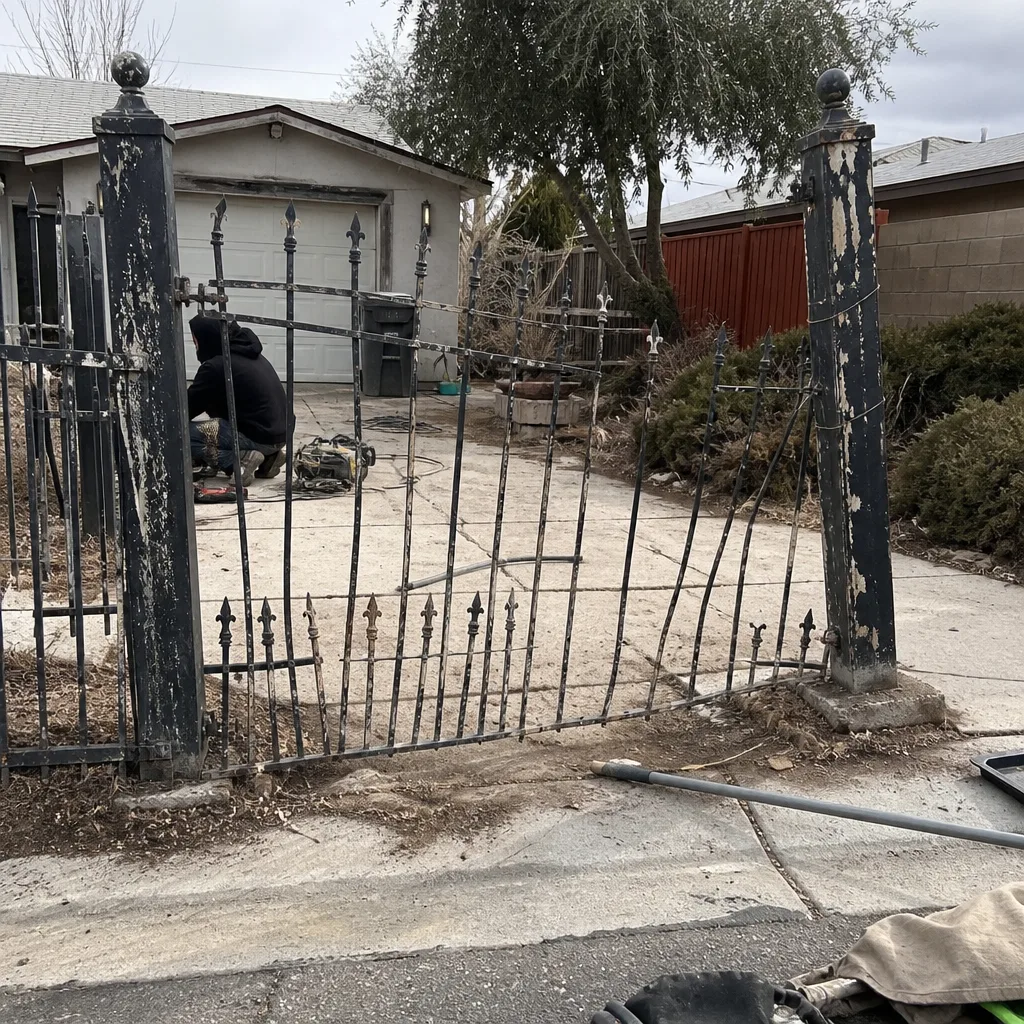 Before
 After
 Before
 After
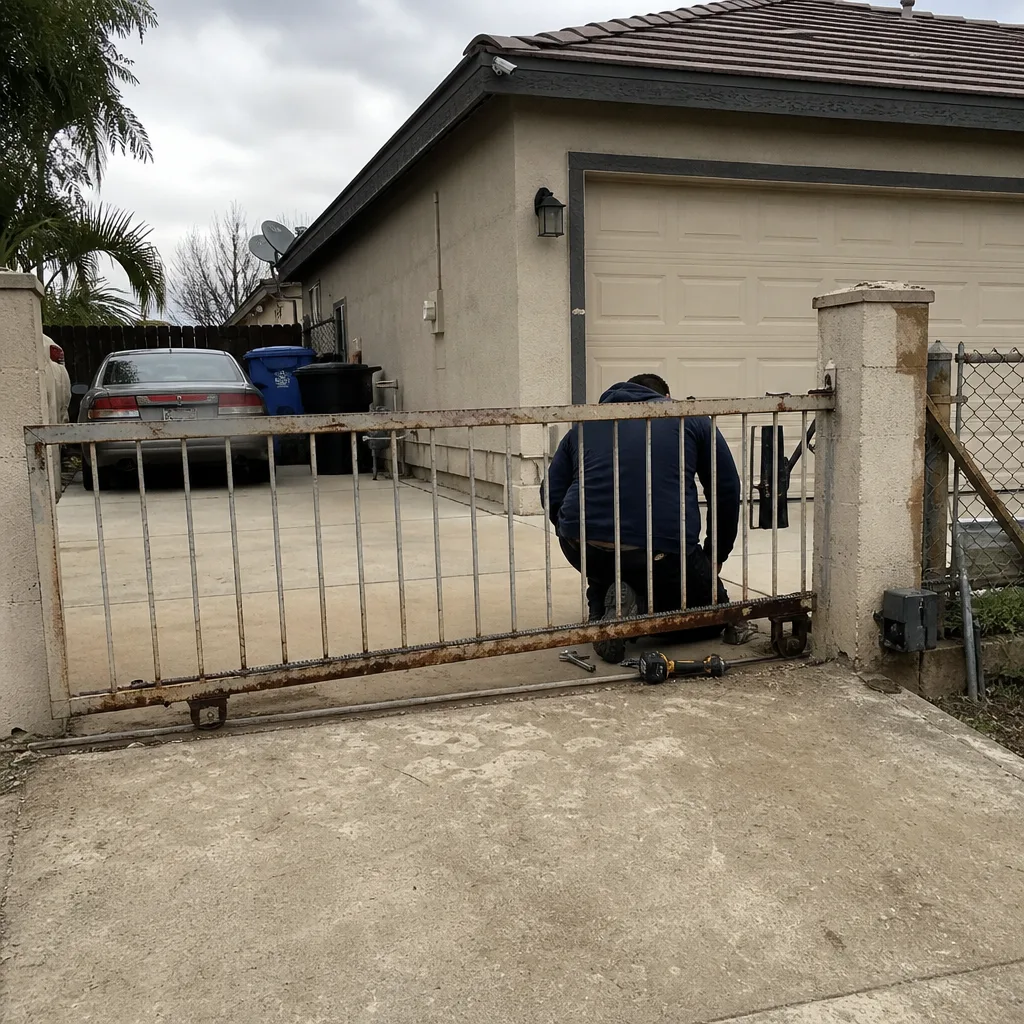 Before
 After
When to Call a Professional
Call a professional the moment the problem crosses from “tuning” into “structural.” Leaning posts, cracked footings, cracked welds, an opener that stalls or trips a breaker, a gate that won’t stay put with the opener disconnected – none of those are safely or legally a homeowner repair, and one of them (the opener circuit) is a genuine electrical hazard you shouldn’t put a hand near. If you’re unsure whether your issue is one of those, get a free second opinion on the original written estimate. That’s the cheapest way to know whether you’re dealing with a break-in tweak or an install defect. Gatewood Fence & Gate Spring Valley offers free estimates in Spring Valley – call (888) 300-3906.
Frequently Asked Questions
No. Gates don’t settle; posts settle, and if a post is moving in the first weeks after install in a Spring Valley summer, it was inadequately set from the beginning. A gate that doesn’t close flush on day one is almost always a post problem, a hinge problem, or a level problem – not a settling problem – and it should be measured, photographed and reported in writing right away. Call (888) 300-3906 if you want a free second opinion on the install.
Use a 4-foot spirit level against both faces of the hinge post (not just one), photograph the bubble with the level in frame, and measure the gate gap top and bottom – a difference over 1/8 inch means the post is leaning or the gate is sagging. Write the numbers down with a date stamp. That gives you objective evidence when you call the installer back. For a hands-on check, call (888) 300-3906 – the estimate is free.
Because it’s almost certainly pushing a gate that isn’t balanced – which is an installation problem, not a motor problem. Disconnect the opener and push the gate by hand through its full swing; if it drags, binds, or wants to swing back to one side, the gate is the issue. Report it to the installer before the opener’s own warranty expires. Call (888) 300-3906 if you’d like us to look at the gate and the motor together.
Hinge tension, latch alignment, and the small limit adjustments your manual spells out are usually safe for you to handle yourself – cleaning and lubrication are expected maintenance. Anything involving the post, welded joints, footing concrete or opener mounting should stay with the installer under warranty. Don’t back out bolts to “check” things – measure instead. A free second opinion on what’s covered costs you nothing; call (888) 300-3906.
The install date, contract or invoice number, a description of the problem with measurements, dated photos with the level in frame, a reference to the warranty terms, and a reasonable timeline request (two weeks is fair) – plus a request for written confirmation of the visit date. Keep it factual and friendly. If you want help putting it together, call (888) 300-3906 and we’ll walk through what to include.
Yes – faster than most new owners expect. Our shrink-swell soil moves with moisture, metal gates expand in the summer heat, and wind events push hard against a gate. A post that would hold in a cooler climate can be out of plumb within six to eight weeks here. If your gate only sticks in the afternoon heat, that’s the fit; if it moved after the first monsoon, that’s the footing. Call (888) 300-3906 for a free look before the 90-day mark passes.
The Bottom Line
Most of the problems you’ll see on a new gate in Spring Valley in the first 90 days aren’t bad luck – they’re install errors that got locked in before the concrete dried. The fix starts with knowing which is which: hinge tension, latch alignment and opener limits are tuning you can often handle; leaning posts, cracked footings, cracked welds and unbalanced gates are warranty work that needs the original installer back. Measure with a 4-foot level, photograph the result, and put your request in writing. That one step protects you when the contractor pushes back, and it’s the difference between a small tweak and a re-do. If it’s not done right, it should be made right – that’s the standard every install ought to be held to.
If you need a hand with a new gate that’s giving you trouble, or you’re looking at a repair instead of a re-do, Gatewood Fence & Gate Spring Valley home is the place to start. A live person answers every call, day or night – no voicemail, no queue – and every job comes with the 90-Day Done Right Promise in writing, $40 off any repair over $200, no trip charge inside the county, a free second opinion on any written estimate, and a permanent 10% discount for seniors and veterans.
Gatewood Fence & Gate Spring Valley
Call (888) 300-3906 for a free estimate. Upfront pricing, quoted and agreed before any work starts.
Written by the team at Gatewood Fence & Gate Spring Valley.