
Last updated November 18, 2026
 Wrought iron
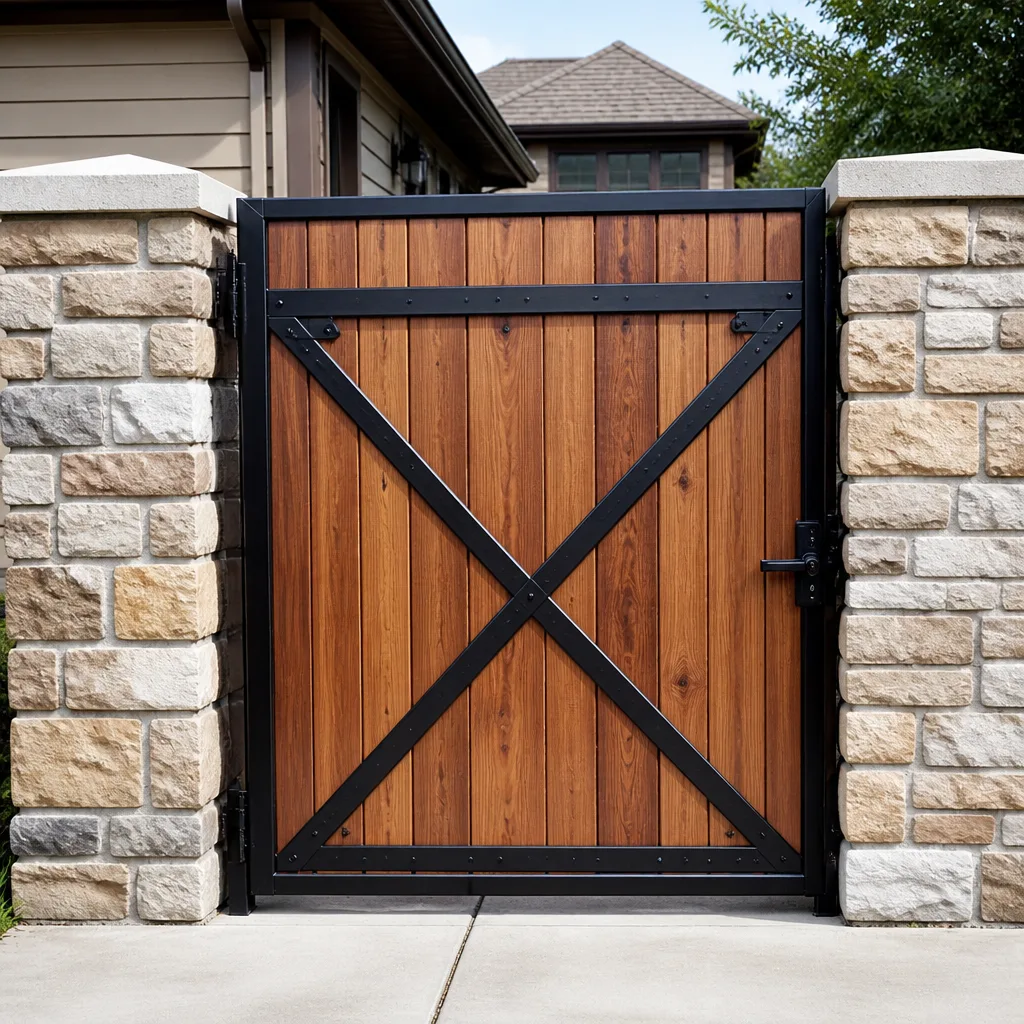 Wood & steel frame
 Farm & ranch
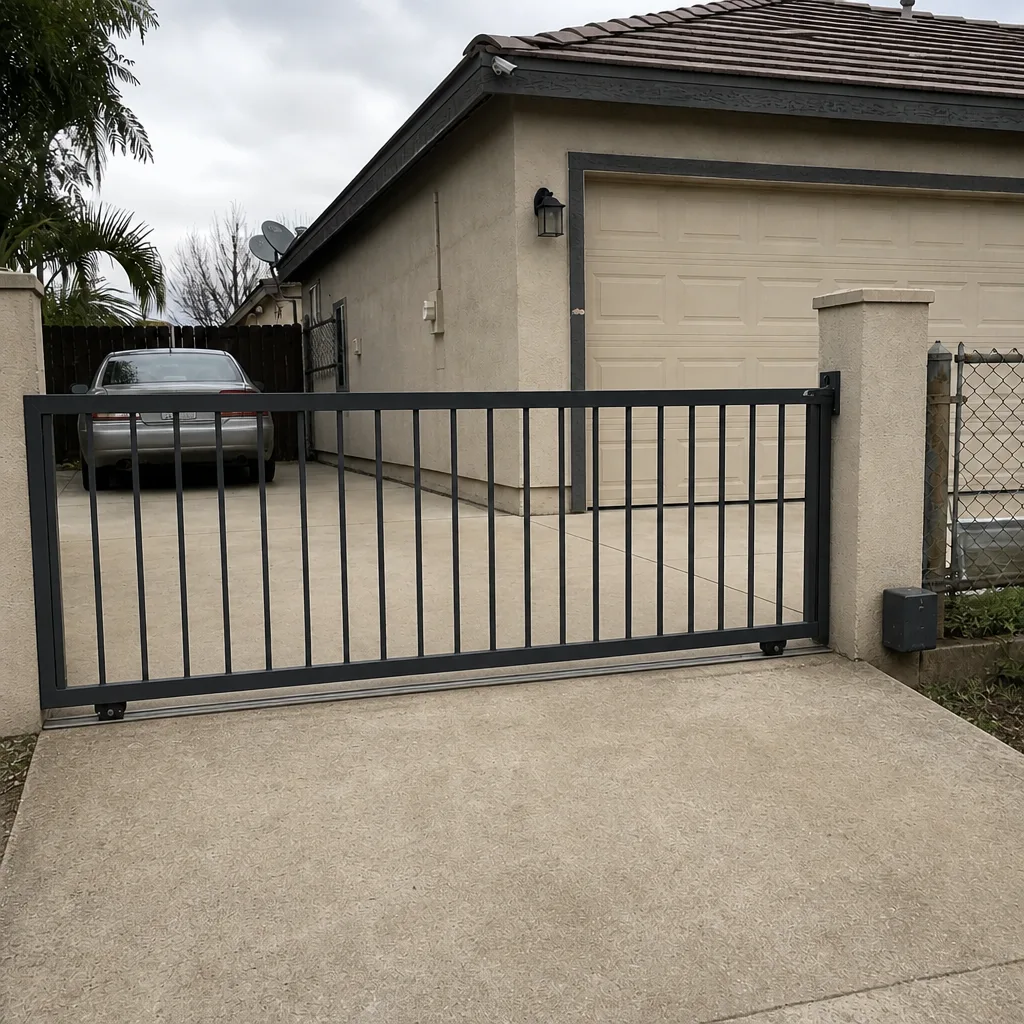
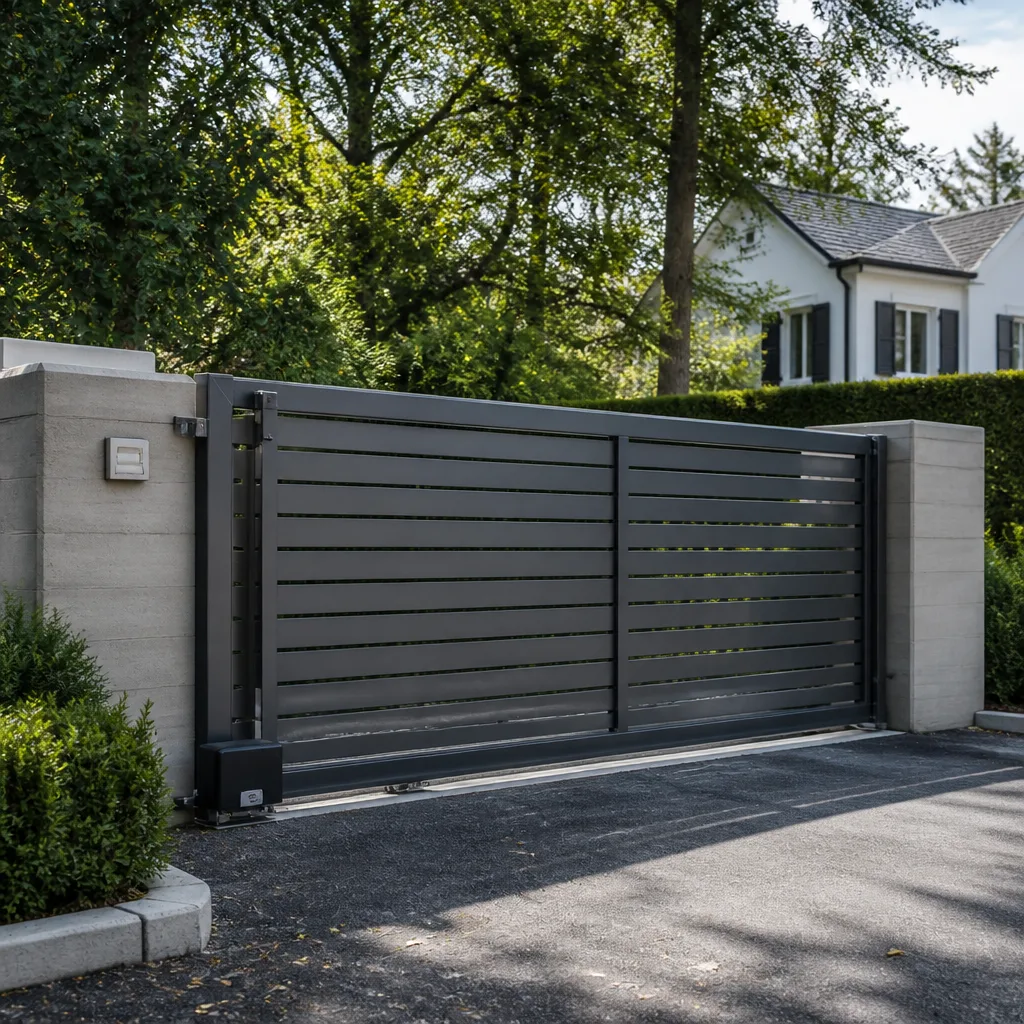 Sliding driveway gates
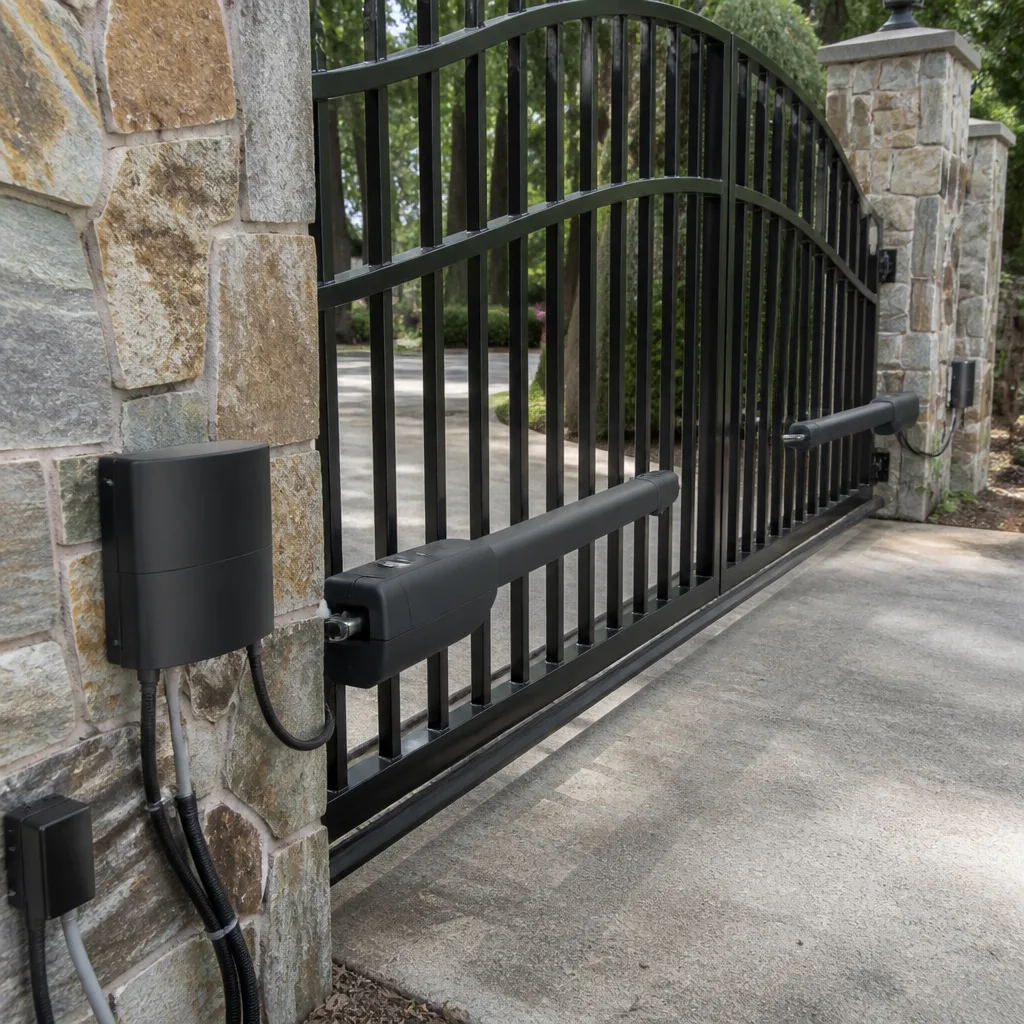 LiftMaster operators
Free on-site gate assessment - hinges, posts, and your LiftMaster or Nice gate operator checked before anything is quoted
The assessment is free and the quote is the invoice.
Get your free estimateGate Installation Maintenance Schedule: What to Do and When
Most installers hand you a gate and disappear. Nobody tells you that the first year is the most important maintenance window that gate will ever get, and nobody tells you why. Here’s what most homeowners never hear: the concrete footing is still curing to full strength for weeks after the crew pulls out, the hardware is seating under load for the first time, and the steel frame is expanding and contracting through its first full run of desert heat. The 30-day and 90-day checks after installation in Spring Valley are when you tighten what has worked loose – before that movement becomes a permanent misalignment that costs real money. This guide gives you a year-one timeline, what changes after year one, and how to keep records that actually help you later.
Quick Answer
A new gate should be inspected at 30 days, 90 days, 6 months, and 12 months after installation. The early checks tighten hardware that has worked loose as the footing cures and the frame settles. After year one, move to a twice-a-year schedule – spring and fall – with a closer look at hinges, welds, and opener limits. Catching a small shift in the first season is what separates a gate that lasts twenty years from one that needs re-work at year three.
Styles & brands we work with
- Wrought iron
- Wood & steel frame
- Farm & ranch
- Sliding driveway gates
- LiftMaster operators
Table of Contents
- The First-Year Maintenance Timeline
- The 30-Day Check
- The 90-Day Check
- The 6-Month Check
- The 12-Month Check
- Inspecting Welds in the First Season
- Opener Programming After the First Summer
- Long-Term Maintenance After Year One
- Keeping Records That Actually Help
- Common Mistakes to Avoid
- Frequently Asked Questions
The First-Year Maintenance Timeline
A gate is not finished when the last bolt goes in. It’s a mechanical system that has to settle into the ground it’s bolted to, and the settling happens mostly in the first twelve months. In our experience across Spring Valley, the gates that fail early are almost never built badly – they’re built fine and then left alone through the exact window when they needed eyes on them.
Here’s the timeline we walk every homeowner through after an install:
- Day 30: Tighten all hinge bolts, check the latch alignment, and look for any gap that has opened at the post.
- Day 90: Re-check hardware torque, inspect welds for surface rust, and adjust the opener if the gate has started to close at a slightly different angle.
- Month 6: Lubricate hinges and moving parts, confirm the footing hasn’t shifted, and test the safety reversal on any automatic opener.
- Month 12: Full inspection – look at hinges, welds, posts, opener limits, and finish, then set your twice-a-year schedule from that point forward.
That’s the short version. The rest of this guide walks through each check in detail, with the specific things to look for in Spring Valley conditions – because a gate set in caliche and baked through a Mojave summer behaves differently than a gate set in wet clay.
The 30-Day Check
Thirty days after installation, the concrete footing has cured enough to hold but the hardware has already been through a month of load cycles. Hinge bolts on a heavy gate will have backed off a fraction of a turn. A latch that closed clean on install day often sits a hair high or low now, because the gate has dropped a millimeter or two into its hinge.
What to do at 30 days:
- Torque every hinge bolt to spec – don’t just check by hand.
- Open and close the gate by hand (with the opener disengaged) and listen for a new squeak or rub.
- Look at the latch and strike plate – the gate should still latch with the same effort as install day.
- Check the post for any movement at the base. Put a hand on it and try to rock it. It shouldn’t budge.
- Snap a few photos of the hinges, welds, and posts for your records.
If anything feels loose, note it. On a new install with a warranty, this is exactly the kind of thing that gets fixed for free when you catch it at day 30. It’s the kind of thing that becomes your problem when you catch it at year three. For homeowners in Spring Valley, this is also the check that catches doors set on slopes before gravity has done its work – a gate that’s level at install but drifting on a slope will show you at 30 days.
The 90-Day Check
At 90 days, the footing is close to full strength, the frame has been through one real temperature swing, and the hardware has settled into its long-term positions. This is the check that matters most in the first year because it’s the last easy window before small movement becomes permanent.
Go through this list:
- Re-torque all hinge bolts and check the post anchor bolts.
- Test the gate’s full swing – it should open and close with the same effort as day 30.
- Inspect welds (more on this below) for the first sign of orange dust.
- Disengage the opener and confirm the gate moves freely by hand. If it drags, the hinges are seizing or the post has shifted.
- Re-check opener limits – especially if you have an automatic gate on a LiftMaster or FAAC operator.
Ninety days is also when we see the first real signs of what kind of ground the gate was set into. Spring Valley has stretches of caliche and decomposed granite where the footing holds beautifully, and stretches of fill or clay-heavy soil where the gate post will show a slight lean at 90 days. Catching that lean now means re-setting the post while it’s cheap. Catching it at year two usually means a full re-install of that post.
The 6-Month Check
By month six, the gate has been through its first full summer. In Spring Valley, that’s the check that gets overlooked and shouldn’t be. Desert heat is hard on a gate – the steel and aluminum frames expand, the wood moves, and the opener has been cycling far more than it did in the cooler install month.
What to do at 6 months:
- Lubricate every hinge, roller, and moving part with a lubricant rated for high heat.
- Test the safety reversal on any automatic opener – put a piece of wood in the path and confirm the gate stops and reverses.
- Look at the finish on the frame. Any area where the finish is breaking down is a place rust will start.
- Check the track on a sliding gate for grit and debris (Spring Valley wind moves a lot of dust).
- Confirm the footing – a light kick to the base of each post shouldn’t move it.
This is also a good moment to test the battery backup on your opener if it has one, and to test any keypad or remote you rely on daily. A remote that’s losing range at six months often means the receiver is on the way out – better to know now than when you’re pulling into the drive at night.
The 12-Month Check
The 12-month mark is the full annual service. Once you’ve completed it, you’ve graduated from first-year care to a long-term schedule – and the schedule gets simpler from here, not harder.
At 12 months:
- Full inspection of hinges, welds, posts, frame, and finish.
- Re-torque every fastener in the gate.
- Test the opener from end to end – limits, force sensitivity, safety edges, battery backup.
- Change the opener’s battery (or confirm it held through the first year).
- Update your maintenance record with anything you fixed or noticed during the year.
Twelve months is also the moment to decide whether the gate is behaving like it needs a professional tune or if it’s still tight and quiet. If you did your 30, 90, and 6-month checks, the answer is almost always “tight and quiet.” If you skipped them, this is when the accumulation shows up.
Inspecting Welds in the First Season
Welds on a new gate are the part most homeowners never look at, and they’re the part that tells you the most. The first season is when a weld either proves it was prepped properly or shows you it wasn’t – and if it’s the latter, you want to see it while it’s still a warranty claim rather than a repair bill.
What to look for on every weld:
- Orange dust or fine rust at the weld toe: this is the classic sign that the weld wasn’t properly cleaned before coating. The metal inside is oxidizing under the paint.
- Rust streaks running down from a weld: same story, further along.
- Bubbling or flaking paint around a weld: the coating is failing from underneath.
- Any hairline crack at the weld toe: rarer, but serious – stop using the gate and get it looked at.
Any of these in the first year is a warranty issue, not a maintenance issue. Surface rust on a properly prepped weld shouldn’t appear in the first twelve months in Spring Valley’s dry climate unless something went wrong in the coating process. We see this on gates from other installers more than we’d like – the fix is usually a wire-brush, rust converter, and recoat, but only if you catch it before the pitting goes deep. A weld that rusted at month four becomes a weld that’s been rusting for eight years by the time you notice at year eight.
Opener Programming After the First Summer
Here’s the thing nobody tells you about automatic gate openers: the limit switch settings that were perfect in April are often slightly wrong by October. It’s not the opener’s fault. It’s the gate. The frame expanded in July, the hinges wore in, the post settled a hair, and now the gate is travelling a quarter-inch further than it did when it was programmed.
That quarter-inch matters. It’s the difference between a gate that stops flush against the post and one that grinds against it every close. On a LiftMaster or FAAC operator it can also stress the motor and wear out the gear in ways that don’t show up for a year or two.
What to check after the first summer:
- Watch the gate open and close fully with no one in the drive. Note where it stops at each end.
- Compare that to how it behaved in April. If it’s short or overshooting by more than a hair, the limits need adjustment.
- Test the obstruction reversal – the gate should stop and reverse on any resistance.
- Check the force sensitivity if your opener has that setting. Desert heat can make a properly set force limit trip falsely in summer.
If you’re not comfortable adjusting an opener’s limits or force settings yourself, don’t – a misadjusted limit on a heavy gate can damage the operator or, worse, fail to reverse when it should. This is one of those jobs where a short service call is cheaper than the damage. Gatewood Fence & Gate handles Gate Motor & Opener in Spring Valley for exactly this reason – the adjustment is quick, but the consequences of getting it wrong aren’t.
Long-Term Maintenance After Year One
Once the first year is in the rearview, the schedule simplifies. You’re no longer watching the gate settle – you’re watching it age. That changes what you look for and how often.
The long-term schedule:
- Twice a year (spring and fall): lubricate hinges and moving parts, test the opener, and look at welds and finish. Spring is the critical one in Spring Valley – it’s when the winter-to-summer swing starts and when hinges that have been quietly wearing all winter show up.
- Once a year: a full service – torque every fastener, test all safety features, inspect the footing, and update the paint or coating where it’s worn.
- Every 3-5 years: a closer look at hinge wear, bearings on sliding gates, and opener components. This is also when you might need to replace rollers or hinge pins that have worn past their tolerance.
- Every 8-10 years (depending on use): expect to replace the opener’s battery backup and possibly the operator itself if it’s an entry-grade unit. Heavy gates on LiftMaster or Elite operators often last longer than the gate’s hinge hardware, but only if the limits were kept right.
The gate’s behavior tells you what it needs. A gate that suddenly needs a shove to close, or that sags at the free end, is telling you the hinge post has moved or the hinge has worn. A gate that’s started humming when it opens is telling you the opener is straining. The long-term schedule is mostly about noticing those signals before they turn into repairs.
Keeping Records That Actually Help
A maintenance record no one can read later isn’t a maintenance record. The point of keeping one is specific: when you sell the house, or make a warranty claim in year three, or want to know when the opener was last serviced, the record should answer the question in thirty seconds.
Here’s a format that works:
- One page per year, kept in a binder (or a shared digital folder): at the top, the install date, the gate brand and model, the opener brand and model, and the installer’s name and contact.
- A dated entry for each check: what you did, what you found, and what you fixed. “30-day check, Aug 12: hinge bolts needed re-torque, latch high by 1/8″, adjusted.”
- Photos per entry: a shot of each hinge, the gate post base, any weld you’re watching, and the opener label. Date-stamp them.
- Receipts and warranty paperwork in the same folder: the install invoice, the manufacturer warranty cards, and any service receipts.
If you sell the house in year seven, that one-page history is worth real money at the closing table – a buyer looking at a fifteen-year-old gate wants to see it was maintained, not hear it was. If you ever need to make a warranty claim, the photo-dated record of what you found and when is what makes the claim straightforward instead of an argument. And if you ever have a new installer out, the record tells them what’s already been done so they don’t re-do it or skip it.
If you’d rather hand off the record-keeping entirely, we keep a job file on every install and every repair for exactly this reason. When someone calls us five years after a Gate Installation in Spring Valley, we can pull the file and know what they’re working with.
Common Mistakes to Avoid
- Treating the install as the finish line. The install is the beginning of the maintenance schedule, not the end of the work. Most gates that fail early were fine at install and forgotten afterward.
- Skipping the 30-day check because “it’s brand new.” The 30-day check is when hardware that has backed off under load gets caught. Waiting until month six means living with a misalignment for five months.
- Assuming a rust spot is nothing. In Spring Valley’s dry climate, a new weld shouldn’t show surface rust in the first year. If it does, that’s a coating prep problem and it’s a warranty claim – but only if you report it while the warranty covers it.
- Adjusting the opener’s limits without checking the gate first. If the gate’s limits changed, it’s usually because the gate moved, not the opener. Adjust the opener to fit a gate that’s out of alignment and you’ll be back in six months for the same job.
- Lubricating with the wrong product. A light household oil on a hinge that sees daily Sun exposure will burn off or gum up. Use a high-temperature lubricant rated for outdoor use.
- Keeping records in your head. The install date, the opener brand, the day you noticed the weld rust – if it’s not written down, in three years it’ll be a guess. A photo-dated record is what makes a warranty claim a claim instead of a negotiation.
- Assuming “warranty” means “they’ll come back whenever.” A warranty covers defects, not maintenance. If the gate failed because hardware wasn’t tightened at 30 days, that’s on the schedule, not the warranty. The 90-Day Done Right Promise covers the work itself – if it wasn’t done right, we make it right. But the schedule still has to happen.
See the difference
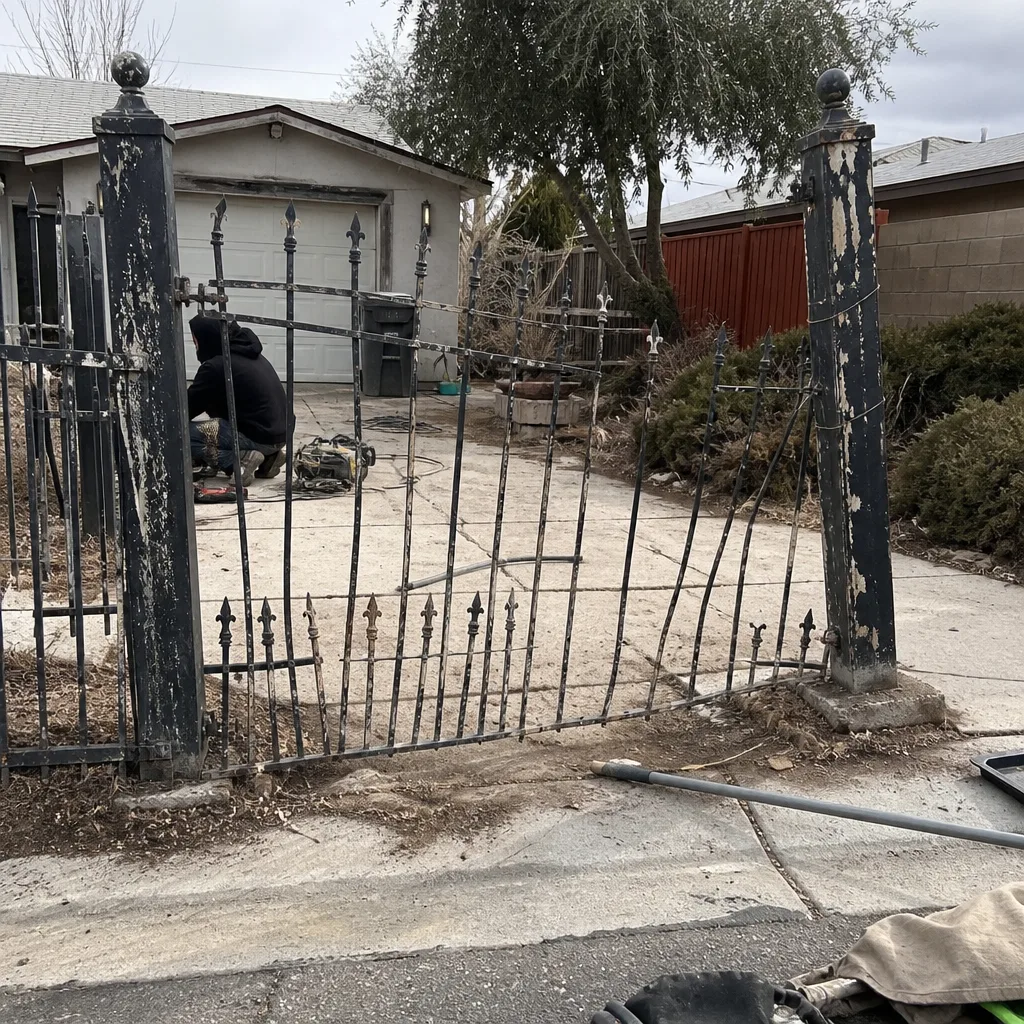 Before
 After
 Before
 After
 Before
 After
When to Call a Professional
Most of the first-year checks are things a homeowner can do with a socket set and a flashlight. A few aren’t. Call a professional if you find any crack at a weld toe, if a gate post shows visible lean or movement at the base more than 90 days after install, if the opener fails a safety reversal test, or if your gate suddenly sags or stops closing flush against the post. Those are the signals that the gate’s structure has moved in a way that needs real diagnosis, not just a wrench.
We also get called for the “is this normal” questions – a hinge that squeaks in the cold, a gate that hums when it opens, a rivet that’s loosened on a Mighty Mule arm. Those are usually quick answers and worth a call before they become repairs. Gatewood Fence & Gate Spring Valley offers free estimates in Spring Valley – call (888) 300-3906. We also offer a free second opinion on any written estimate if another installer has quoted you work you’re not sure you need. Our Gate Repair in Spring Valley service covers the diagnostic side of this if you’re past the point of checking things yourself.
Frequently Asked Questions
Thirty days after installation is the first meaningful check. At that point the hardware has been through a month of load cycles and hinge bolts have often backed off slightly. The 30-day check catches those shifts before they become permanent misalignment. The 90-day check is the second important one, once the footing has cured closer to full strength and the frame has been through a real temperature swing.
Yes. The 90-day check is when you catch a post that’s starting to lean on fill soil or a gate that’s begun to drag on its hinges. Both look fine at day 90 and cost real money to fix at year two. In Spring Valley we see the post-lean issue most often on gates set into decomposed granite or fill – a footing that was straight at install can show a lean at 90 days that would have been easy to correct and isn’t by month twelve.
Because the gate frame and hardware change over the first summer. Metal expands in the heat, hinges wear in, and the gate can travel slightly further than it did when the opener was programmed. On a LiftMaster or FAAC operator, that quarter-inch shift is enough to make the gate grind against the post on close or trip the motor. Adjust the opener to match the way the gate moves now – not the way it moved in spring.
Look for orange dust or fine rust right at the edge of the weld, rust streaks running down from a weld, or bubbling and flaking paint around the weld. In Spring Valley’s dry climate, a properly prepped weld shouldn’t show surface rust in the first year. If it does, that’s a coating prep issue and it’s a warranty claim – report it and document it with a date-stamped photo while the claim is straightforward. A crack at the weld toe is more serious; stop using the gate and have it looked at.
Twice-a-year lubrication and inspection (spring and fall), a full annual service that includes torquing fasteners and testing all safety features, and a closer look at hinges, bearings, and opener components every three to five years. Spring is the most important check in Spring Valley because it’s when the winter-to-summer temperature swing starts and when hinges that wore through winter show up. The schedule gets simpler after year one, but the gate still tells you when it needs attention – listen for new noises, dragging, or a gate that no longer closes flush.
Call the installer while it’s still a warranty matter. A gate that misaligns in the first six months is almost always the footing, the hinge post, or hardware that was never tightened – all of which should be covered under install warranty. Document what you see with photos and dates before you call. For Spring Valley homeowners, we offer a free second opinion on any written estimate if you’ve been quoted a full reinstall for what might be a repair. If the problem is a post that has to come out, we handle Gate Repair in Spring Valley with on-site welding – the gate stays in your driveway, not in our shop.
The Bottom Line
The first year is the window that matters. Check the gate at 30 days, 90 days, 6 months, and 12 months, and you catch the settling – the loose hinge bolts, the drifting post, the weld that rusted because the coating prep was off – while it’s still a warranty claim rather than a repair. After year one, the schedule simplifies to twice-a-year lubrication and inspection with a full service once annually. Keep a written, photo-dated record of every check. The record itself is worth money at resale and is the difference between a warranty claim that’s straightforward and one that isn’t.
If you’re in Spring Valley and want a professional eye on a new install, an annual tune, or a second opinion before you commit to a repair, call Gatewood Fence & Gate Spring Valley at (888) 300-3906 for a free estimate. We’re happy to be the ones who tell you the gate is fine, just as much as the ones who tell you it isn’t.
Written by the team at Gatewood Fence & Gate Spring Valley.