
Last updated November 18, 2026
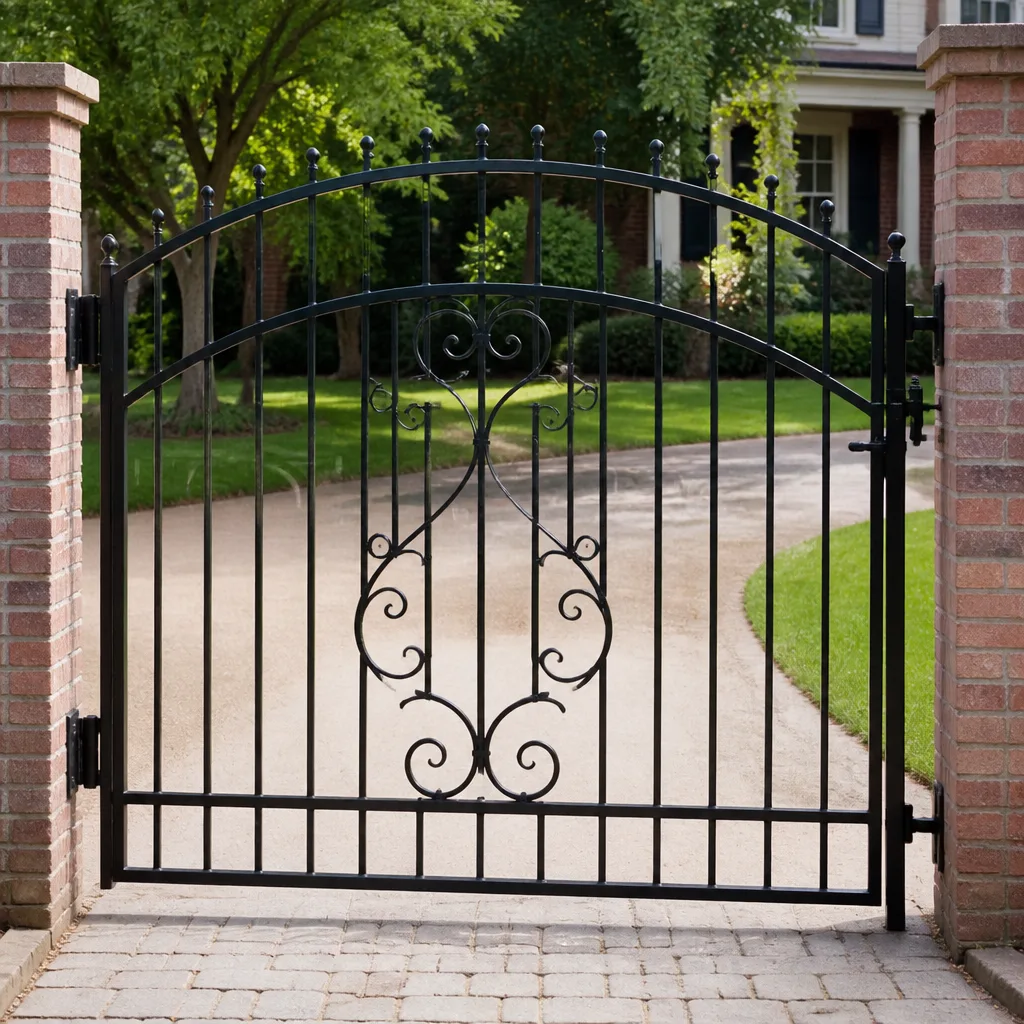 Wrought iron
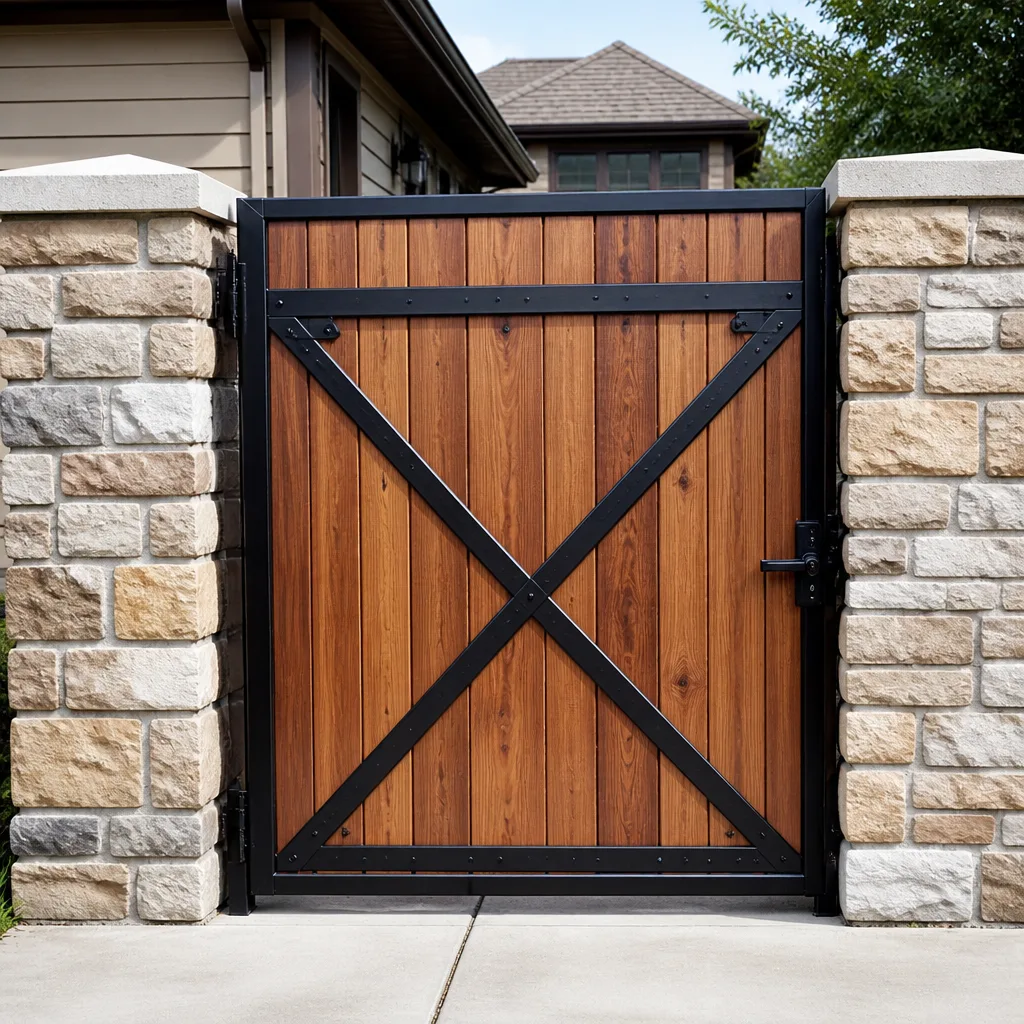 Wood & steel frame
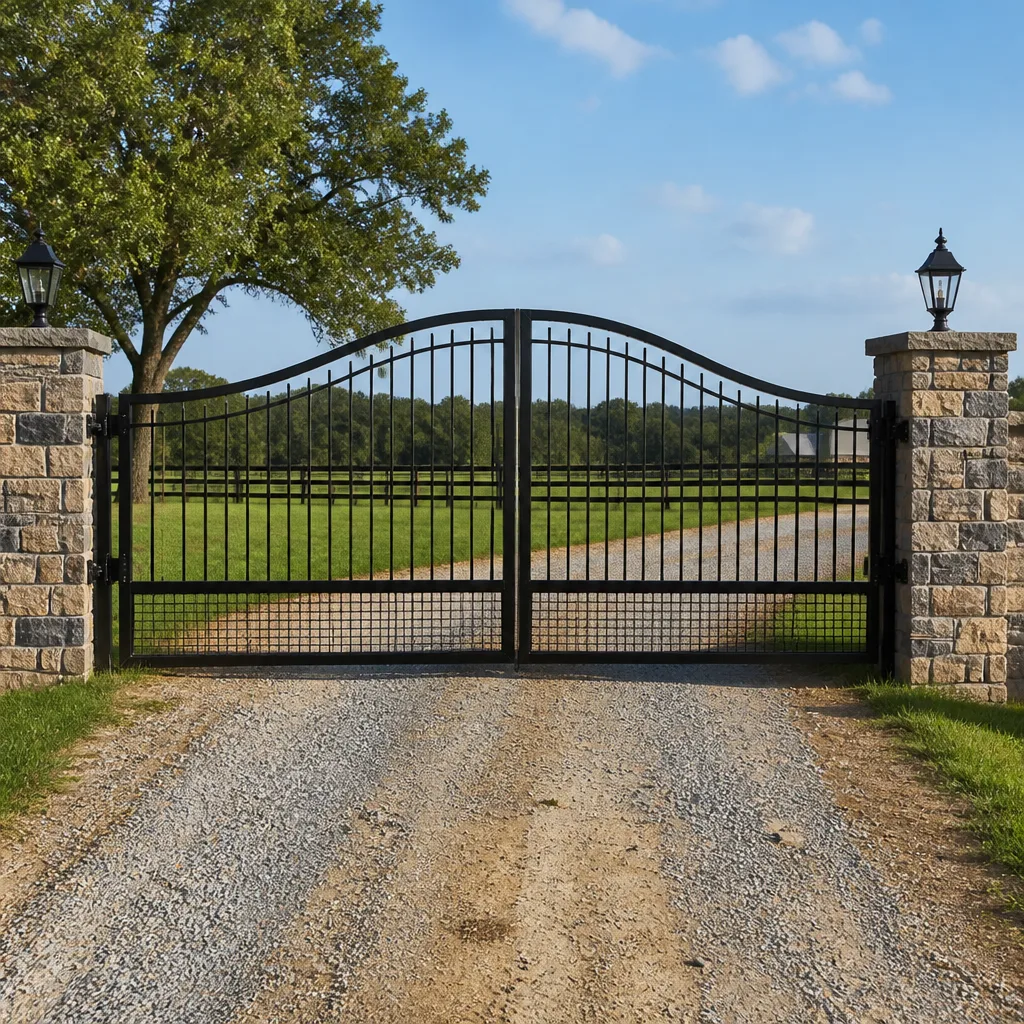 Farm & ranch
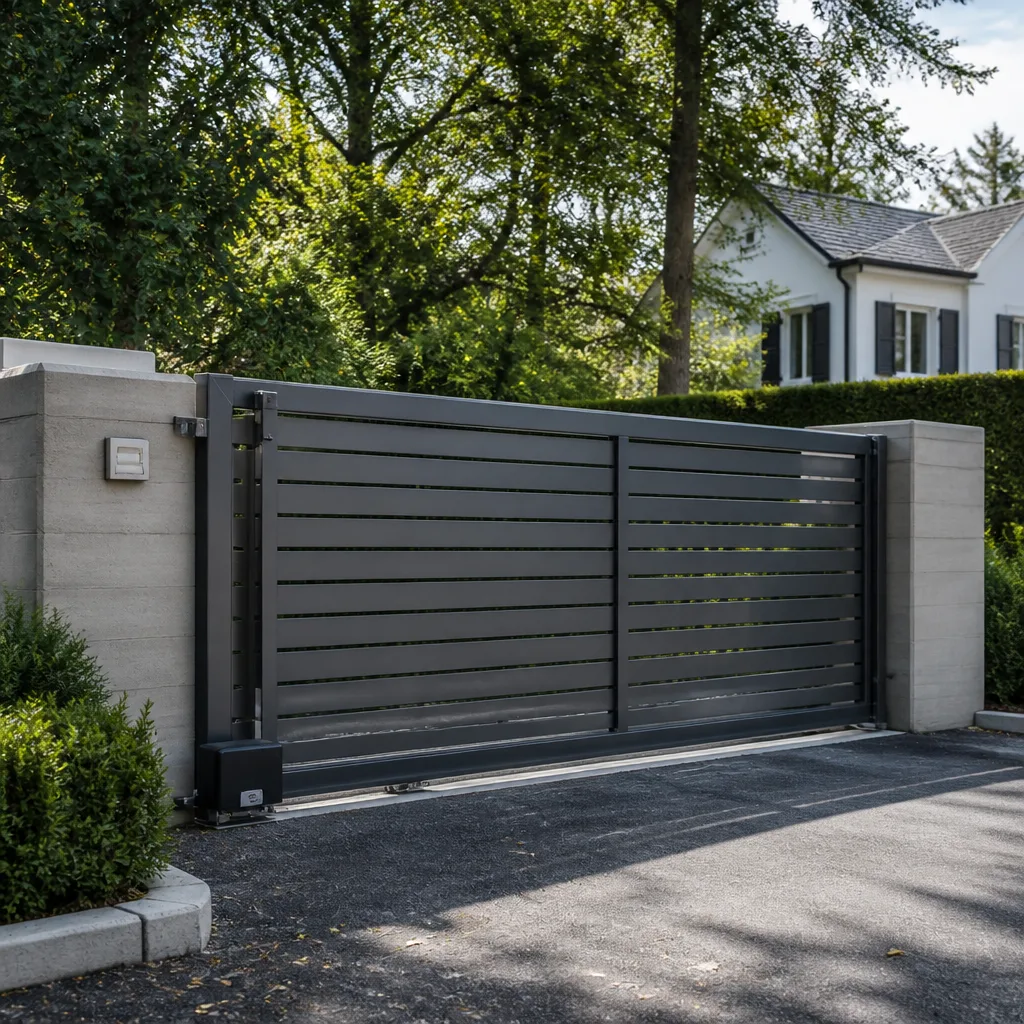 Sliding driveway gates
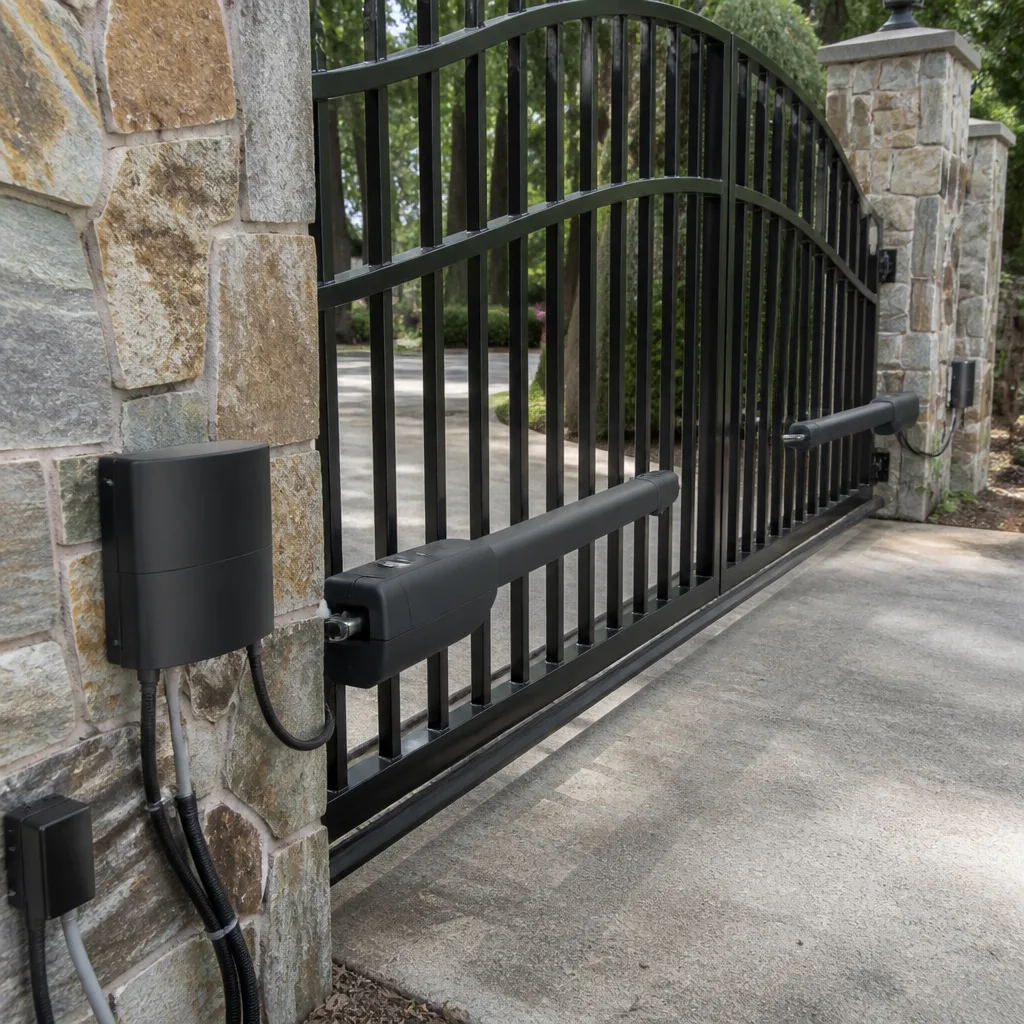 LiftMaster operators
Free on-site gate assessment - hinges, posts, and your LiftMaster or Nice gate operator checked before anything is quoted
The assessment is free and the quote is the invoice.
Get your free estimateGate Parts & Welding Maintenance Schedule: What to Do and When
Hinge pins in a residential gate see more cycles in one year than most people realize. A gate opened and closed four times a day racks up over 1,400 cycles annually, and an un-lubricated pin shows measurable wear at 18 months whether the gate looks fine or not. That is the part nobody tells you: the gate looks solid right up until the day it drops. Gate hardware doesn’t wear evenly. Hinges, welds, posts, and latches each decay on their own timeline, and a one-size maintenance interval misses the parts that fail fastest. This schedule for Spring Valley walks you through which component to check in which month, and exactly what you’re looking for.
Quick Answer
Check your gate’s hardware monthly with a two-minute walkaround, lubricate hinge pins and latches every three to six months, inspect welds and hinge posts twice a year, and schedule a full professional inspection every 12 months. In Spring Valley’s temperature swings, welds near the hinge post deserve a look every six months, not once a year, because metal that expands and contracts through a desert day-night cycle works those joints harder than a mild-climate gate ever will.
Styles & brands we work with
- Wrought iron
- Wood & steel frame
- Farm & ranch
- Sliding driveway gates
- LiftMaster operators
Table of Contents
- Why gate parts don’t wear evenly
- The two-minute monthly check that catches most problems
- What proper lubrication actually means
- Welds and why Spring Valley heat matters
- Posts and hinge anchors: the foundation nobody checks
- Hardware and operator-specific intervals by brand
- Documenting condition with a phone photo
- The full 12-month schedule at a glance
Why Gate Parts Don’t Wear Evenly
Most maintenance advice treats a gate like a car: one interval, one checklist. That’s wrong, and it’s why so many gates fail on parts their owners were faithfully “checking.” Every component on a gate has its own failure clock, and the clocks don’t run at the same speed.
Think about what each part actually does all day:
- Hinge pins take the full swing load. They rotate constantly and lose grease first. Wear shows up in months, not years.
- Welds sit still, but they carry vibration and thermal stress. They crack slowly and quietly, then all at once.
- Posts are underground. They rot, heave, or lean, and you won’t see it until the gate drags.
- Latches, stops, and rollers cycle on every open and close and go out of adjustment fastest.
Which means the two-minute monthly walkaround on your gate in Spring Valley is chasing hinges and latches, while the twice-yearly inspection is chasing welds and posts. Mix those up and you’ll spend all your effort on the wrong end of the gate. The parts that fail fastest are rarely the parts people look at.
If you only remember one thing: a gate sags in the hinge post, not in the middle. That’s where we start every inspection, and it’s where the calendar below starts too.
The Two-Minute Monthly Check That Catches Most Problems
Here’s the check we recommend to every customer, and it takes two minutes if you don’t rush it. Do it on the same day every month so you don’t forget. First Saturday works for most folks.
- Open and close the gate slowly by hand. Listen. A squeak, a grind, or a click you didn’t hear last month is a signal. Note where it comes from.
- Lift the gate slightly at the latch end. If it moves up more than a quarter inch before the hinge resists, the pins are worn or loose.
- Look at the hinge pins. Rust streaks, shiny metal dust, or grease that has turned to paste means it’s time to lubricate or replace.
- Push the gate side-to-side at the latch. Any wobble in the post means the anchor is loosening.
- Check the latch engagement. The gate should catch cleanly, without you lifting or shoving it.
In our experience, that five-step check catches roughly 70% of the hardware problems that turn into repair calls. A worn hinge pin caught in month two is a five-dollar part and ten minutes of work. The same pin caught in month eighteen usually means a bent hinge, a stressed weld, and a sagging gate. Fix the panel without the post and you’ll fix it twice. The monthly look is what keeps you ahead of that.
The check also tells you when it’s worth calling. If you find movement in the post or a crack near a weld, stop and treat it as a professional job. Those are the two areas where handyman fixes tend to make things worse.
What Proper Lubrication Actually Means
“Just oil it” is the laziest advice in gate maintenance, and it’s how people end up with a hinge packed with gritty paste that grinds the pin faster than no grease at all. Proper lubrication is specific about product, quantity, and location.
Product. Use a lithium grease or a silicone-based spray for hinge pins, and a dry PTFE (Teflon) spray for latches and rollers. Skip WD-40 as a lubricant; it’s a solvent and water displacer, not a long-term grease. It’ll quiet a squeak for a week and then leave the pin dry. For exterior gates in Spring Valley, where dust blows in off the desert and settles into every open joint, a grease that holds up to grit is what you want.
Quantity. Less than you think. A hinge pin needs a light film, not a glob. Over-greasing attracts dust, which turns into an abrasive paste. Two short bursts per pin is plenty.
Location. This is where people get it wrong. Grease goes on the pin itself, at the top and bottom of the barrel, so it works its way down into the joint. Not on the hinge plate, not on the weld, not sprayed across the whole hinge assembly. Latches get a light dry-film coat on the moving parts only, and rollers get a tiny amount on the axle, not the rolling surface.
Lubricate hinge pins and latches every three to six months, and more often if the gate gets heavy use. If you can see the pin is dry, you waited too long. A gate repair visit in Spring Valley often starts with a seized hinge that a little attention in month three would have prevented.
Welds, and Why Spring Valley Heat Matters
Welds don’t wear like hinges. They crack. And cracks in a gate weld start small and grow quietly until the joint lets go.
Spring Valley’s temperature range works against you here. A summer day can top 100°F and drop forty degrees or more overnight. Metal expands and contracts through that cycle every single day, and each cycle puts a tiny bit of stress on every weld and every bolted joint. A gate in a mild coastal climate might see fifty significant thermal swings a year. A gate in Spring Valley sees that many in a few months. That’s why we recommend inspecting welds twice a year here instead of once, especially near the hinge post, where thermal stress stacks up with the swing load.
When you inspect a weld, look for:
- Hairline cracks at the toe of the weld, where the bead meets the base metal. Use a flashlight and look sideways across the joint.
- Rust bloom at a weld seam. Rust coming out of a crack means water is getting in; the crack is already there.
- Paint cracking in a straight line across the joint. Paint is more brittle than steel and cracks first.
- Movement under load – have someone gently push the gate while you watch the weld. Any flex at the joint is a warning.
On-site welding is the honest fix for a cracked weld, because you don’t have to haul the gate off to a shop. If you’re seeing cracks in more than one place, that’s the point to call for a proper look. Gatewood Fence & Gate can weld the gate right in your driveway, and every weld job comes with the written 90-Day Done Right Promise.
Posts and Hinge Anchors: The Foundation Nobody Checks
Everyone looks at the gate. Almost nobody looks at the post. And the post is where the whole thing lives or dies.
A gate post carries more load than any other part of the system. It holds the hinge, takes the swing, and resists the lever force of the whole gate panel. When it moves, everything downstream starts failing: hinges wear fast because they’re fighting the lean, welds crack because the frame is being twisted, and the latch goes out of alignment because the gate no longer swings level.
Check the hinge post at each twice-yearly inspection:
- Push hard on the top of the post. Any movement at all means the footing is compromised.
- Look at the base. Water pooling, cracking concrete at the footer, or a dirt line where the soil has shifted means the foundation is working.
- Check the anchor bolts. Loose bolts are common on older installs. A torque check catches them before they fail.
- Look for rust at the ground line. That’s where steel posts like to rust from the inside out.
If you find movement, resist the urge to tighten everything down and call it done. A moving post needs to be diagnosed properly, and sometimes that means a new footing. A gate installation in Spring Valley done right usually means the post work was done right first. That’s the part nobody sees after the job is finished, and it’s the part that determines whether the gate lasts five years or twenty.
Hardware and Operator-Specific Intervals by Brand
The mechanical hardware on a manual gate runs on the schedule above. Automated gates add an operator motor and its accessories, and those have their own maintenance calendar. If your gate has a motor on it, the operator needs a check alongside the gate parts.
Most of the operators we service fall into a few families, and each has its own quirks:
- Mighty Mule swing operators benefit from a check on the arm bearings and limit-switch alignment every six months. The arms work hard and the switches drift.
- LiftMaster operators want a look at the battery backup and the gearbox grease at annual service. Their control boards are reliable, but the batteries are the weak point.
- FAAC and BFT operators (common on heavier swing gates) want the hydraulic oil checked yearly and the bypass pressure verified. These are solid units, but hydraulic swing operators hide their wear inside the casing.
Whatever the brand, a gate motor and opener service in Spring Valley should include a check that the gate can be opened by hand with the motor disengaged. If it can’t, the gate is binding, and the motor is doing the work your hinges should be doing. That’s how operators get killed early. We’re certified on nine major brands, so the schedule for your specific unit is something we can check during a service visit.
Safety sensors and photo-eyes deserve their own note: test them monthly. Walk into the beam and confirm the gate reverses. That’s a five-second test that most gate owners never do.
Documenting Condition With a Phone Photo
Here’s the habit that pays off more than any other: take a photo of your gate hardware once a year and keep it. Same angle, same light, same time of day. Store it in a folder labeled with the year.
Why it matters: memory is unreliable. When a weld starts to crack, you’ll wonder whether it was already there last year. A photo from twelve months ago settles it in ten seconds. It also gives you something to show a professional when you call. “Here’s what it looked like last summer, here’s what it looks like now” is worth more than a paragraph of description over the phone.
Photograph four specific things:
- The top and bottom of each hinge post, with something for scale (a coin or your hand) in the frame.
- Each visible weld at the top and bottom rail, close enough to see the toe of the weld.
- The base of the hinge post where it meets concrete or soil.
- The latch and the top of the gate where it meets the post.
Two minutes a year, and you’ll have a documented history of your gate. If something does fail, you can prove when it started, which matters if someone’s workmanship is in question. And when you call about a repair, having those photos in hand makes the diagnosis faster and the estimate more accurate. Our Gatewood Fence & Gate Spring Valley home page has the details on how we handle a service call, photos or not.
The Full 12-Month Schedule at a Glance
Here’s the whole thing rolled into one calendar you can stick on the fridge. Every item assumes a residential swing or slide gate in Spring Valley.
Every month (2 minutes): Open and close slowly by hand, listen. Lift at the latch, check hinge pin play. Push side-to-side at the latch. Check latch engagement. Test photo-eyes and reverse on automated gates.
Every three months (15 minutes): Lubricate hinge pins and latches with lithium grease or dry PTFE. Check the gate for new rust streaks. Clear debris from the gate track (slide gates) or the ground below the swing arc.
Every six months (30 minutes): Inspect welds with a flashlight, especially at the hinge post. Push test the posts. Check anchor bolts. Verify the gate swings freely with the motor disengaged. On Mighty Mule and similar operators, check arm bearings and limit switches.
Every 12 months (1 hour, or a professional visit): Full condition photo. Hydraulic oil check on FAAC and BFT operators. Battery check on LiftMaster. Fresh lubrication on all hardware. Full visual of everything on the gate and operator. This is where you catch the slow stuff that a monthly walkaround misses.
If you want the annual visit handled by someone who knows what to look for, we’ll come out and do it right. The repair-first approach at Gatewood means we tell you what’s actually worn and what has more life in it, rather than swapping parts to run up a bill.
Common Mistakes to Avoid
- Greasing the whole hinge instead of the pin. Grease on the plate does nothing, and it collects dust that turns into an abrasive paste. Put the product where the motion is.
- Ignoring the hinge post because the gate looks fine. A post can lean for a year without obvious symptoms, then one day the gate won’t latch. Check the post twice a year, every year.
- Painting over a crack instead of fixing it. Paint hides a hairline crack for a season and then the weld fails with a fresh coat on it. If you see a crack, stop and address the joint.
- Using WD-40 as a lubricant. It displaces water and quiets a squeak for a week, but it leaves the pin dry. Use actual grease.
- Running the operator with a binding gate. If the motor has to work to move the panel, the operator is wearing fast. Fix the binding first, not the motor.
- Assuming a national company’s maintenance plan covers welded repairs. Most don’t do on-site welding. If they can’t weld, a cracked joint means a replacement.
- Never documenting condition. Without a baseline photo, every “was that there last year?” question becomes guesswork. Take the photo.
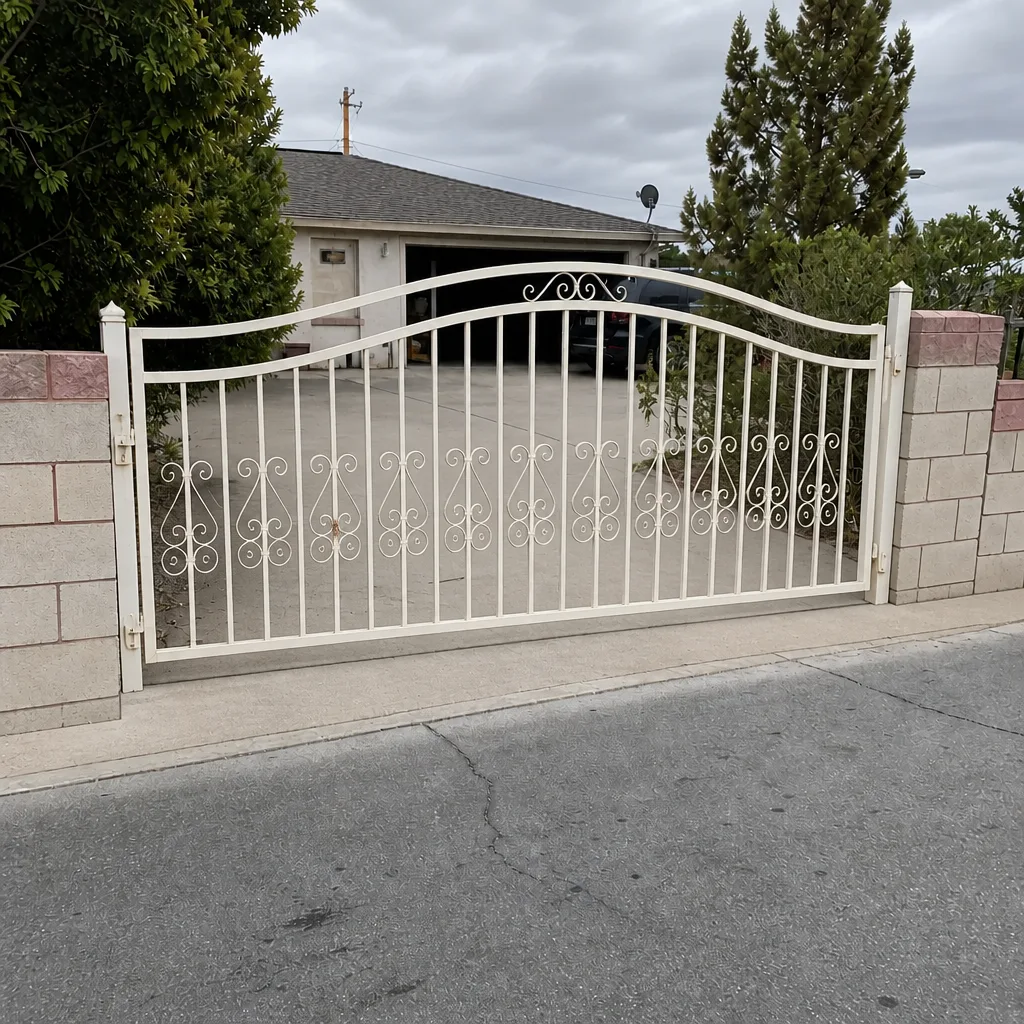
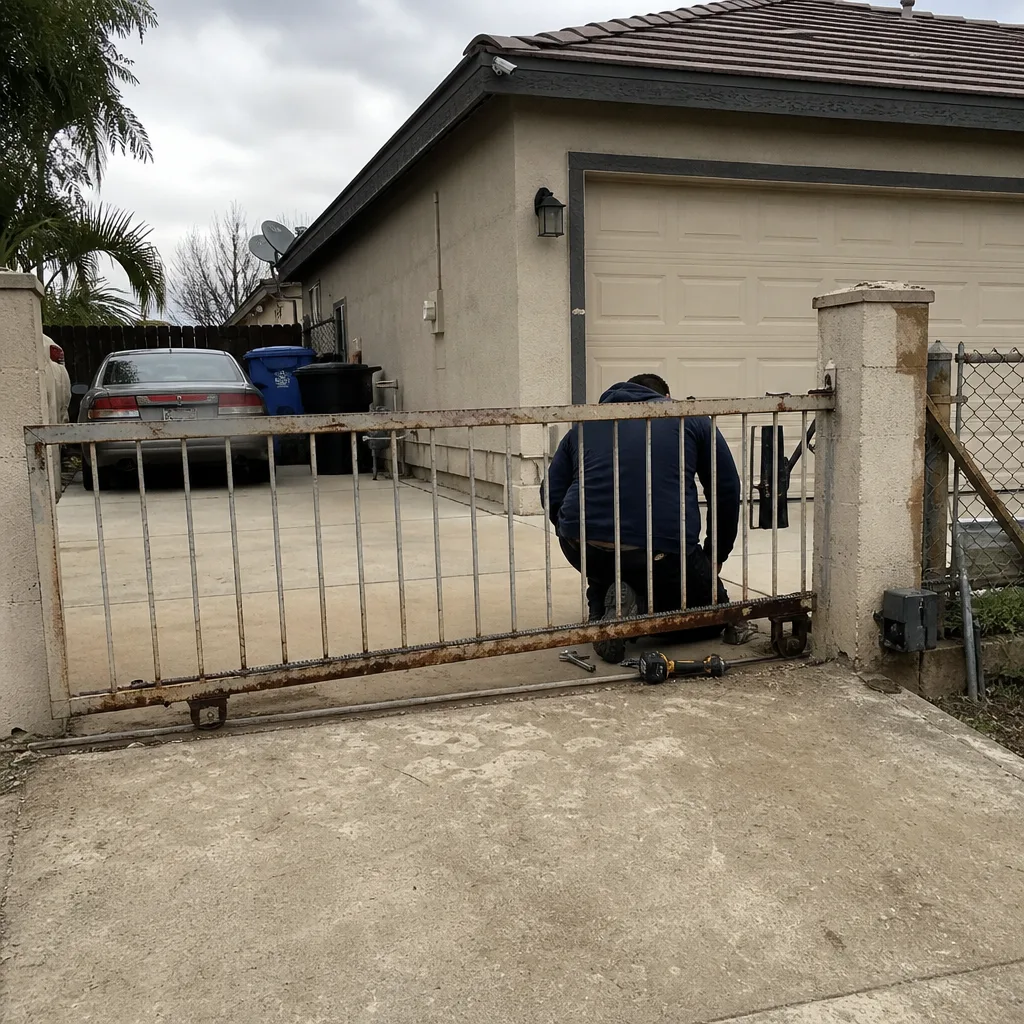
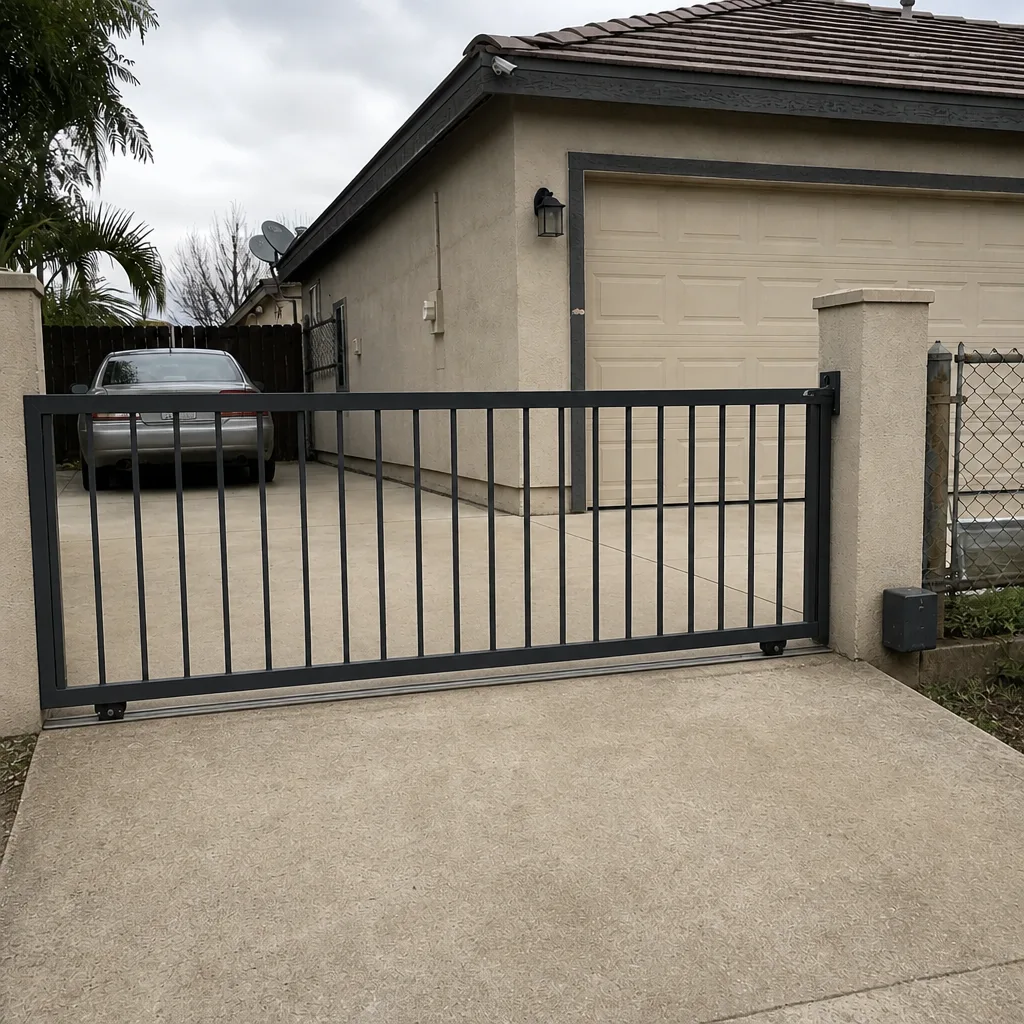
See the difference
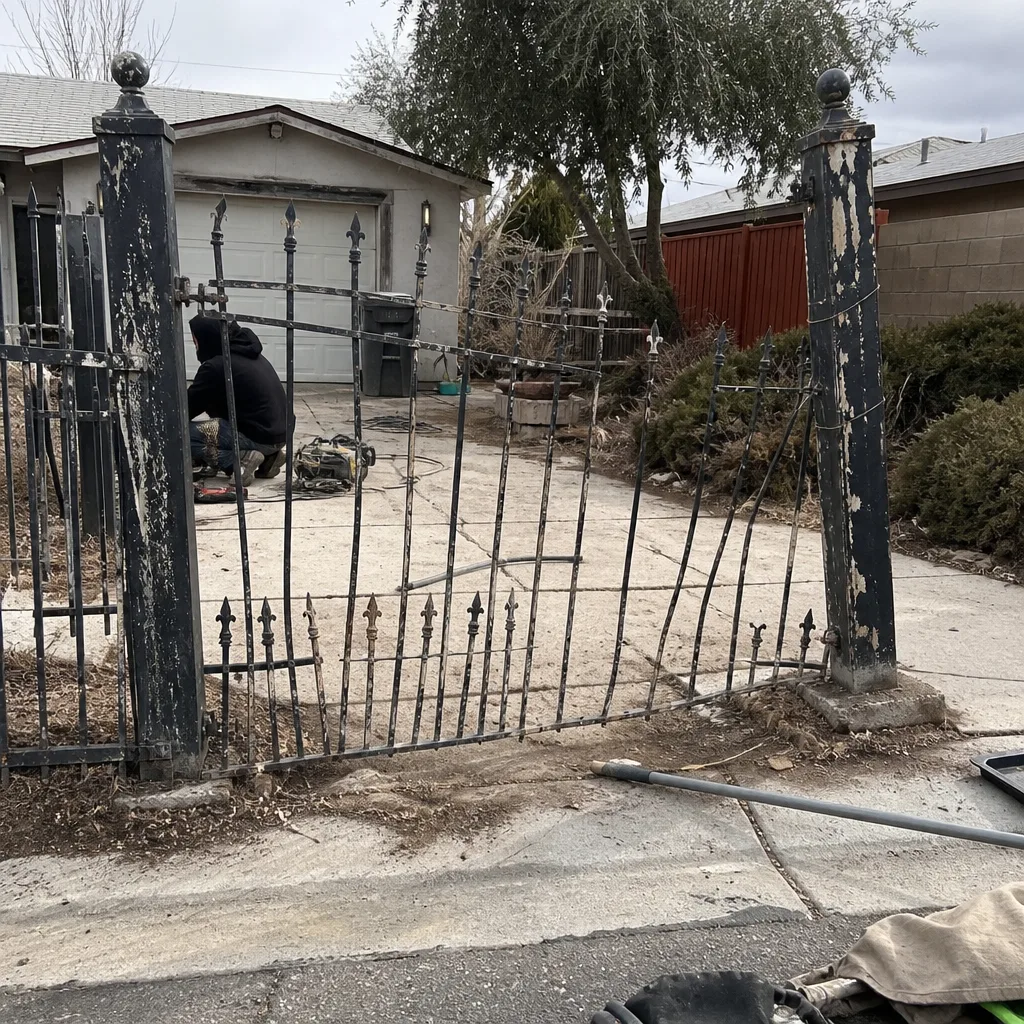 Before
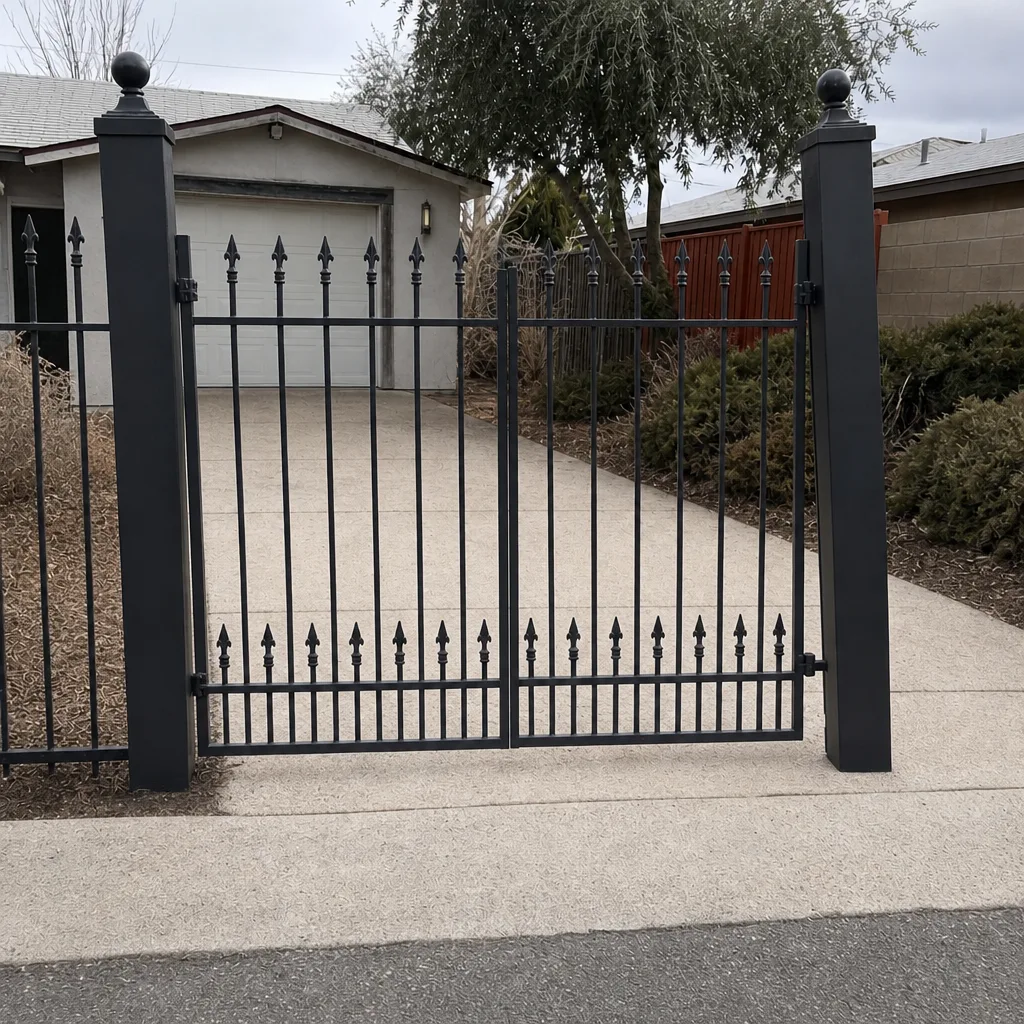 After
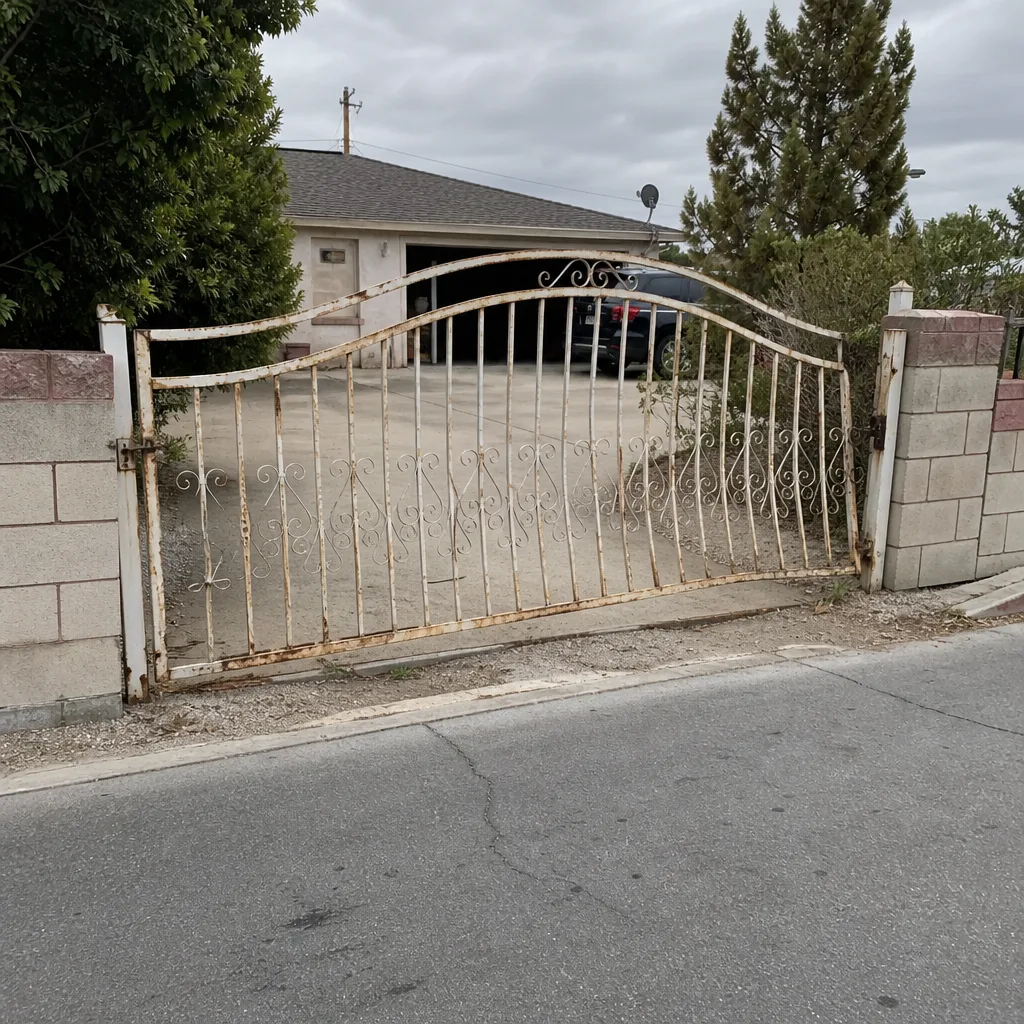 Before
 After
 Before
 After
When to Call a Professional
Some things you can check yourself. Some things you shouldn’t touch. Call for help if you find any of these: a hinge post that moves under hand pressure, cracks in more than one weld, a gate that drags on the ground or lifts more than a quarter inch at the latch, an operator that reverses unpredictably, or anything that involves the electrical connection to a motor or access-control keypad. Those are the jobs where handyman work usually costs more than it saves, and where a proper look from someone trained on gates is worth the call.
Gatewood Fence & Gate is locally owned and owner-operated, and calls are answered by a live person 24/7 – not voicemail, not a dispatch queue. Estimates are free, and the price is quoted and agreed before any work starts. Standing offers cover $40 off any repair over $200, no trip charge inside the county, and 10% off for seniors and veterans. For gate parts and welding maintenance in Spring Valley, call (888) 300-3906 for a free estimate.
Frequently Asked Questions
Every three to six months, and more often on a gate that’s opened many times a day. Spring Valley’s dust means lubricant dries out and gets contaminated faster than in a humid climate, so the three-month interval is the safer default on an outdoor gate. Use lithium grease on the pin itself, at both ends of the barrel, not on the plate.
Look for hairline cracks at the toe of the weld, rust bleeding out of a seam, or a straight paint crack across the joint. Push the gate gently while you watch the weld; any flex at the joint is a warning. A cracked weld near the hinge post is a professional fix, not a DIY one, because that joint carries the full swing load.
Yes. The daily expansion and contraction from a 40-degree overnight swing in Spring Valley puts repeated thermal stress on every weld and bolted joint. Over a year, that adds up to more stress cycles than a milder climate produces in several. That’s why we recommend inspecting welds every six months here rather than the once-yearly schedule you’d use in a coastal climate.
A monthly check is a two-minute walkaround you do yourself. A full maintenance visit is a pro inspection of the welds, posts, anchors, hardware, and operator together, with lubrication and adjustment. The monthly check catches the fast-wearing parts; the annual visit catches the slow stuff that hides behind them. Both matter, and neither replaces the other.
The gate hardware schedule is the same; the operator adds a separate layer. Automated gates need the motor’s own maintenance on top: battery and grease on LiftMaster units, hydraulic oil on FAAC and BFT operators, arm bearings on Mighty Mule. Automated gates also need a monthly safety-reverse test and a check that the gate opens freely by hand with the motor disengaged.
Yes. On-site welding is a core part of what we do, so the gate stays in your driveway and you keep your property secure while the work is done. Every weld job carries the written 90-Day Done Right Promise. Call (888) 300-3906 to set up a free estimate for a weld repair or a full maintenance visit.
The Bottom Line
Gate parts don’t wear evenly, and a one-size maintenance schedule misses exactly the components that fail first. Hinge pins want a look every month. Welds and posts want a proper inspection every six months, especially in Spring Valley’s temperature range, where the daily thermal cycling works those joints harder than a milder climate ever would. Lubrication done right (right product, right spot, right amount) is worth more than any repair. And a yearly photo of your gate gives you a baseline that settles every “was that there before?” question. The two-minute monthly check and the twice-yearly inspection belong on your calendar. The rest you can hand to someone who does this every day.
Written by the team at Gatewood Fence & Gate Spring Valley.