
Last updated November 18, 2026
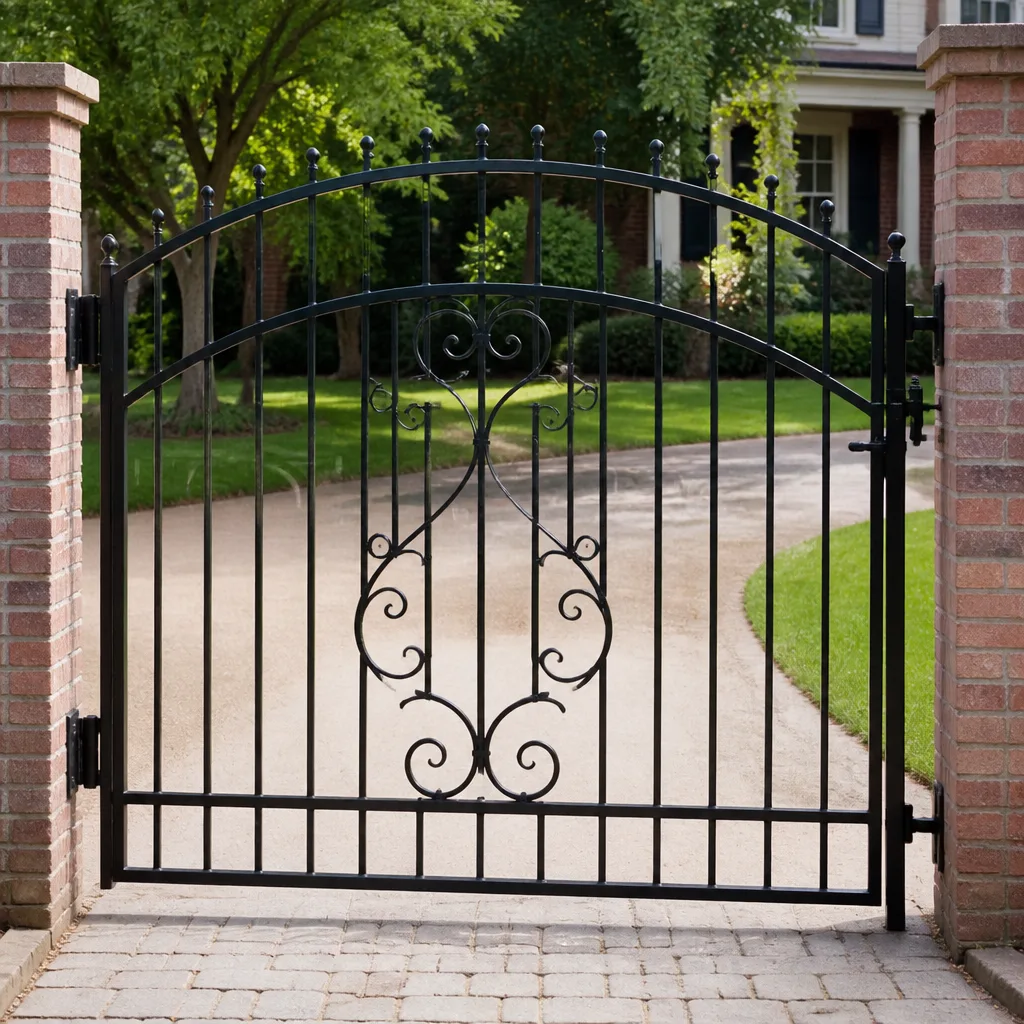 Wrought iron
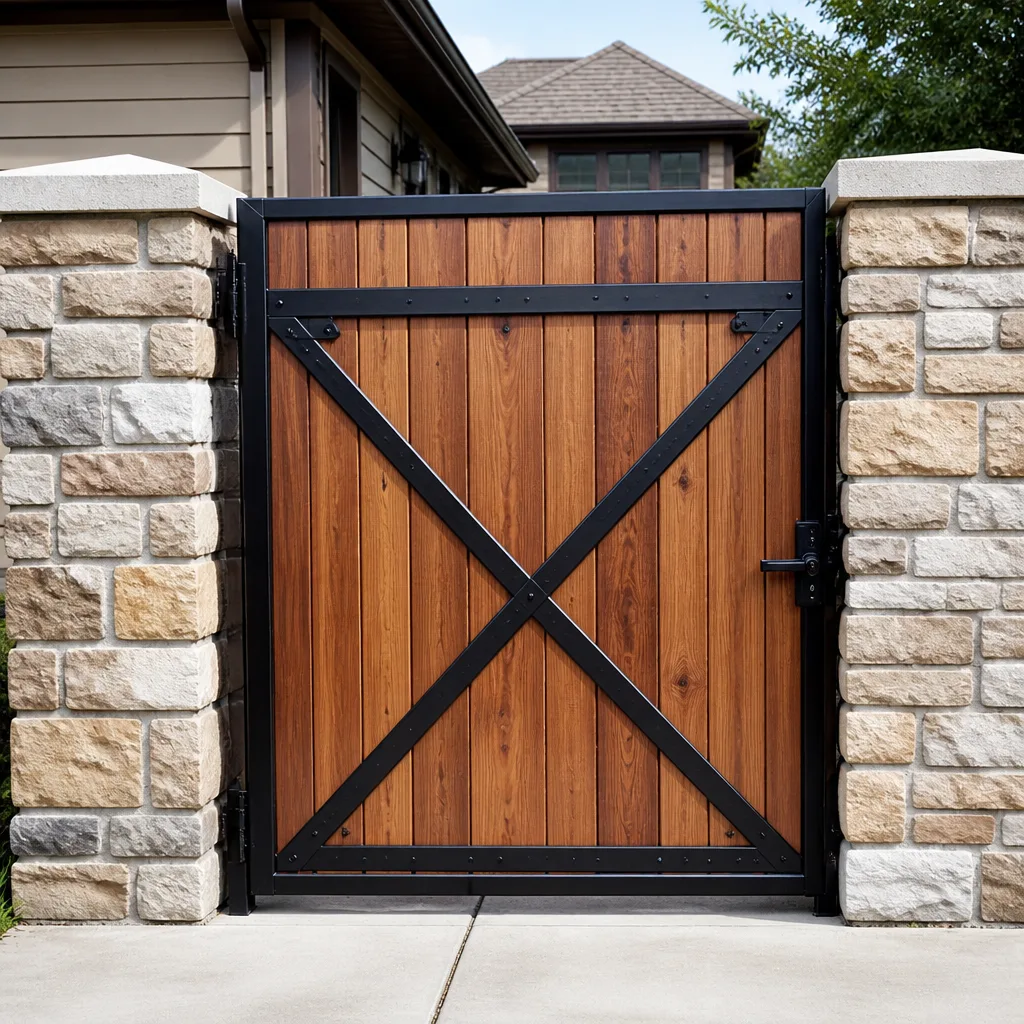 Wood & steel frame
 Farm & ranch
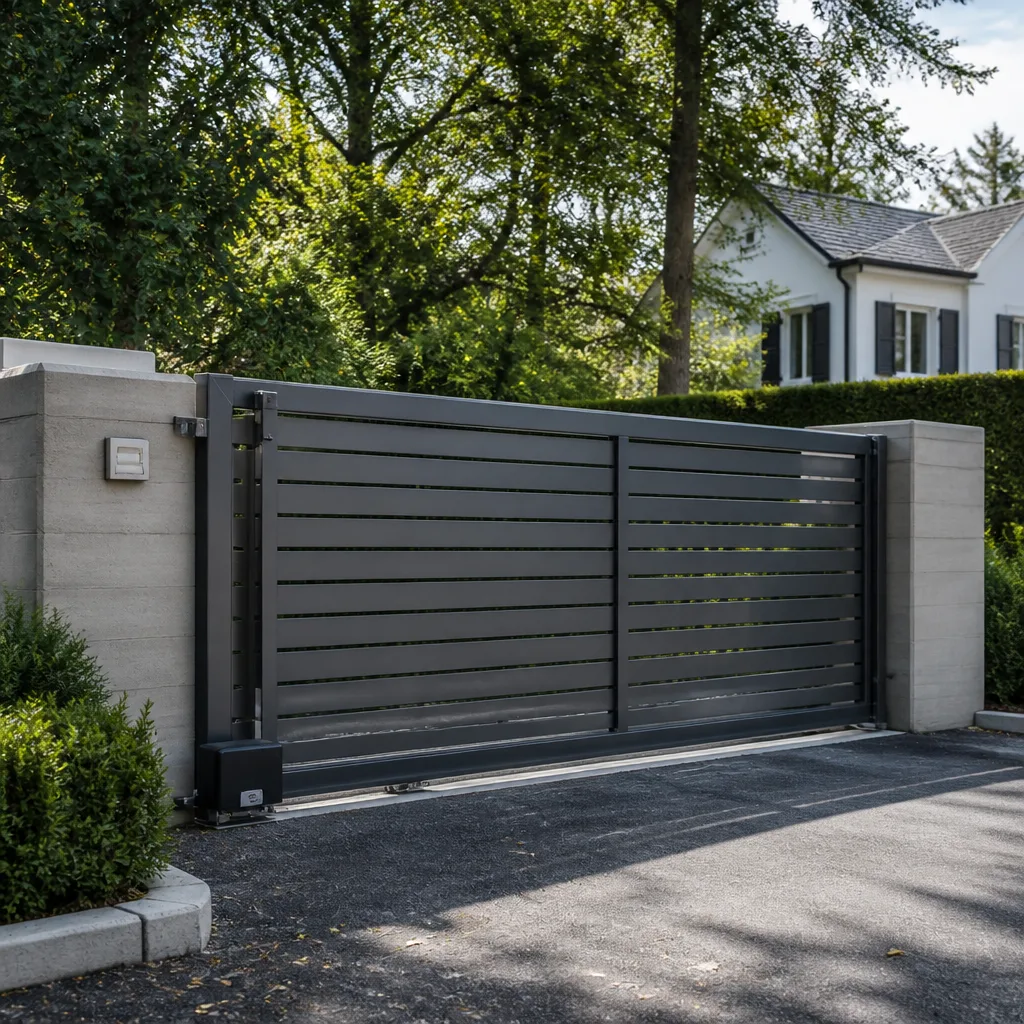 Sliding driveway gates
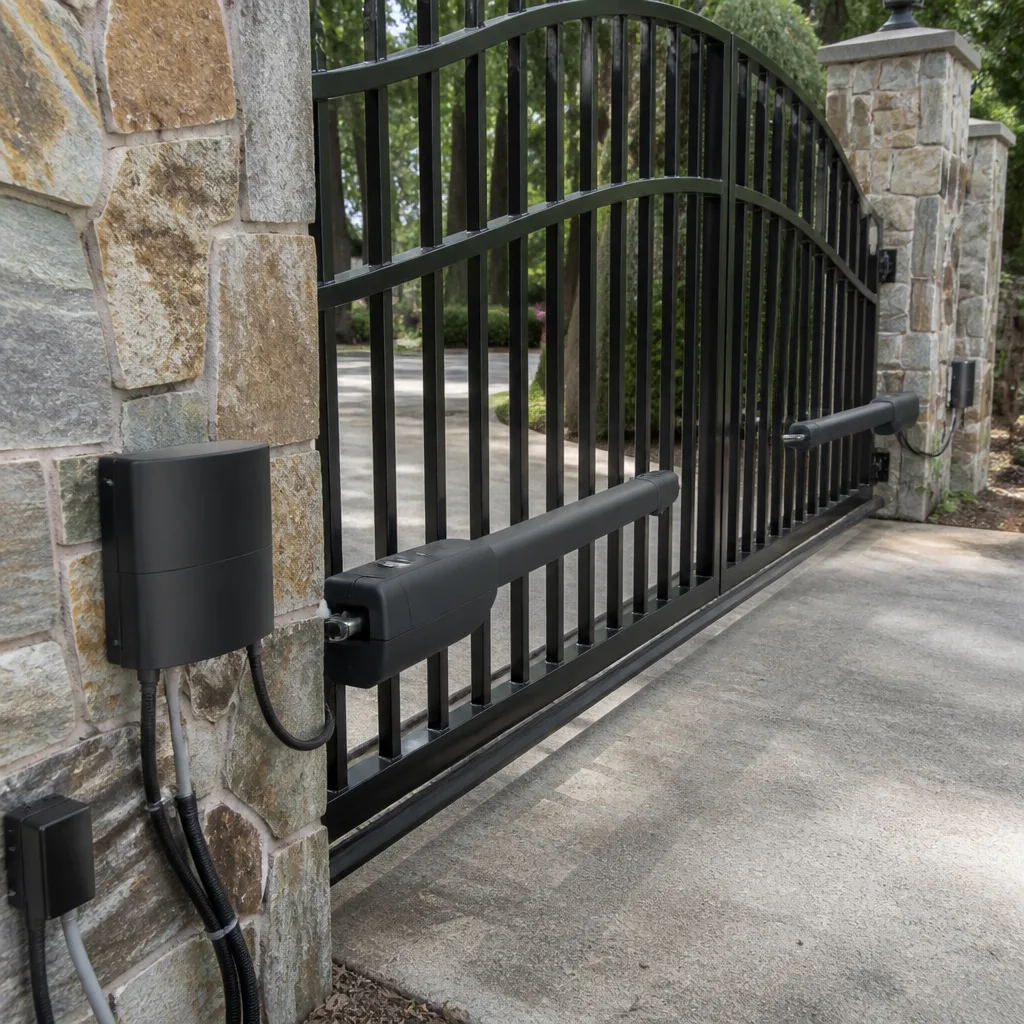 LiftMaster operators
Free on-site gate assessment - hinges, posts, and your LiftMaster or Nice gate operator checked before anything is quoted
The assessment is free and the quote is the invoice.
Get your free estimateGate Parts & Welding Warning Signs Every Homeowner Should Know
A hairline crack at the corner of a gate frame weld is not cosmetic. It’s a stress fracture working its way through metal, and after a few months of steady use it will open wide enough that the frame racks, the gate drops, and suddenly you’ve got a hazard hanging by one hinge instead of a five-minute repair. Here in Spring Valley we see plenty of gates that got past that point before anybody noticed. This guide shows you exactly what early weld failure, hinge wear, and post movement look like so you can catch them while they’re still cheap to fix – and know which signs mean call today versus keep an eye on it.
Quick Answer
The warning signs that matter most are hairline cracks radiating from weld corners, rust that bleeds in a line rather than dusting a flat surface, hinges that are wallowed oval instead of snug, a gate that no longer closes on its own the same way each time, and new gaps at the bottom of the post or a latch that suddenly needs a shove. Any of those means metal is moving, and metal moving means something is failing. Cracks, gate sag, and post movement are call-today. Light surface rust and a slightly stiff hinge are watch-and-monitor.
Styles & brands we work with
- Wrought iron
- Wood & steel frame
- Farm & ranch
- Sliding driveway gates
- LiftMaster operators
Table of Contents
- What Early-Stage Weld Failure Looks Like vs. Surface Rust
- Hinge Wear Patterns: Normal Aging vs. Imminent Failure
- Why a Gate That Swings a Little Different Is a Structural Warning
- Post Movement Signs Most Homeowners Miss
- The Ten-Minute Walk-Around: A Step-by-Step Check
- Watch-and-Monitor vs. Call-Today: Where We Draw the Line
- Why Spring Valley Conditions Age Gates Faster
- When It’s a Parts Problem vs. a Welding Problem
What Early-Stage Weld Failure Looks Like vs. Surface Rust
Most homeowners can’t tell a failing weld from ordinary rust, and that’s the entire problem. Surface rust lives on top of the metal. Weld failure starts underneath it, at the joint where two pieces of steel meet.
Here’s what surface rust looks like. It’s a fine orange-brown dusting, usually on the flat faces of the frame and around the base where splashing hits. Rub it with your thumb and it comes off on your skin, leaving clean metal underneath. That’s weather. It’s normal. It’ll come back next season.
Here’s what early weld failure looks like, in plain terms:
- Rust bleeding in a straight line. If rust runs in a thin line out from the corner of a joint like a pencil stroke, moisture has gotten inside the weld. It’s seeping out through a gap that shouldn’t be there.
- A crack with rust in it. Any visible line at a weld corner – especially a line with brown staining inside it – is a propagating crack, not a scratch. Cracks don’t stain unless they’ve been open a while.
- Flaking at the toe of the weld. The toe is where the weld bead meets the flat frame. If the metal there is lifting in thin flakes like a scab, the weld is separating.
- Discoloration with a “halo.” A darker ring around a weld with a lighter center can mean heat stress from flexing, even without rust.
To be clear about what you’re seeing: fresh weld metal is smooth and slightly raised, like a raised bead of solder on a jewelry repair. It should not look porous, pitted, or crumbly. If it does, that weld was probably undercut when it was made, and it’s been hanging on by geometry ever since.
In our experience, gates around Spring Valley that get regular desert wind load combined with dry-then-wet cycles tend to fail at joints before they fail anywhere else. That’s why we weld on site rather than hauling a gate off to a shop – so we can re-seat the joint in place, verified against the post. If you want the picture on how a repair like that runs from start to finish, our Gate Repair in Spring Valley page covers it.
Hinge Wear Patterns: Normal Aging vs. Imminent Failure
All hinges wear. The question is whether they’re wearing evenly or failing at the pin.
Normal aging looks like this: the hinge swings with a slight drag, but the pin is still snug in the barrel. You can lift the gate a hair and feel it settle back into place. The gate might need a shot of lubricant a couple times a year. Nothing’s wrong.
Imminent failure looks different:
- Oval wallowing. The hole the pin rides in has worn from round to egg-shaped. You can spot this without tools by watching the hinge from the side as the gate opens – the gate has a small “step” of play at the start of travel before the hinge catches.
- Up-and-down rock. Stand beside the hinge and grip the gate frame over the top hinge. Try to rock it vertically. Any rock more than about a sixteenth of an inch means the barrel has opened up.
- Pin migration. The pin is working its way out of the barrel. If you see more pin at the top than you used to, or a hole where the pin should be fully seated, the hinge is losing its grip.
- Sharp hinge edges. The barrel has worn so much the edge feels sharp. That’s metal that used to be the wall of the bore.
A trick that works without special tools: coat the pin with a bit of grease, open and close the gate a dozen times, and look at the grease pattern on the pin. A snug pin shows grease worn off in an even stripe. A wallowed hinge shows the grease already rubbed off over a wide, uneven patch before you’ve even moved it much.
The hinge post is where all this starts. A gate sags in the hinge post, not in the middle, and that’s where we start looking when we arrive.
Why a Gate That Swings a Little Different Is a Structural Warning
“It just swings a little different lately.” We hear that line a lot, and it’s usually said like it’s a minor annoyance. It isn’t. Show me the gate closing on its own and I’ll show you where it’s failing.
Here’s the reasoning. A gate is a square frame. When the frame is true, the gate falls into the latch the same way every time – with the same easy arc, the same click, the same amount of push. When the frame starts to rack – meaning one corner lifts while the opposite corner drops – the gate has to slide down a slightly different line every swing. That’s the “different” you feel.
Common variations:
- Gate swings back open on its own instead of resting in the latch. The frame has twisted so the latch side is out of plumb.
- Gate won’t close without a lift, then flops shut fast. The bottom hinge has settled or the pin is worn.
- Gate closes “hard” against the latch, like it’s riding uphill. Weight is loading the top of the frame from the bottom going astray.
- Gate closes “soft” with a thud, then rattles. The frame has dropped or shifted toward the ground.
Wind is not the cause. Ground settlement at one post is a symptom, not the reason – ground movement pushes the post, the post moves the frame, the frame twists. Fix the panel without fixing the post, and you’ll fix it twice. A gate that used to close in the same spot for years doesn’t suddenly change preferences.
If the gate has an automatic opener on it, this same misalignment can load the opener motor and shorten its life. It’s worth having the whole assembly looked at together – our Gate Motor & Opener in Spring Valley page walks through when a motor is failing versus when it’s just fighting a racked gate. Operators we work on regularly include Linear and Ghost Controls units.
Post Movement Signs Most Homeowners Miss
Post movement doesn’t announce itself. It shows up in small changes around the gate that most people attribute to something else.
The three signs to walk out and check right now:
- Gap change at the bottom. The gap under the gate – the space you could slide your fingers through – should stay the same along the whole width. If it’s tighter on the latch side than the hinge side by more than an eighth of an inch, one post has moved and the other hasn’t. On uneven ground it might look like the ground changed underneath, but nine times out of ten it’s the post.
- Latch misalignment. The striker plate on the gate should land in the catch on the post without a shove. If you’ve started lifting the gate handle a little to get it to close, or the latch has started hitting the post before dropping in, the two posts are no longer parallel.
- Uneven reveal. Sight down the gap between the gate edge and the post, all the way top to bottom. It should be even. If it’s narrow at the top and wide at the bottom, the post has leaned. If it’s the reverse, it’s moved the other way.
Two more that hide in plain sight:
- Hairline gap at the base. Look where the post meets concrete or dirt. A gap opening at the joint – especially on the hinge side – means the post is working loose, and the concrete footing is cracking inside where you can’t see.
- A shadow on the driveway. Photograph the gate shadow around noon once a month. Shadows don’t lie. Six weeks of photos will tell you more about post lean than any tool.
Spring Valley’s soil sits on clay-heavy and caliche-heavy patches in a lot of neighborhoods, and both change volume dramatically between a wet winter and a dry summer. If your gate was fine in February and lazy in August, that’s very likely the ground, not the gate.
The Ten-Minute Walk-Around: A Step-by-Step Check
You don’t need a licensed professional to spot these problems – you need ten minutes and eyes on the right things. This is a check you can run first Saturday of every season.
- Walk the full perimeter of the gate with a flashlight at a low angle. Side-lit light catches cracks before you can see them straight on. Do this on the frame, the posts, and the hardware.
- Sight the reveal. Look down the gap between gate and post at eye level. Even is good; wedge-shaped is not.
- Grab the gate at the latch and try to rock it by two inches. The gate should feel like one solid piece. Any flex at a corner is a weld problem.
- Grip the gate frame over the top hinge and try to lift. Any up-down rock means the hinge is failing.
- Open the gate slowly and let go halfway. Note where it stops, then close it and repeat. If it lands somewhere different every time, the frame is racking.
- Run your fingertips along each weld. You’re feeling for a lip, a raised line, or a sharp edge where the weld should be smooth.
- Look for a gap at the base of each post. A gap is loose; loose is a problem.
- Check the latch and strike alignment. A shove means post movement.
- Test the motor cut-off. If you have an opener, have someone hold the gate mid-travel and see how it reacts. Modern units from brands like DoorKing and Viking have safety edges – if the gate pushes hard against resistance, the safety edge or the force setting needs attention.
If you find one or two concerns on this list and they’re in the “watch” zone, keep an eye on them monthly. If any of them is in the call zone, don’t wait for the next season.
Watch-and-Monitor vs. Call-Today: Where We Draw the Line
There’s a version of this advice that says “call a professional for anything.” That’s not honest, and it isn’t how we work.
Watch and monitor:
- Surface rust dusting a flat face of the frame. It’s cosmetic. Sand it, prime it, paint it, and move on.
- Slight drag in one hinge. Lubricant usually resolves it.
- A gate that sits just a hair off-center when closed, but otherwise latches cleanly and swings the same every time.
- Any cosmetic paint flaking on a weld that shows smooth metal underneath – not porcelain-cracked, just chipped paint.
Call today:
- Any visible crack, especially one with rust or staining inside it. Metal is separating, and every cycle opens it further.
- Post movement of any kind. Once a post starts to move, it doesn’t stop on its own, and a heavy gate hanging off a loose post is a genuine hazard.
- Hinge rock you can feel with your hand.
- A gate that has changed how it swings in the last 60 days. That change happened for a reason.
- Any gate with a motorized opener that’s pushing against the latch or has stopped reliably reversing when it hits an obstruction.
A note on safety: gate springs and counterbalances – especially on swing gates – are under serious tension. Don’t try to tighten, adjust, or re-seat them yourself, and don’t stick your hand in a spring mechanism to “see what’s loose.” That’s a job for someone who knows the load and can keep you out of it. The same goes for a tilt or sliding gate that’s wobbling at the top track; if it’s heavier than you can comfortably hold, it’s past the DIY stage.
Why Spring Valley Conditions Age Gates Faster
Gates in Spring Valley live through conditions that speed up every one of the failure modes above. The dry, windy months work metal joints hard – wind load flexes the frame thousands of times per season, and flexing is what opens a crack in a weld. Then the wet season arrives, moisture gets into the crack you didn’t know was there, and the joint starts bleeding rust from the inside.
Add in the temperature swings – the desert can move forty degrees between afternoon and predawn – and steel and concrete expand at different rates. That difference works the post footing a little every single day. Combine that with clay soil that swells and shrinks and you get the loose post problem we see in neighborhoods across Spring Valley more often than most other places.
What that means practically: an inspection cadence that would be fine in a coastal climate – once a year – isn’t enough here. Twice a year, once in early spring and once in late fall, is a realistic minimum for a spring-loaded automatic gate. Manual gates on a solid post can push closer to once a year.
We also get asked whether every part of a gate can be swapped like hardware store parts. Usually no. The frame welds and the post anchoring are what hold the gate together, and those have to be repaired – not replaced as a package. When you’re ready to look at whether the whole thing is the right fit for the space, Gate Installation in Spring Valley goes through what a new install entails, including the parts and the power run for any automation.
When It’s a Parts Problem vs. a Welding Problem
This distinction saves real money because the fix is completely different depending on which one you’re facing.
Parts problems are things you can unbolt and swap. Hinges that have worn oval. Latch catches that no longer strike cleanly. Rollers, guide wheels, deadbolts, stops, bumpers, hinges, and cap plates. Any of those failing is often a straightforward repair – the frame is solid and just needs the hardware renewed.
Welding problems live in the frame and the post. Cracks at weld corners. Post anchoring that has pulled out of concrete. Hinge plates whose weld has cracked where they meet the post. Frame corners that have opened at the miter. These need actual welding – and specifically, on-site welding done under load, because if you cut the frame loose and take it to a shop, you lose the alignment you’re trying to fix.
That’s one honest reason we won’t haul your gate off to a shop. The gate needs to be welded to the post, on the driveway, in its actual resting position, or you’re building the new weld on a lie. Fix the panel without the post and you’ll fix it twice; weld the frame without anchoring it to the post and it’ll be out of square within a season.
We service the automation brands you’ll find on most gates around here – Linear, Viking, Ghost Controls, DoorKing, plus LiftMaster, FAAC, BFT, Elite, and Mighty Mule – so if a motor is part of the failure we’re looking at, it’s part of the same visit. Every job carries our 90-Day Done Right Promise in writing, and if something we touched fails inside that window, one call brings us back. No runaround. If you want the full picture of how we operate, our Gatewood Fence & Gate Spring Valley home page is a good place to start.
Common Mistakes to Avoid
- Assuming rust is always the problem. Most surface rust is cosmetic. The dangerous rust is the line of it running out of a crack – that’s rust you can’t see moving, and it’s already inside the joint.
- Painting over a crack before fixing it. Paint seals the moisture in and hides the crack from future inspections. The crack keeps opening under the paint, and by the time it fails you’ve lost a year of lead time.
- Tightening hinge bolts to fix a sag. If the post has moved, tightening the bolts narrows a problem without solving it – and can split a worn hinge barrel. You’ve made the next repair harder.
- Adjusting the gate frame instead of the post. A sagging gate is almost always a post problem, not a frame problem. Moving the gate to meet the post just leaves a racked frame hanging off a loose post.
- Waiting through one “extra” season. A watch-and-monitor sign is safe to monitor. A call-today sign doesn’t get safer with more time, and what was once a $200 repair can turn into a full replacement in half a year of daily use.
- Letting a motorized gate run with a worn safety edge. Reversing edges are the single most important safety feature on an automatic gate. If your gate has stopped reversing when it hits something, stop operating it until it’s looked at.
- Believing that every part swap is a repair. Hinges, latches, and rollers are swap jobs. Frame welds and post anchors are not. Knowing the difference before you get a quote keeps you from paying for work you don’t need.
See the difference
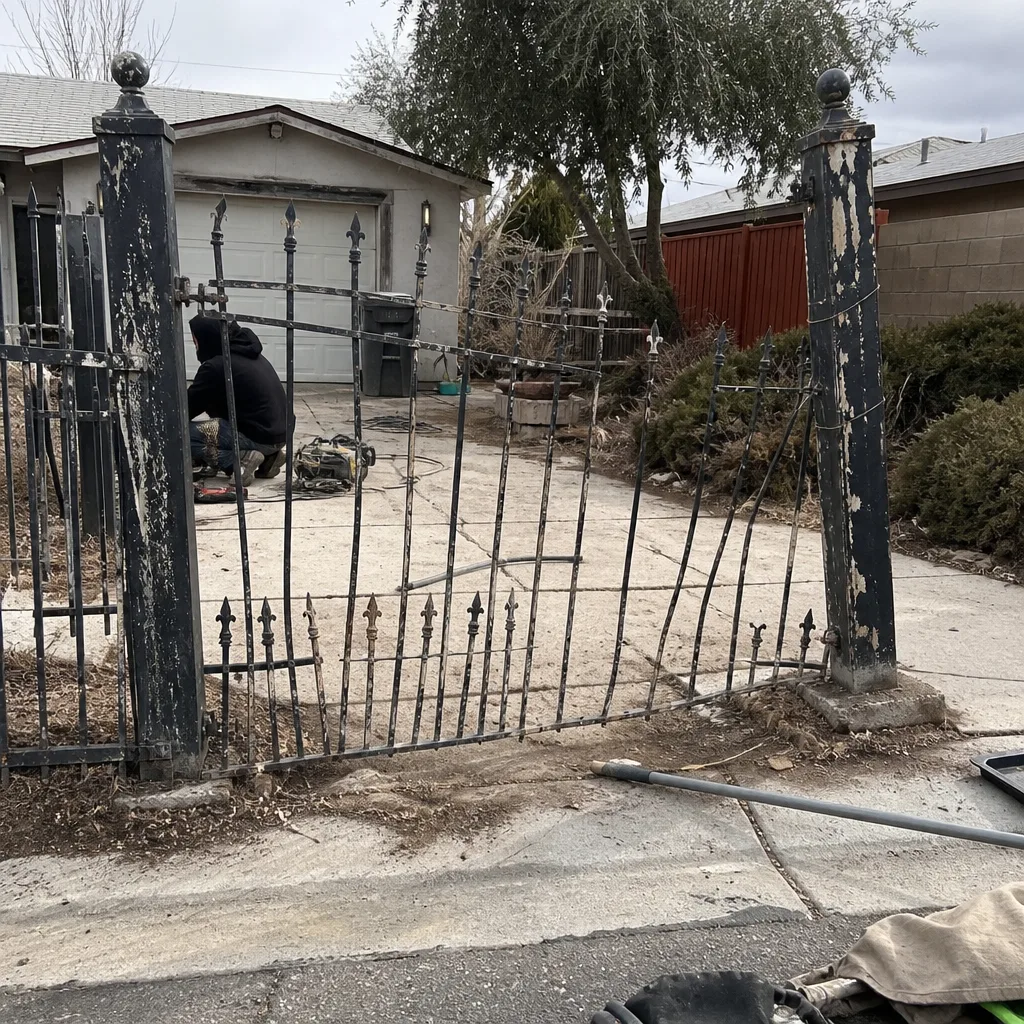 Before
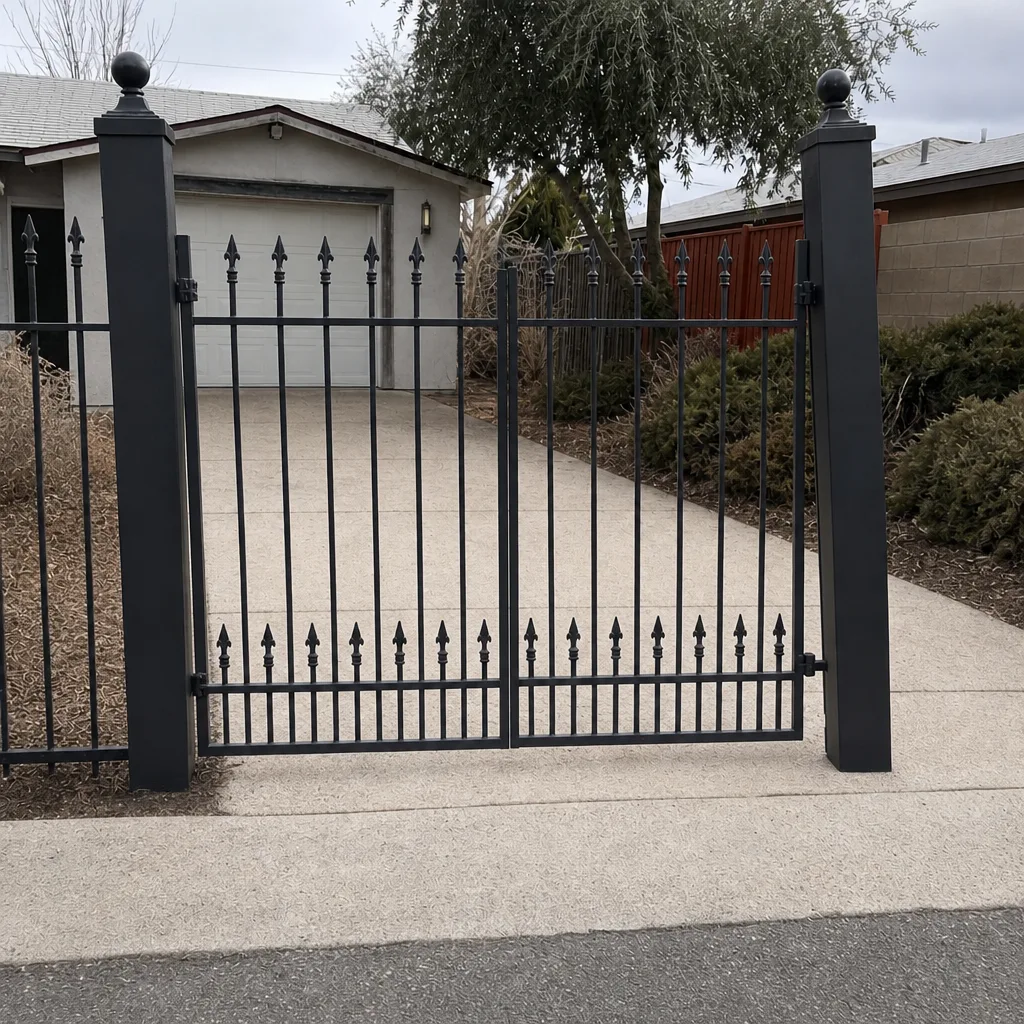 After
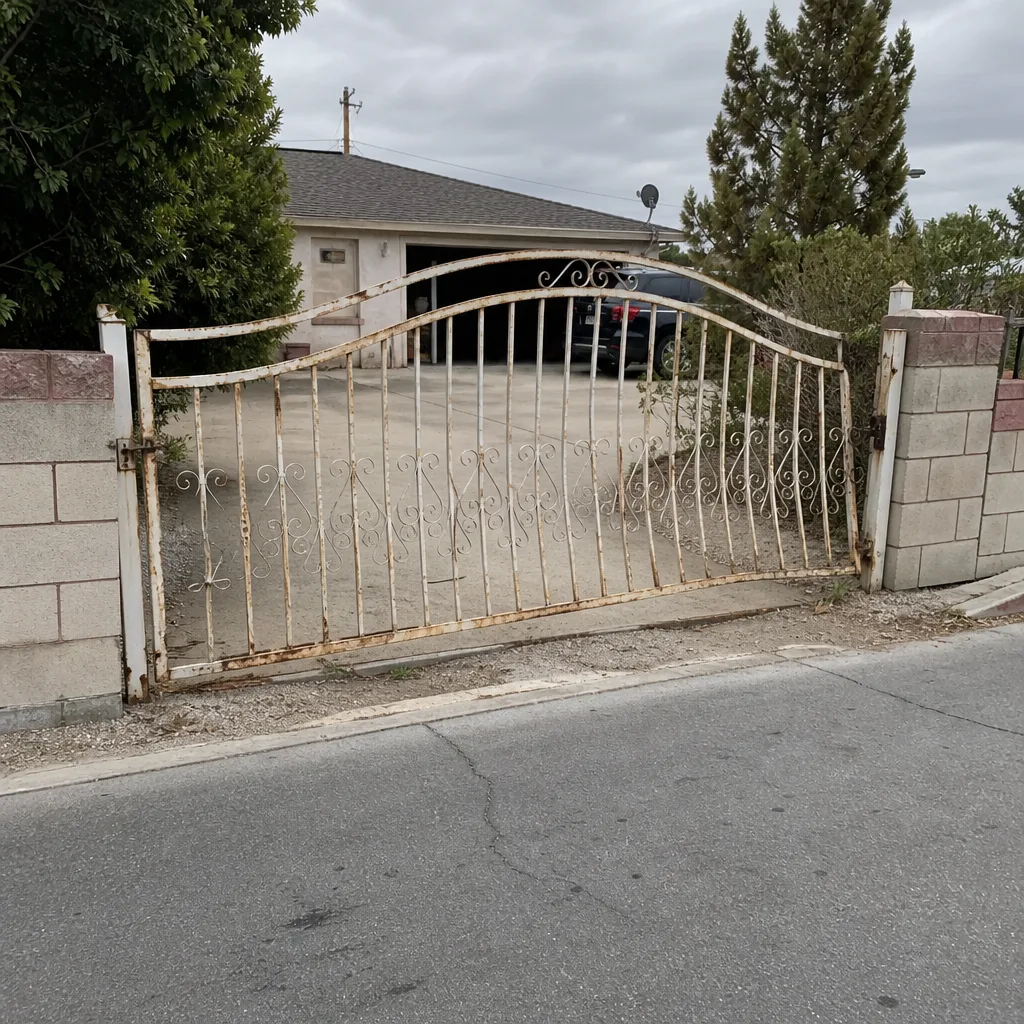 Before
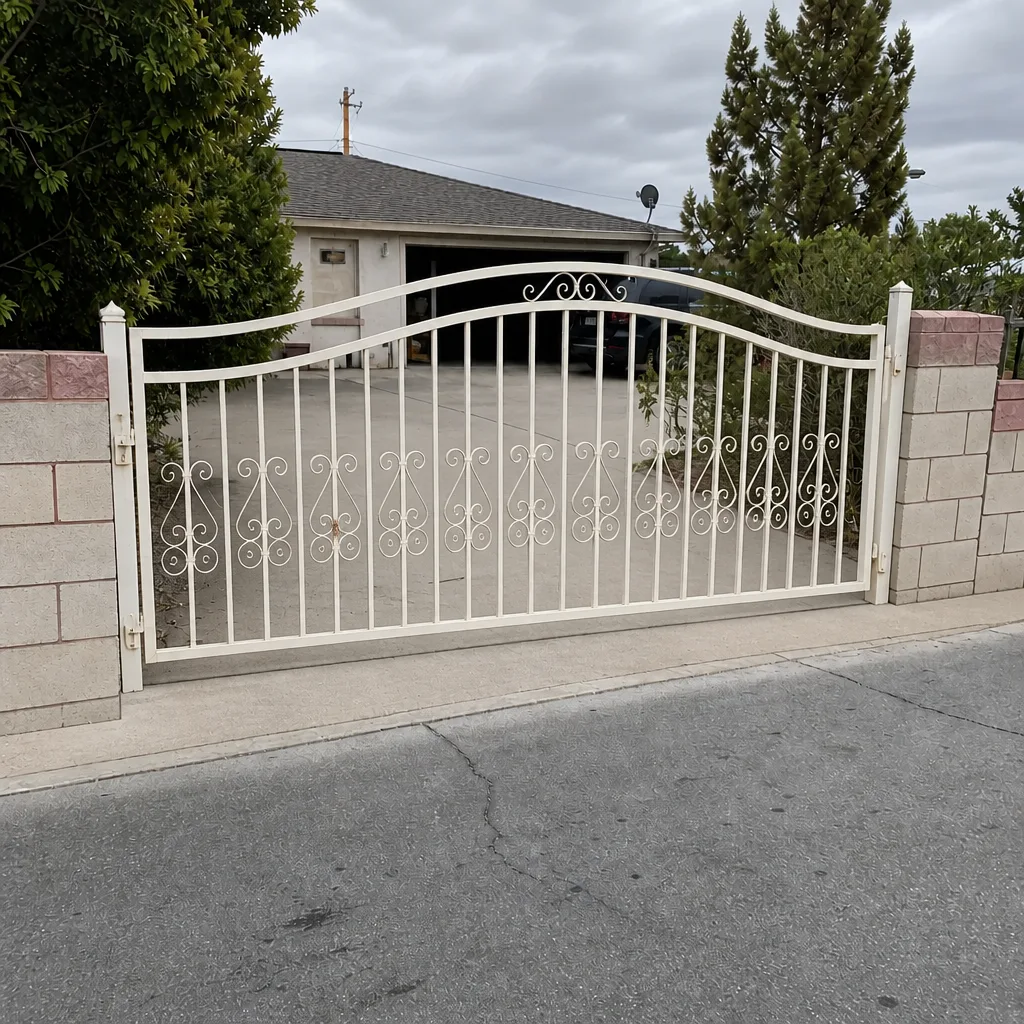 After
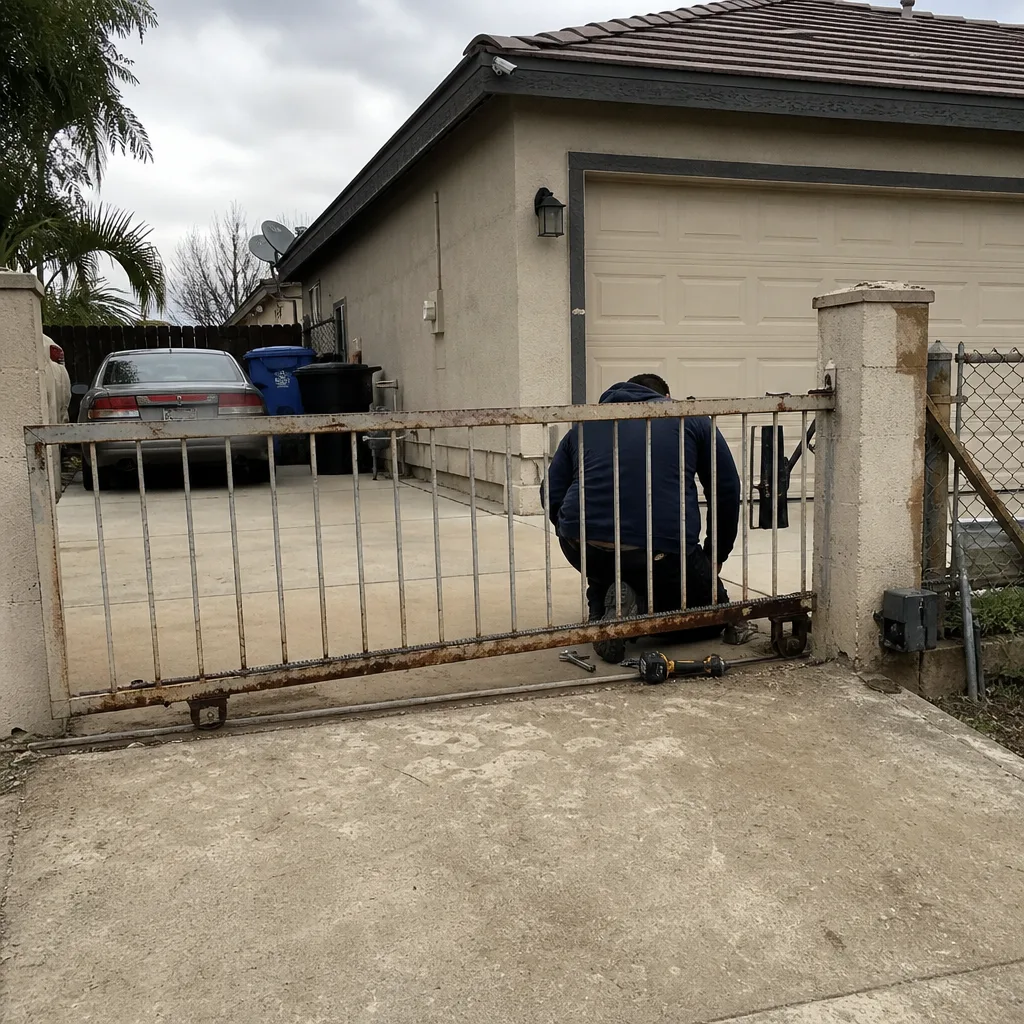 Before
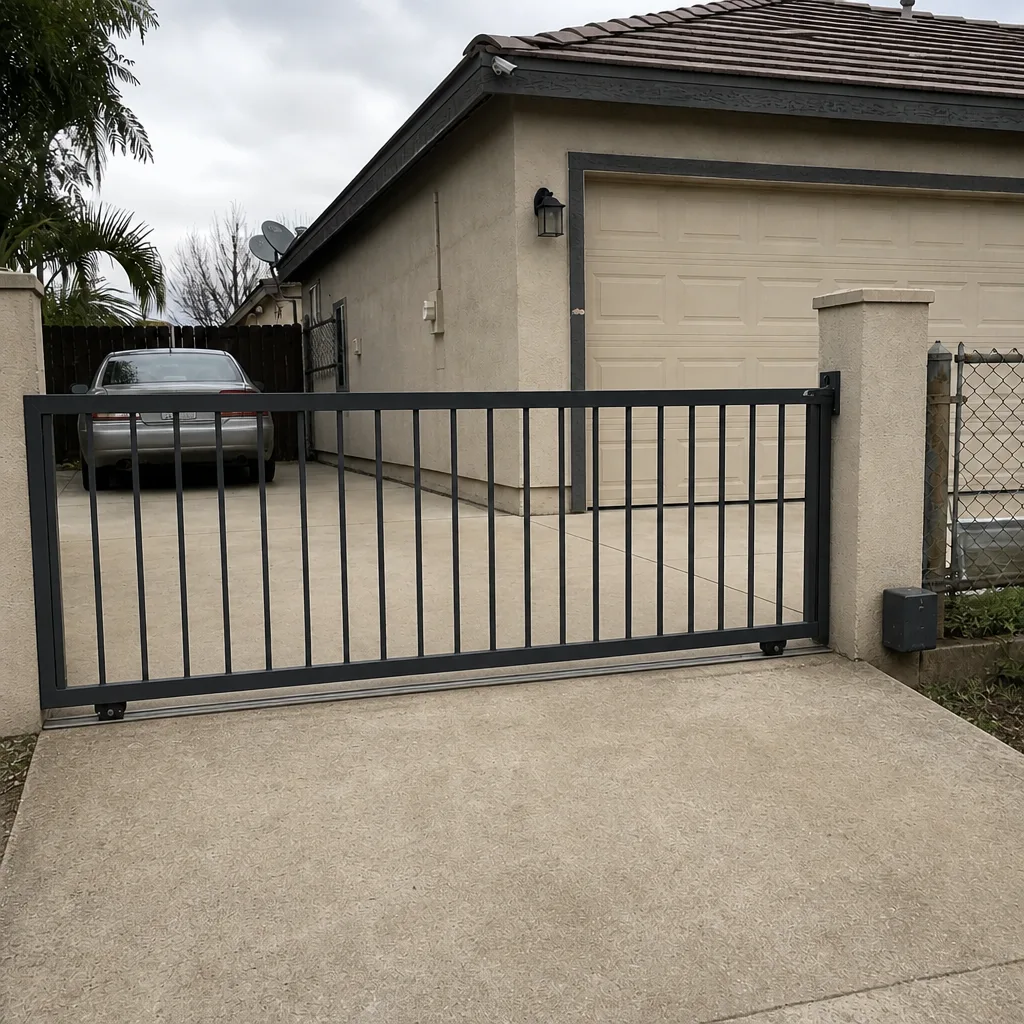 After
When to Call a Professional
Call a professional if you’ve found any crack with rust in it, any post movement, any hinge rock you can feel with your hand, or any gate that’s started swinging differently in the last two months. Call sooner if the gate is heavy and hard to hold, if a spring mechanism is involved, or if the gate is motorized and has stopped reversing on obstruction. Those aren’t wait-and-see situations – they’re the situations that turn into injuries and expensive replacements. Routine surface rust, a slightly stiff hinge, and cosmetic paint wear are all fine to watch on your own; the rest deserve trained eyes. We offer free estimates in Spring Valley – call (888) 300-3906 and we’ll take a look. If you’ve got a written estimate from anyone else, we’ll give you a free second opinion on it, no chase.
Frequently Asked Questions
A weld crack has a raised or sharp edge you can feel with a fingertip, and it usually has rust staining inside it. A scratch is smooth metal and doesn’t rust in a line because the steel underneath is intact. Shine a flashlight at a low angle along the frame – a crack will throw a shadow across its own path, and a scratch won’t. If you’re not sure, get a free second opinion before painting over it.
Yes, that’s usually a structural warning. A gate that’s started closing on its own is telling you the frame has racked or the post has leaned. A true square gate closes in the same arc every time. If it’s now swinging shut without a push, it means each corner is on a slightly different plane than it used to be. That’s a call-today sign in our book. Call (888) 300-3906.
Twice a year for any automatic or spring-loaded gate, once a year for a manual gate on solid posts. Spring Valley’s wind load, dry-to-wet cycles, and clay-heavy soil work metal and footings harder than a coastal climate does, so the usual “once a year” advice isn’t enough for us here. Do a full walk-around in early spring before the windy season and again in late fall before the wet season.
We weld on site, in your driveway, with the gate in its actual resting position against the post. That’s deliberate. If we cut the frame loose and take it to a shop, we lose the alignment we’re trying to fix, and the new weld goes down on a lie. On-site welding is also faster – most weld repairs are same-visit jobs.
Simple parts swaps like hinge replacements and latch adjustments tend to run low; frame weld repairs run higher because they involve shop-level welding work. Any repair over $200 gets $40 off as a standing offer, and there’s no trip charge inside the county. Seniors and veterans get a permanent 10% discount. We quote the price and agree on it before any work starts – no surprises at the door. Call (888) 300-3906 for an exact free estimate.
No. Stop operating the gate until it’s been looked at. The reversing edge or the force setting on your opener is the safety feature that keeps a gate from crushing a person, a pet, or a car. If it’s not reversing, it’s not safe to run, even manually if you can’t hold the gate. On most brands we service, including Linear, Viking, and Ghost Controls, this is a fixable problem – but not one to run through.
The Bottom Line
Most structural gate failures give you months of warning before they become dangerous. The work is knowing what to look for. A line of rust bleeding from a weld corner beats a flat patch of surface rust. Oval wallowing at a hinge pin beats a slightly stiff hinge. A gate that lands in a different spot on every swing beats a gate that’s just a little heavy at the start. The post moving – a gap at the base, a latch that needs a shove, an uneven reveal – is always the story underneath. Do the ten-minute walk-around twice a year in Spring Valley, get the call-today signs looked at promptly, and check the safety edge on your opener like you mean it. When in doubt, get a second set of eyes – it takes five minutes and it’s free.
Call Gatewood Fence & Gate Spring Valley at (888) 300-3906 for a free estimate. We answer the phone with a live person, we show up in the window we promised, and if it isn’t done right, the 90-Day Done Right Promise is in writing on every job – one call brings us back.
Written by the team at Gatewood Fence & Gate Spring Valley.