
Last updated November 18, 2026
 Wrought iron
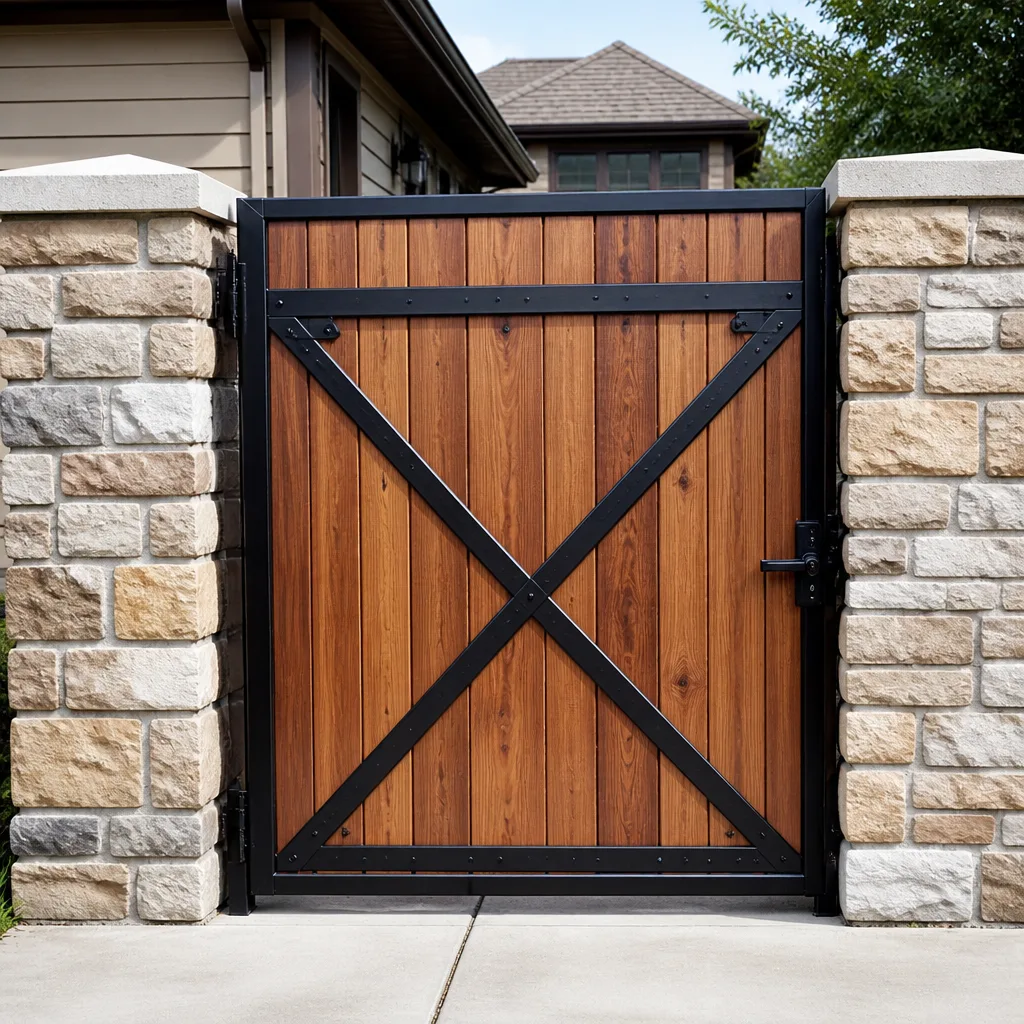 Wood & steel frame
 Farm & ranch
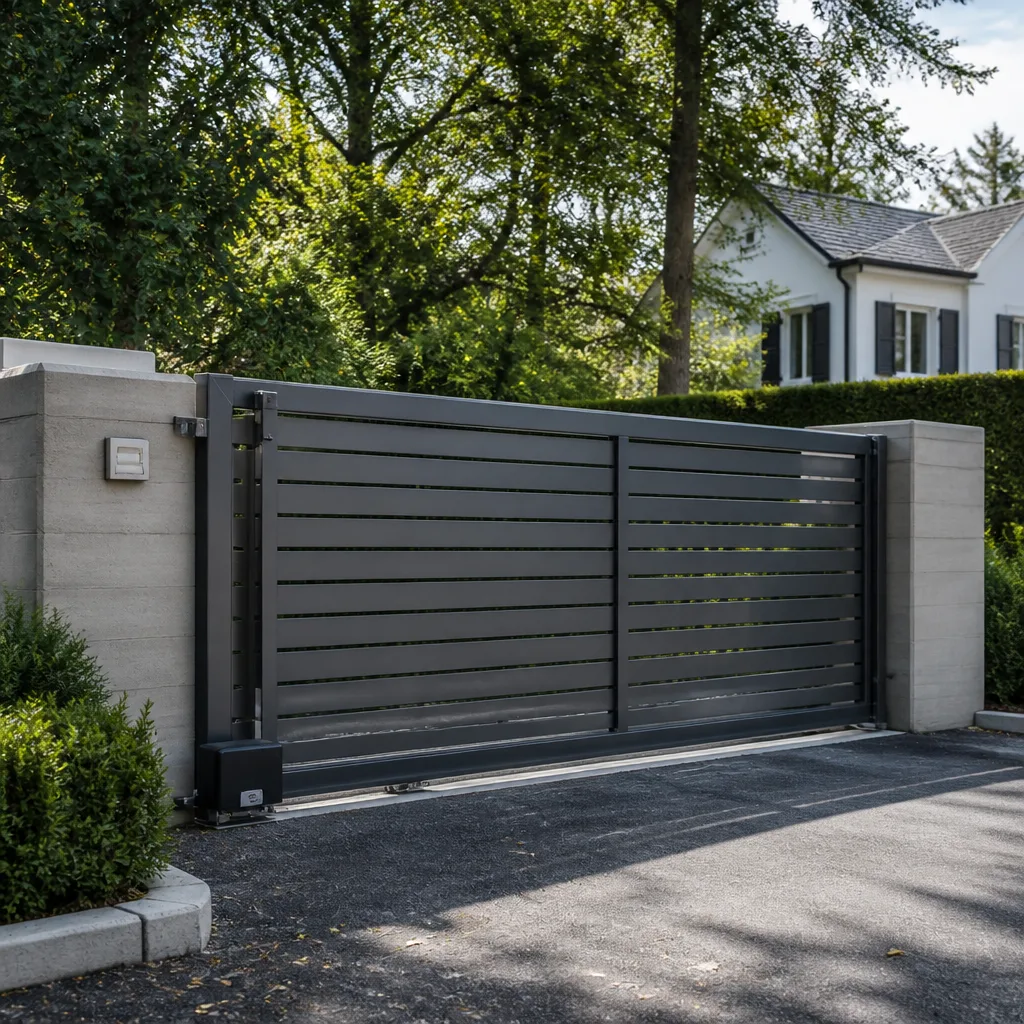 Sliding driveway gates
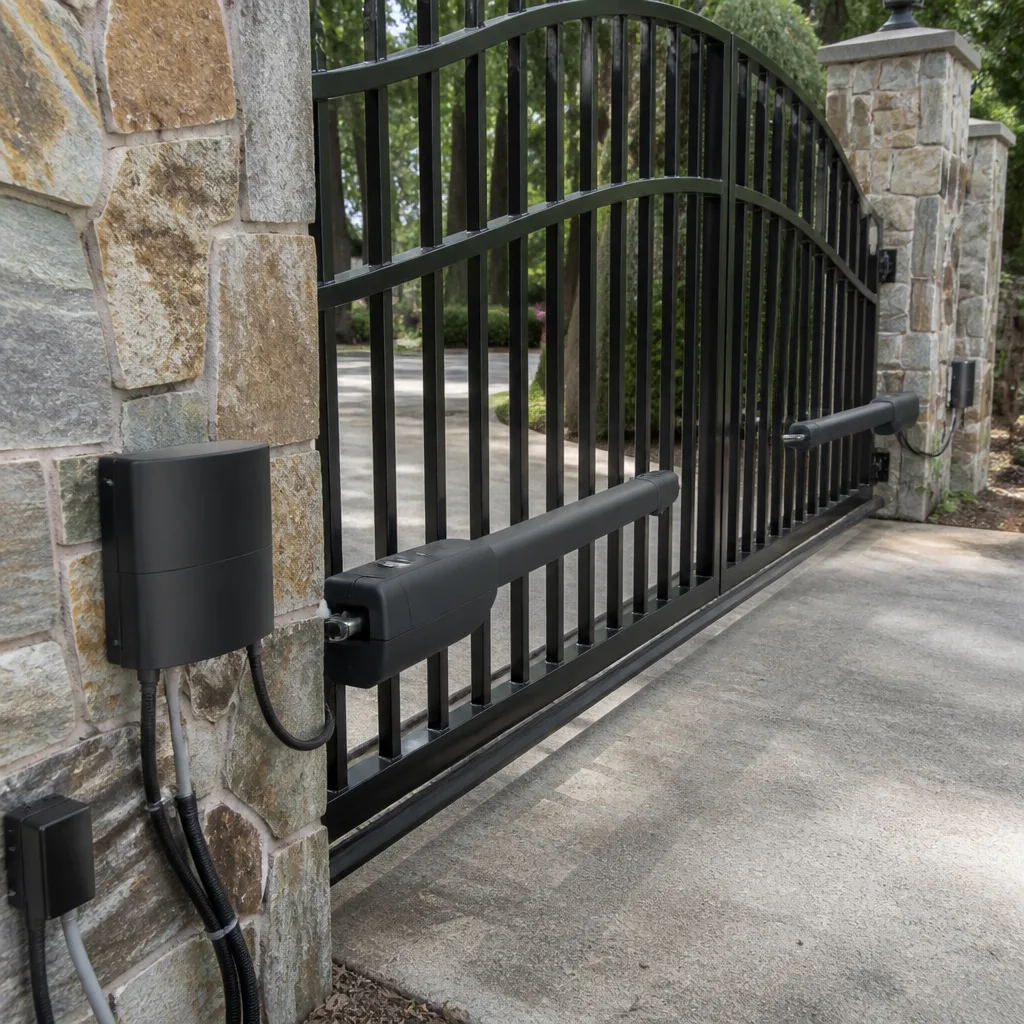 LiftMaster operators
Free on-site gate assessment - hinges, posts, and your LiftMaster or Nice gate operator checked before anything is quoted
The assessment is free and the quote is the invoice.
Get your free estimateDIY vs Professional Gate Repair: What’s Safe to Do Yourself
Tightening a loose hinge bolt yourself is fine. Welding a cracked hinge plate yourself, when you don’t know whether the crack has migrated into the post sleeve, is how a 200-pound gate ends up on the ground – or on someone. That’s the real line, and it has nothing to do with how handy you are. It’s about structural risk and liability. We’ve pulled plenty of half-finished DIY jobs out of Spring Valley driveways, and the pattern is always the same: the homeowner was fully capable of the task they attempted, they just didn’t know which task they were actually looking at. This guide gives you a working map: what’s genuinely safe to handle, what looks safe but isn’t, and what should never be a weekend project.
Quick Answer
Safe DIY gate repair covers cosmetic and fastener-level fixes: tightening hinge bolts, lubricating rollers and tracks, clearing debris, and replacing a battery in the opener remote. Anything involving welding, structural posts, buried conduit, spring tension, or automatic opener limit and sensitivity adjustments belongs to a trained professional – not because it’s complicated, but because a failed weld or a mis-set limit switch can drop a gate or burn out a $600 operator.
Styles & brands we work with
- Wrought iron
- Wood & steel frame
- Farm & ranch
- Sliding driveway gates
- LiftMaster operators
Table of Contents
- Category 1: Safe DIY Gate Repairs
- Category 2: Looks Easy, Isn’t – The Hidden-Risk Jobs
- Why Opener Sensitivity and Limit Switches Trip Up DIYers
- Cracked Welds, Leaning Posts, and Broken Conduit: Where DIY Creates Liability
- What Tools and Knowledge You Actually Need for Each Category
- How to Vet a Repair Quote After a DIY Attempt Went Wrong
- Common Mistakes to Avoid
- When to Call a Professional
Category 1: Safe DIY Gate Repairs
These are the jobs where the worst realistic outcome is that you wasted an afternoon. If you can turn a wrench and you’re comfortable on a step ladder, they’re yours. We tell Spring Valley homeowners to start here before they pick up the phone, because you shouldn’t pay anyone for a five-minute fix.
- Tightening hinge bolts and lag screws. A gate sags in the hinge post, not in the middle, and a loose hinge bolt is the most common cause. Snug them down, don’t strip them.
- Lubricating hinges, rollers, and tracks. A dry hinge grinds and a dry roller skips. A few drops of lubricant twice a year adds years to the hardware.
- Clearing debris from the gate’s swing path. Gravel, leaves, and the occasional toy will stop a gate from closing squarely. Sweep the arc, test the swing.
- Replacing opener remote batteries and re-pairing remotes. If the remote stopped working, the battery is the first thing to check. The manual walks you through re-pairing.
- Touching up paint and rust spots. Desert grit and UV are hard on steel and wood in Spring Valley. A little sanding and a coat of paint every couple of years beats a panel replacement.
- Tightening a loose gate handle, latch, or decorative bracket. Cosmetic hardware rarely affects the gate’s structural integrity.
That list is shorter than most people expect. That’s the point. The list of jobs that belong to a professional is longer, and it’s where the real money and the real danger live.
Category 2: Looks Easy, Isn’t – The Hidden-Risk Jobs
These are the ones that look like a natural next step after tightening a hinge, and they’re where the trouble starts. In our experience, most of the emergency calls we run in Spring Valley trace back to one of these tasks being attempted with good intentions.
- Adjusting opener limit switches. The limit switch tells the motor where the gate is fully open and fully closed. Set it a quarter inch wrong and the motor strains against the stop every single cycle. Do that for a month and you’re buying an operator.
- Tuning safety sensor sensitivity. Modern openers like Ghost Controls and Mighty Mule use current-sensing to detect obstructions. Crank the sensitivity up to stop nuisance reverses and the gate may not reverse at all when a child or a pet is in its path. That’s a safety failure, and it’s silent.
- Replacing a gate roller or hinge on a post-mounted gate. Sounds easy until you realize the gate has to be unweighted to do it safely. A 150-pound gate coming off its bottom hinge is a two-person injury waiting to happen.
- Repairing a control-box connection. On a DoorKing or Elite system, one crossed wire can fry a control board that costs more than the repair you were trying to avoid.
- Straightening a bent gate frame. Pushing a bent tube back into shape feels effective and looks fine from ten feet. What you can’t see is the crack that opened in the opposite weld.
The theme: these jobs require you to know what you don’t know. That’s a much higher bar than having the tools.
Why Opener Sensitivity and Limit Switches Trip Up DIYers
This is the single most expensive DIY mistake we see, and it doesn’t look like a mistake while it’s happening. Here’s what a homeowner is thinking: the gate is reversing for no reason, or it’s stopping six inches short of closed, so I’ll just nudge the adjustment screw until it behaves. Ten minutes later, the gate does what they want.
What’s actually happened is one of two things:
- The limit switch is now set past the physical stop. The operator runs into the mechanical stop on every cycle and stalls. The motor heats up. The gearbox wears. Somewhere between three and twelve weeks later, the opener fails completely and the homeowner is looking at a full replacement on a system that was working fine before the “adjustment.”
- The sensitivity has been raised past the safe threshold. The gate stops reversing on soft obstructions – a child’s hand, a dog’s tail, an aluminum lawn chair. That’s not an inconvenience; that’s a safety incident waiting to happen. On newer openers built to newer safety standards, it’s also a code issue.
A properly trained tech doesn’t just set the limits by feel. They use the manufacturer’s procedure for the specific brand and model, and they verify the safety reverse with a physical test afterward. On the systems we service most – Ghost Controls, Mighty Mule, DoorKing, Elite, and the rest of the nine brands we’re certified on – that test is part of every service call. It takes twenty extra minutes and it’s the difference between a gate that works and a gate that works safely.
Cracked Welds, Leaning Posts, and Broken Conduit: Where DIY Creates Liability
This is where the DIY question stops being about skill and starts being about consequence. Three structural scenarios come up again and again, and in each one, a fix that “holds” can still be the wrong fix.
Cracked hinge-plate welds
A crack in a hinge plate rarely stays in the hinge plate. On a post-mounted gate, the weld is the transfer point between the gate’s weight and the post. When it cracks, the load shifts into the post sleeve – and the sleeve develops its own hidden cracks that you can’t see without grinding the paint back. Grinding is the only honest way to inspect the weld. It’s also the step most DIYers skip, and it’s also the step where a crack that looks surface-level turns out to be through-thickness. We weld on-site in Spring Valley specifically because hauling a gate off its post hides these cracks until the gate goes back up and fails in a week.
Leaning posts
A post that has leaned three-quarters of an inch over two years is usually a soil and drainage issue, not a weld issue. Bracing it back to plumb with a come-along and a new concrete collar will hold for one season and then lean again, because the water is still finding the same path. The right repair involves understanding what’s happening underground – which, in Spring Valley’s caliche-heavy soil, often means a different post footing, not a stronger brace.
Broken underground conduit
Conduit is what protects the low-voltage control wire running between the gate operator and the keypad, intercom, or exit loop. When it cracks, water gets in, the wire corrodes, and the gate starts behaving erratically – opening on its own, ignoring remotes, ghost-triggering the safety loop. Digging it up and patching the conduit without also replacing the compromised wire is a repair that costs almost as much as the right one and fails within a year. Worse: if the original trench was shallow or the conduit crossed a utility easement, a DIY dig can put you into territory that belongs to somebody else.
The liability angle on all three is real. If a gate you repaired falls on a delivery driver or a visiting grandchild, your homeowner’s policy is going to have opinions about whether the repair was performed to standard. Documenting who did the work, when, and to what spec matters more than most people realize.
What Tools and Knowledge You Actually Need for Each Category
An honest self-assessment starts with an honest tool list. Here’s the breakdown.
Category 1 (safe DIY) requires:
- Adjustable wrench, socket set, screwdriver set
- Lubricant (silicone-based for tracks, lithium grease for hinges)
- A step ladder and a helper for anything overhead
- Basic hand-tool competence – nothing exotic
Category 2 (hidden risk) requires everything above, plus:
- The owner’s manual for your specific opener, open on the page that says “safety reverse test”
- A second person to watch the gate’s path while you’re at the control box
- Working knowledge of how the gate’s safety reverse is supposed to work before you touch a sensitivity dial
- The discipline to stop when the test doesn’t pass
Structural work requires:
- A welder, welding experience, and a genuine inspection of the underlying metal after grinding
- Knowledge of how the post footing and soil are interacting
- Ground-penetrating or hand-digging capability to trace conduit safely
- Willingness to stand behind the work with a written warranty
If you’re honest with yourself and the third list is a no, that’s not a failure. That’s the normal answer for nine out of ten homeowners. Our technicians have up to 25 years of experience, and most of what they know is what NOT to do in a driveway. There’s a reason we keep a welder on the truck and not a “DIY starter kit.”
How to Vet a Repair Quote After a DIY Attempt Went Wrong
You tried it, it didn’t hold, and now you’re calling around. This is a market where the wrong company will smell the situation and quote you a full replacement. Here’s how to stay out of that trap.
- Ask for a cause of failure, not just a fix. A good tech will tell you why the weld broke, why the post leaned, or why the opener died. If the quote is all “replacement” and no “diagnosis,” walk.
- Ask whether the original part can be repaired. On structural repairs, we lean repair-first: weld it in the driveway when it’s weldable. Any shop that skips this question is charging you for parts you may not need.
- Get a second opinion in writing. A confident quote survives a second look. One that falls apart under scrutiny was never a quote, it was a sales pitch.
- Confirm the warranty in writing before you sign. Every job we do carries the 90-Day Done Right Promise, stamped on the invoice. If a shop won’t put its warranty in writing, it doesn’t have one.
- Confirm the quote is the invoice. The number you’re quoted over the phone is the number you should pay. If it isn’t, walk – no exceptions.
- Check the license and the address. A shop with a published address and a license number you can look up is accountable in a way a call center never is.
If you’re in Spring Valley and you’d like a straight read on a quote you’ve already received, our standing offer is a free second opinion on any written estimate. Bring it in. We’ll tell you what’s fair and what isn’t.
Common Mistakes to Avoid
- Adjusting the opener before reading the manual. Every opener brand – Ghost Controls, Mighty Mule, DoorKing, Elite, all of them – has a specific procedure for limit and force adjustments. Improvise and you’ll be buying an operator.
- Welding over a crack without grinding it first. Painting a weld over the top of a cracked hinge plate hides the problem and doesn’t fix it. The crack reopens within weeks, usually in a direction you didn’t check.
- “Fixing” a leaning post with a bag of quick-set concrete. In Spring Valley’s caliche soil, adding concrete to a post that’s already moving usually accelerates the movement. The fix is a footing, not a collar.
- Ignoring the safety reverse test. It takes under two minutes and it’s the single most important test on an automatic gate. If the gate doesn’t reverse on a physical obstruction, it’s not a working gate – it’s a waiting hazard.
- Digging near buried conduit without a locator. The low-voltage wire connecting your keypad or intercom runs underground. A shovel is the wrong diagnostic tool.
- Bracing a sagging gate against the ground instead of the post. Fix the panel without the post and you’ll fix it twice. Always find the sag at the hinge post.
- Replacing an entire opener because the remote stopped working. Nine times out of ten, it’s a battery, a re-pairing, or a receiver issue. Exhaust the cheap fixes first.
When to Call a Professional
Call a professional the moment the word “weld,” “post,” “underground,” “conduit,” or “safety reverse” enters the conversation. Also call if the gate has been struck by a vehicle, if a post has moved at all, if you’ve had an opener fail twice for the same reason, or if the automatic gate moves without being commanded to. Any of the six brands we service most often – Ghost Controls, DoorKing, Elite, Mighty Mule, LiftMaster, FAAC – can present a symptom you think is electrical but is actually mechanical, or vice versa. Guessing gets expensive fast. Gatewood Fence & Gate Spring Valley offers free estimates in Spring Valley – call (888) 300-3906. A live person answers, day or night, and the estimate is quoted and agreed before any work starts.
See the difference
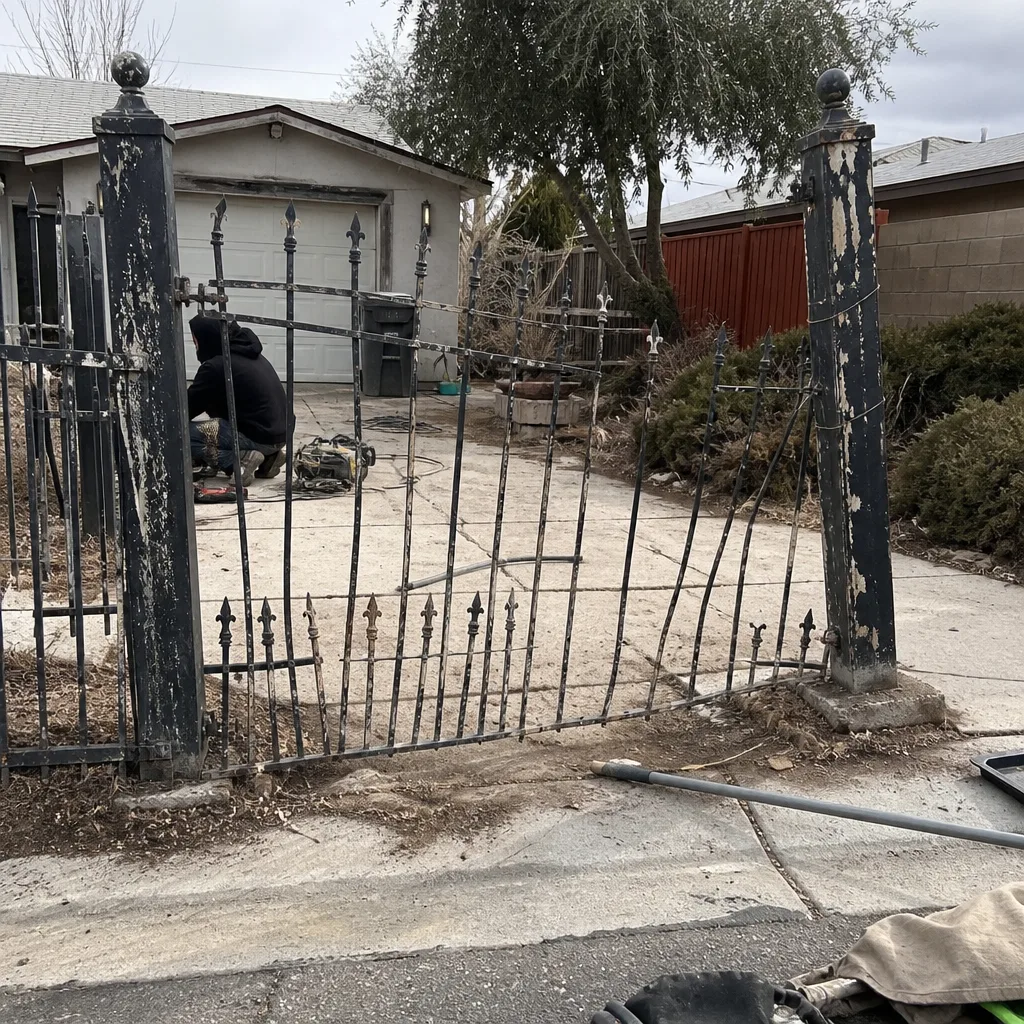 Before
 After
 Before
 After
 Before
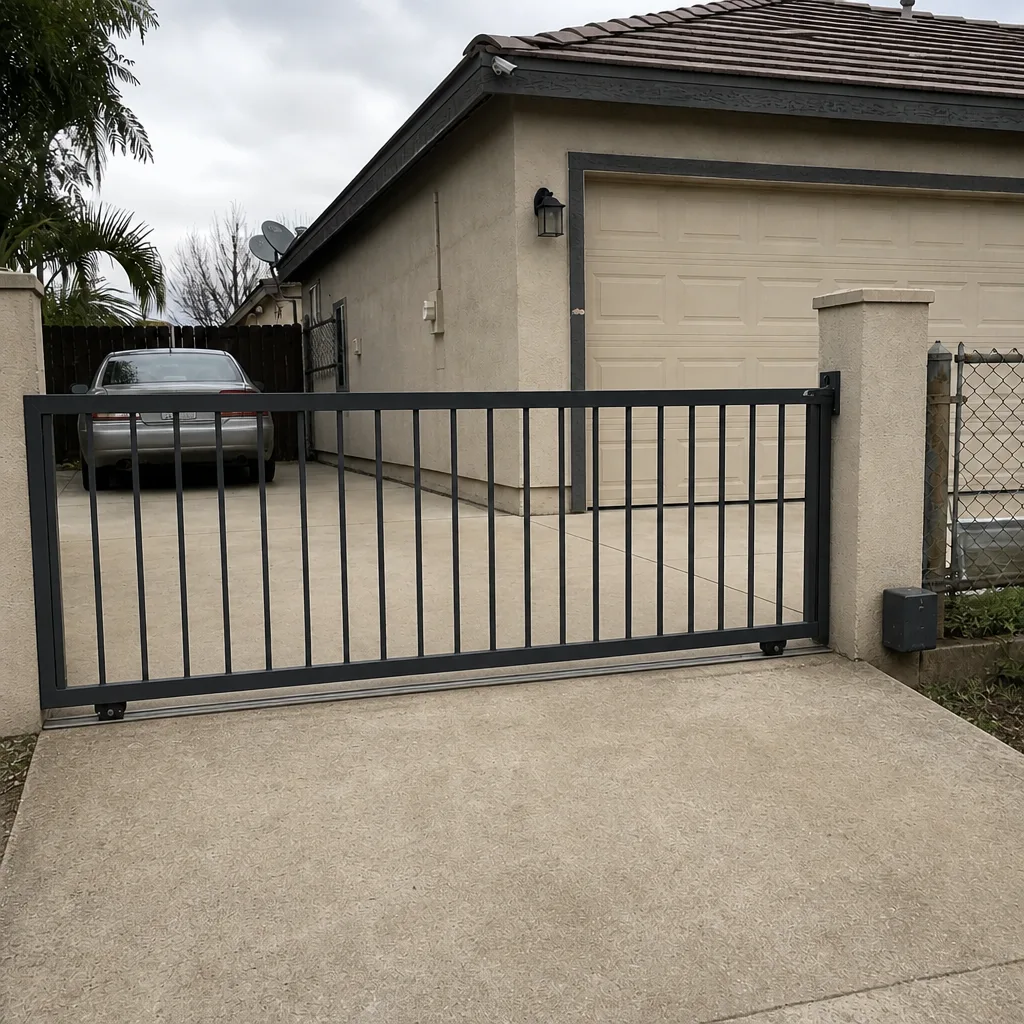 After
Frequently Asked Questions
Tightening hinge bolts and lag screws, lubricating hinges and rollers, clearing the swing path, replacing remote batteries, and touching up paint are all safe to do yourself. These are fastener and maintenance tasks where the worst outcome is a wasted afternoon. Anything involving welding, posts, buried wire, or opener adjustments belongs to a professional.
You can – but you shouldn’t, unless you’ve read the manual and can perform the safety reverse test correctly after. On every major brand we service, an incorrectly set limit switch strains the motor on every cycle and shortens the operator’s life. On a Spring Valley gate that runs multiple times a day, we’ve seen operators fail within weeks of a bad adjustment.
Most on-site hinge and structural weld repairs in Spring Valley land in a wide range depending on access, gate weight, and whether the post sleeve needs grinding. The exact number is quoted after we’ve inspected the gate. We don’t quote a phone estimate and change it at the door – the number you’re given is the number you pay. Call (888) 300-3906 for a free estimate.
A gate that opens on its own is almost always a sensor, wiring, or control-board issue – not a mechanical one. A corroded safety loop, water in the conduit, or a failing receiver can all cause ghost openings. Don’t ignore it. In Spring Valley we see this most often after monsoon-season humidity works its way into older conduit runs. Call for a diagnostic before you replace parts.
A full installation includes the post footings, the gate structure, the operator and its power run, the safety edges and reversing sensors, all control wiring, programming, and a documented safety test. It’s a measured, ordered, scheduled job – not a same-day service – and the number is quoted and agreed before any work starts. We’ll tell you honestly if a repair makes more sense than a replacement.
Yes. Both the low-voltage power and control run and the safety-edge and reversing sensor wiring are part of what we handle on any installation or major repair. They’re also the parts most often done wrong by DIYers, and the parts that matter most for a gate’s safe operation.
The Bottom Line
The line between safe DIY and professional work isn’t about how handy you are – it’s about structural risk, liability, and the cost of a mistake you didn’t know you were making. Tighten the hinge. Lube the roller. Stop at the weld. In Spring Valley, most of the expensive jobs we see started as a homeowner trying to save a Saturday afternoon and ending up behind a fallen gate or a dead opener. That’s not a criticism; it’s a pattern. The right shop will tell you which category you’re in without selling you anything you don’t need. Our license number and address are published, our name is on the shop, and a live person answers the phone.
Call Gatewood Fence & Gate Spring Valley at (888) 300-3906 for a free estimate. Whether you’re looking for straightforward Gate Repair in Spring Valley, considering a new Gate Installation in Spring Valley, or need help with a Gate Motor & Opener in Spring Valley that’s behaving badly, we’ll give you a straight read and an upfront number before any work starts.
Written by the team at Gatewood Fence & Gate Spring Valley.