
Last updated November 18, 2026
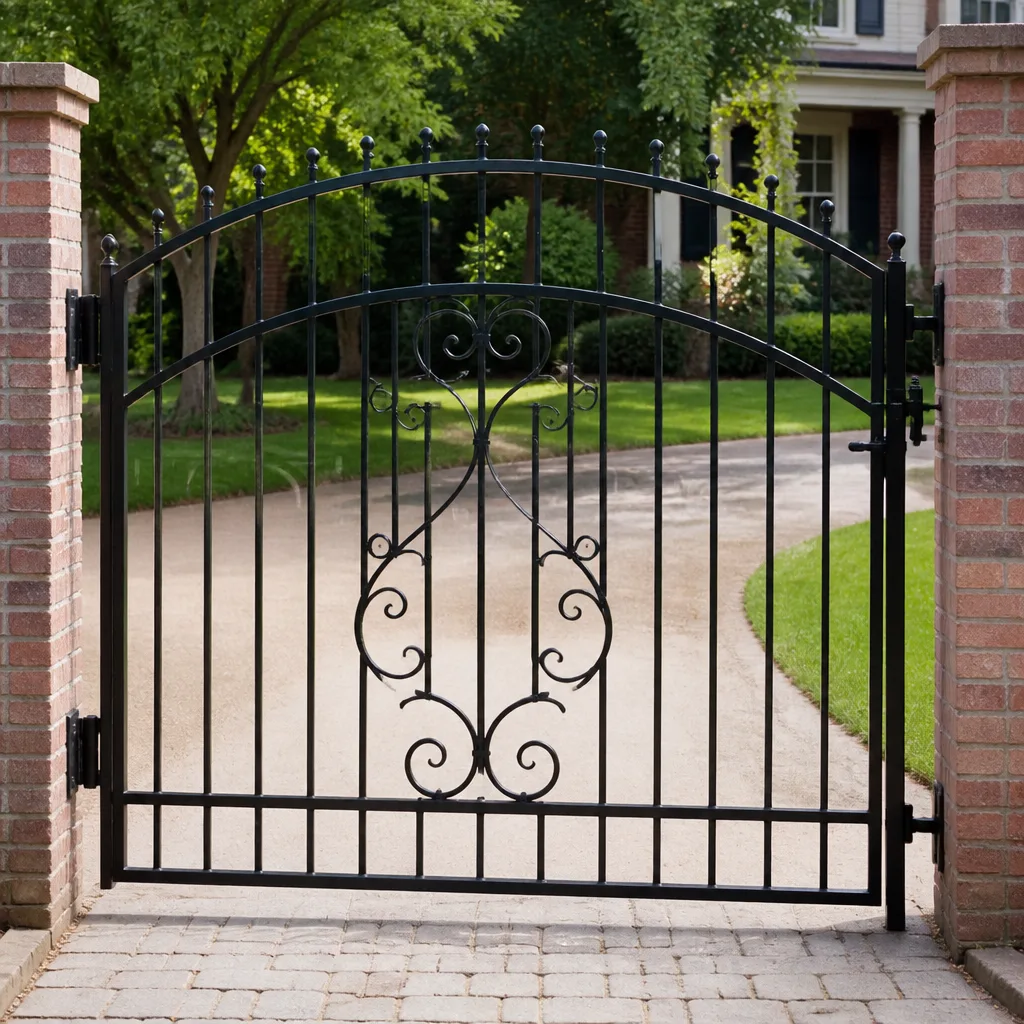 Wrought iron
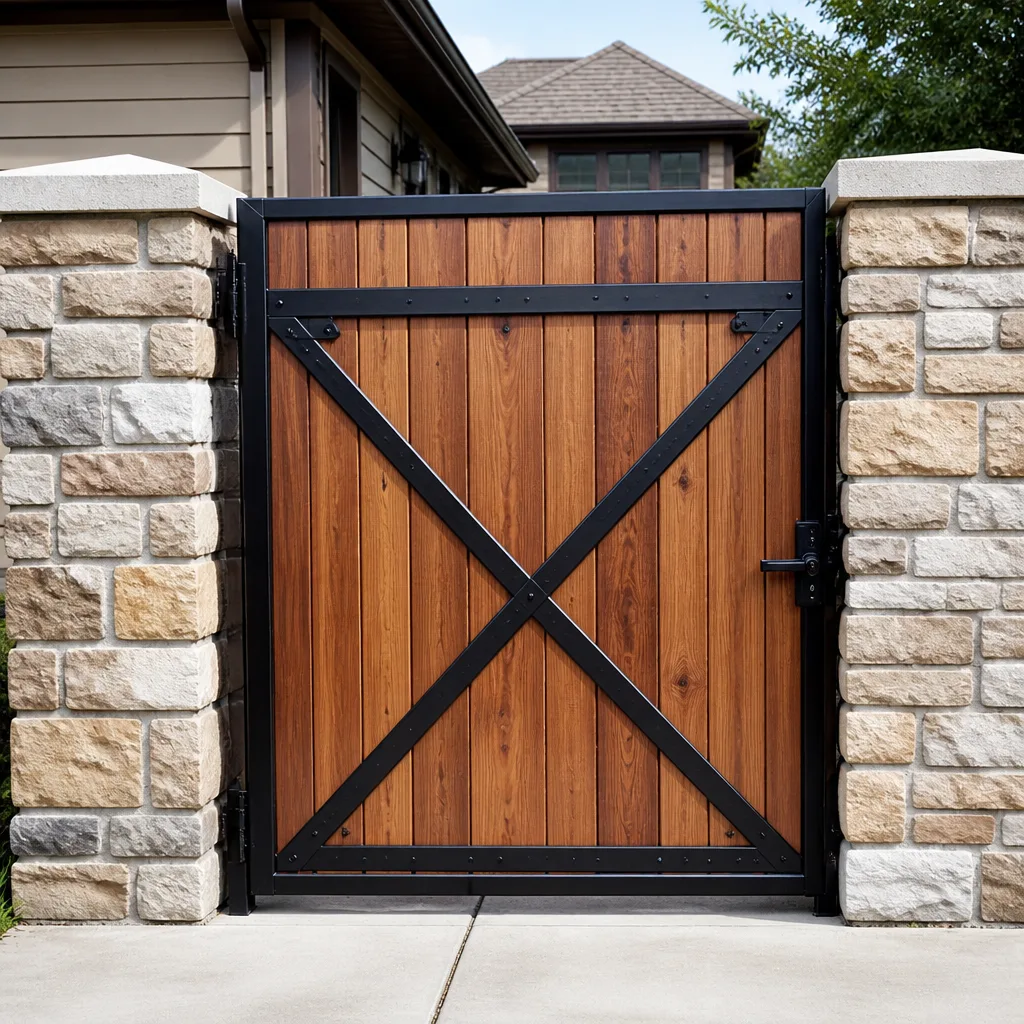 Wood & steel frame
 Farm & ranch
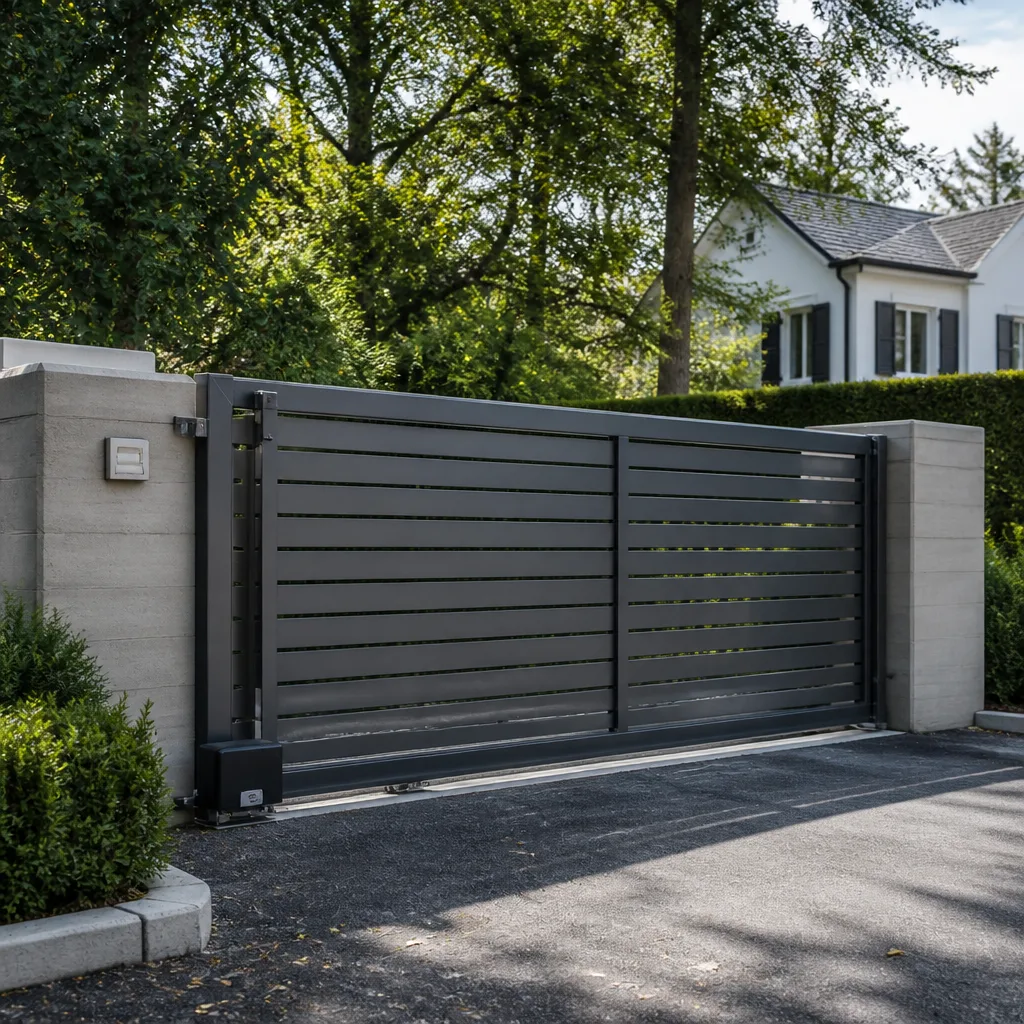 Sliding driveway gates
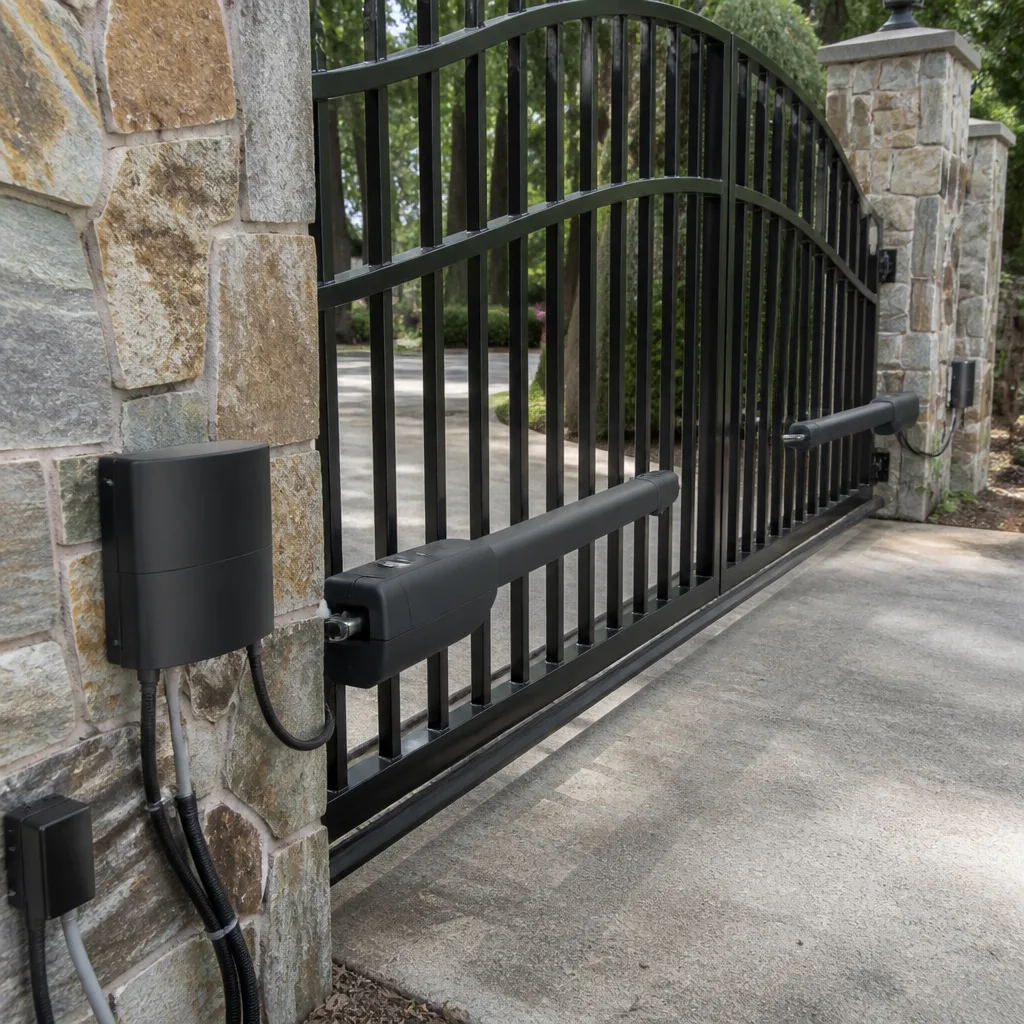 LiftMaster operators
Free on-site gate assessment - hinges, posts, and your LiftMaster or Nice gate operator checked before anything is quoted
The assessment is free and the quote is the invoice.
Get your free estimateDIY vs Professional Gate Repair: The Spring Valley Homeowner’s Decision Guide
Here is the part most gate companies won’t tell you: three of the repairs we get called for most often are jobs you can do yourself on a Saturday morning with a wrench you already own. And the fourth one, the repair that looks just as easy, is the one that costs twice as much to fix after it goes wrong. The line between DIY and professional gate repair isn’t about whether you’re handy. It’s about knowing which repairs are genuinely homeowner-friendly and which ones only look simple. This Spring Valley guide draws that line honestly, job by job, so you can decide with your eyes open.
Quick Answer
Homeowners can safely handle latch hardware, lubrication, minor hinge adjustment, and weatherstrip on their own. Anything involving the gate operator’s wiring, the hinge post footing, or a gate that has dropped or racked needs a professional. In Spring Valley, the automated operator wiring is the repair that most confidently crosses that line, both for safety and because it touches code. If you’re unsure which side a repair falls on, a free estimate settles it in minutes, and no reputable pro will pressure you into work your gate doesn’t need.
Styles & brands we work with
- Wrought iron
- Wood & steel frame
- Farm & ranch
- Sliding driveway gates
- LiftMaster operators
Table of Contents
- Where the DIY Line Actually Falls
- Repairs That Are Genuinely Homeowner-Friendly
- The Exact Tools Each DIY Job Requires
- Why Operator Wiring Is the Hard Line in Nevada
- The Honest Cost Comparison: Parts vs Parts-Plus-Labor
- How to Do a Partial DIY (Without Creating a Liability Problem)
- Common Mistakes to Avoid
- When to Call a Professional
Where the DIY Line Actually Falls
A gate is a lever bolted to a post, and almost everything that goes wrong happens at one of those two ends. The hinge post is the foundation. The panel is the moving part. When we roll up to a sagging gate in Spring Valley, the first thing we check is the post, because a gate sags in the hinge post, not in the middle, and that is where the diagnosis starts. If the post is sound and plumb, most sag problems are a hinge adjustment or a worn hinge pin, and that’s homeowner territory. If the post has shifted, cracked its footing, or pulled away from the masonry, no amount of hinge-fiddling will hold, and that’s professional territory.
The second dividing line is the operator. Manual gate hardware is mechanical and forgiving. An automatic operator combines a 120-volt power supply, low-voltage control wiring, safety sensors, and a logic board that can be damaged by a wrong connection. Those are two very different kinds of risk, and Spring Valley homeowners tend to lump them together.
So the honest split looks like this:
- Homeowner-friendly: latches, catches, handles, lubrication, minor hinge adjustment, weatherstrip, and visual inspection.
- Professional territory: hinge post repair or resetting, panel reinforcement, welding, operator wiring and board work, safety sensor alignment after a fault, and anything that has left the gate out of square.
Skill level matters less than you think. A careful homeowner with the right tools can do the friendly list well. A confident homeowner with the wrong tools can make the professional list much worse.
Repairs That Are Genuinely Homeowner-Friendly
These are the jobs we actively encourage Spring Valley homeowners to take on. They’re low-risk, they don’t require special tools, and if they go sideways you’re out a few dollars, not a gate.
Latch and catch hardware. A latch that no longer catches is usually a striker plate a quarter-inch out of alignment or a worn spring. Replacement latches for standard gate hardware run $15 to $40 at any hardware store, and swapping one is a 20-minute job with a screwdriver. This is the single most common repair we see requested that a homeowner could have handled.
Lubrication. Hinges, latches, and operator chains collect grit. A dry lubricant (not WD-40, which attracts dust) on hinges and a chain-specific lube on the operator chain every few months keeps things moving. In Spring Valley’s dry, dusty summers, we see more wear from grit than from rain.
Minor hinge adjustment. If a hinge has a grease fitting or an adjustable plate, tightening or shimming it can correct a small sag. This works only when the hinge post itself is solid. Check the post first.
Weatherstrip and gap sealing. A strip of weatherstrip along the gate bottom or a rubber bumper to stop metal-on-metal rattle is a straightforward weekend fix and doesn’t touch anything structural.
What ties these together: they’re all surface hardware, none of them carry load from the panel to the post, and none of them involve electricity.
The Exact Tools Each DIY Job Requires
Before you start, check your toolbox against this list. If you don’t have the specific tool, that’s your signal to stop and call rather than improvise.
Latch and catch replacement:
- Phillips #2 and #3 screwdriver
- Cordless drill with a 1/8-inch pilot bit for new screw holes in wood
- Adjustable wrench (10-inch) for through-bolt hardware
- Tape measure and a pencil for marking alignment
Lubrication:
- Dry PTFE or silicone spray for hinges
- Chain-specific lubricant for the operator chain
- A rag and a small brush to clear grit first
Minor hinge adjustment:
- Adjustable wrench or a set of box-end wrenches
- Steel shims (available in a small pack at any hardware store)
- A 4-foot level to confirm the gate hasn’t racked
Weatherstrip:
- Utility knife with fresh blades
- Tin snips if the strip has a metal carrier
- Cordless drill and the appropriate fasteners
If a job on this list suddenly calls for a welder, a hammer drill, a torque wrench above 50 foot-pounds, or a multimeter, you’ve crossed from the friendly list to the professional list. Stop there. Our Gate Repair in Spring Valley page covers what happens on the professional side of that line.
Why Operator Wiring Is the Hard Line in Nevada
Of everything on a gate, the automated operator’s electrical work is where we most often see a homeowner get in over their head. And “you could get hurt” undersells the real problem.
An automatic gate operator runs on line voltage from the house to a control box, and then low-voltage control signals from that box to the safety sensors, the keypad, the loop detector, and the radio receiver. The line voltage side is genuinely dangerous. The low-voltage side is where most DIY damage happens, because a miswired sensor or a crossed control wire can burn out a logic board that retails for $200 to $400 depending on the brand. We’ve seen a homeowner turn a $90 sensor replacement into a $350 board replacement by reversing two leads.
Then there’s the code side. Nevada’s electrical code treats gate operator power and safety devices with specific requirements, including how the power run is protected and how the entrapment protection is installed. A gate operator installed without proper safety edges or photo-eye protection isn’t just out of compliance, it’s a moving machine that can close on a person. On brands like LiftMaster and FAAC, the logic board checks the safety sensors on every cycle, and if the sensors are miswired or bypassed, the operator may run in a fault mode or not run at all.
That’s the honest reason operator wiring crosses the DIY line: it combines shock risk, board-damage risk, and entrapment risk in a single job. Our Gate Motor & Opener in Spring Valley page goes deeper on how we service operators from brands like LiftMaster, FAAC, BFT, and Mighty Mule.
The Honest Cost Comparison: Parts vs Parts-Plus-Labor
Here is the comparison most guides skip. It’s not just dollars, it’s dollars plus your time, and the second time cost is what catches first-timers.
Take a worn latch replacement. A replacement latch runs $15 to $40. A pro would charge $60 to $120 including parts and a short service call. If you have a screwdriver and 20 minutes, DIY wins clearly.
Take a hinge adjustment on a gate with a solid post. The tools cost nothing if you own them, and the repair is 20 to 30 minutes. A pro would charge in the $95 to $175 range depending on how far out of alignment the gate is. DIY wins if the post is sound.
Take an automated operator issue. A replacement safety sensor might run $40 to $120 in parts. But diagnosing which sensor failed, confirming the board isn’t at fault, and re-aligning the pair on a Spring Valley gate, where summer heat and dust wear out sensor lenses and brackets, is a 30-to-60-minute job for someone who has done it hundreds of times. For a first-timer, the same job can take a full afternoon, often with a wrong part purchased and returned. That’s the realistic time cost, and it’s where DIY quietly stops being cheaper.
And the repair that looks easy but isn’t: a sagging gate that a homeowner “fixes” by shimming a hinge on a post whose footing has started to give. That fix works for a week or two, then the post shifts further and now both the footing and the hinge need attention. Fixing the post after a bad shim job costs substantially more than fixing the footing correctly the first time. In our experience, that’s the most common way a $150 repair becomes a $400 repair on a Spring Valley gate.
| Repair | DIY parts cost | Pro parts + labor | Realistic DIY time (first-timer) | Verdict |
|---|---|---|---|---|
| Latch replacement | $15 – $40 | $60 – $120 | 20 – 30 min | DIY-friendly |
| Lubrication | $10 – $20 | $60 – $100 | 30 min | DIY-friendly |
| Minor hinge adjustment (solid post) | $0 – $20 | $95 – $175 | 30 – 45 min | DIY-friendly |
| Safety sensor replacement | $40 – $120 | $150 – $325 | 2 – 4 hrs | Professional |
| Hinge post footing repair | Not a homeowner job | $200 – $500+ | – | Professional |
None of these numbers are a quote for your specific gate, and we won’t invent one sight unseen. But this is the shape of the comparison, and it should let most Spring Valley homeowners make the call in under five minutes.
How to Do a Partial DIY (Without Creating a Liability Problem)
A lot of our customers land on a middle path: they buy the hardware themselves and hire a pro to install it. That works well when you do it right, and it creates real problems when you don’t.
When homeowner-supplied hardware is reasonable:
- You’ve matched the hardware to your gate’s size, weight, and material (a 4-inch gate latch isn’t right for a 6-foot steel frame).
- The part is a stock item from a mainstream brand, still in its packaging, with the model number legible.
- You understand the pro won’t warranty a part they didn’t supply, and you’re okay with that.
When it creates liability problems:
- The part is used, reconditioned, or of unknown origin. If it fails, the installer can’t reasonably warranty the labor on a part they can’t verify.
- The hardware is for a brand the installer doesn’t service. On operators from LiftMaster, FAAC, BFT, and Mighty Mule, a mismatched part can leave the board in a fault state, and now you’ve got a repair that needs a second visit.
- The part is the safety sensor or safety edge. These are life-safety devices, and a pro is rightly cautious about certifying a device they didn’t source.
The polite way to do partial DIY: call first, describe the gate and the part you’re considering, and ask whether bringing your own hardware is workable. A straightforward pro will tell you yes or no before you buy. It’s also why we offer a free second opinion on any written estimate, so you can compare what you’ve been quoted for supplied hardware against what a repair-first shop would charge. Our Gatewood Fence & Gate Spring Valley home page lays out how we handle this.
Common Mistakes to Avoid
- Shimming a hinge without checking the post. If the hinge post has shifted, a shim holds for days. Check the post first with a level. In Spring Valley, our soil swings between heavy monsoon moisture and long dry spells, and that cycle is a common cause of post movement.
- Using the wrong lubricant on an operator chain. WD-40 cleans but doesn’t lubricate a chain, and it attracts grit. Use a chain-specific lubricant, especially through Spring Valley’s dusty summer.
- Bypassing a safety sensor to make the gate close. We see this more than you’d think. It’s the one DIY “fix” we’d flag as outright dangerous, and it can void the operator’s compliance with entrapment protection requirements.
- Fixing a sagging gate at the panel instead of the post. A gate that has dropped has lost square at the hinge. Fix the panel without the post and you’ll fix it twice.
- Mixing brands on operator hardware. A safety sensor from one brand won’t necessarily handshake with another brand’s logic board. Match the brand, or call first.
- Welding without a welder’s training. Gate frame welding looks simple until you’ve got a warped panel and a burn mark on the driveway. On-site welding is a professional job, not a homeowner one.
- Tightening every bolt “to be safe.” Over-tightening gate hardware cracks the mount, strips the threads, or cracks the panel. Snug, then stop.
When to Call a Professional
Call a professional when the problem is at the hinge post, in the operator wiring, in the operator’s logic board, or anywhere a weld is needed. Call when the gate has dropped, racked, or stopped closing on its own, or when you’ve done a homeowner-friendly repair and the gate still isn’t right. Call when a safety sensor is misbehaving, because a gate that closes on a sensor fault is a hazard, not an inconvenience. And call before you buy an expensive part you’re not sure will fit.
Gatewood Fence & Gate Spring Valley offers free estimates in Spring Valley. Every job carries our 90-Day Done Right Promise in writing, and calls are answered by a live person around the clock. Call (888) 300-3906 to talk through your gate with someone who can tell you honestly whether it’s a DIY job or one for us. The Gate Installation in Spring Valley page covers what a full replacement involves if the gate turns out to be past repair.
See the difference
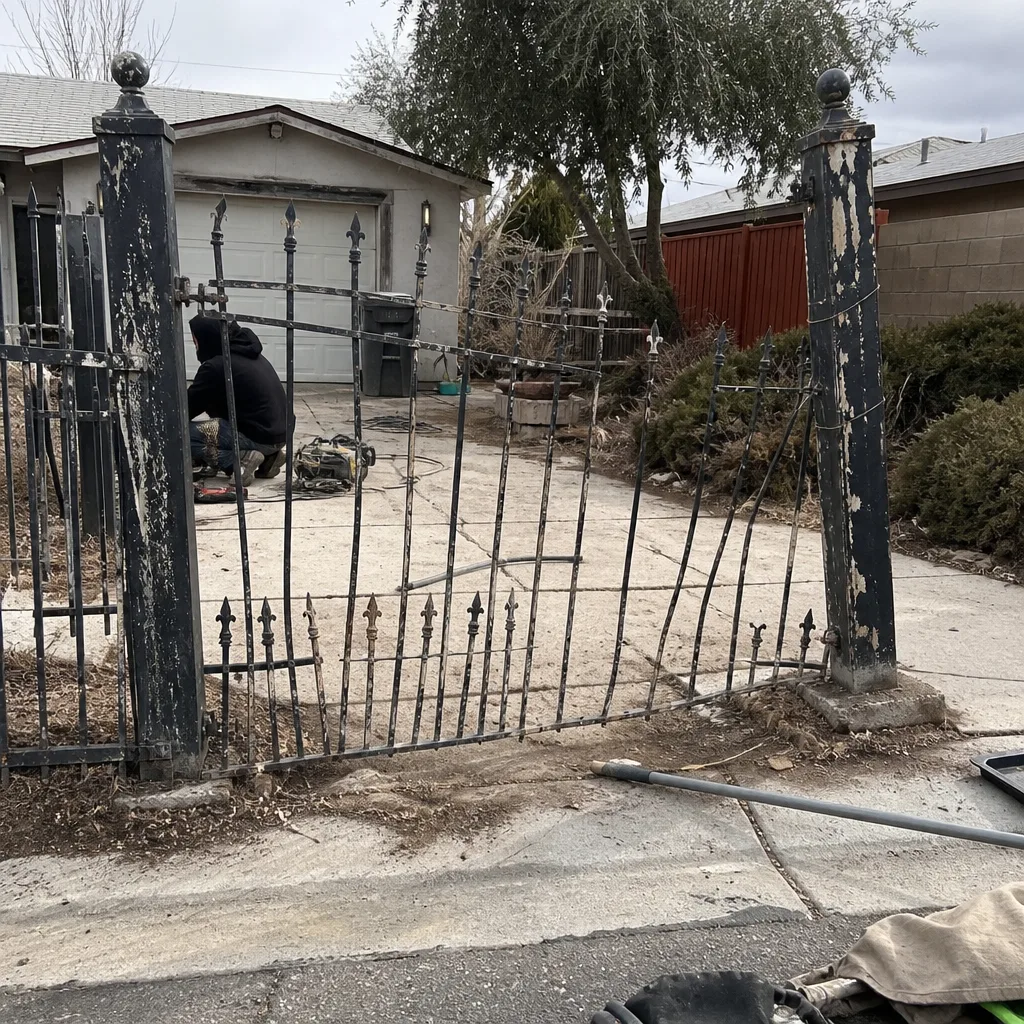 Before
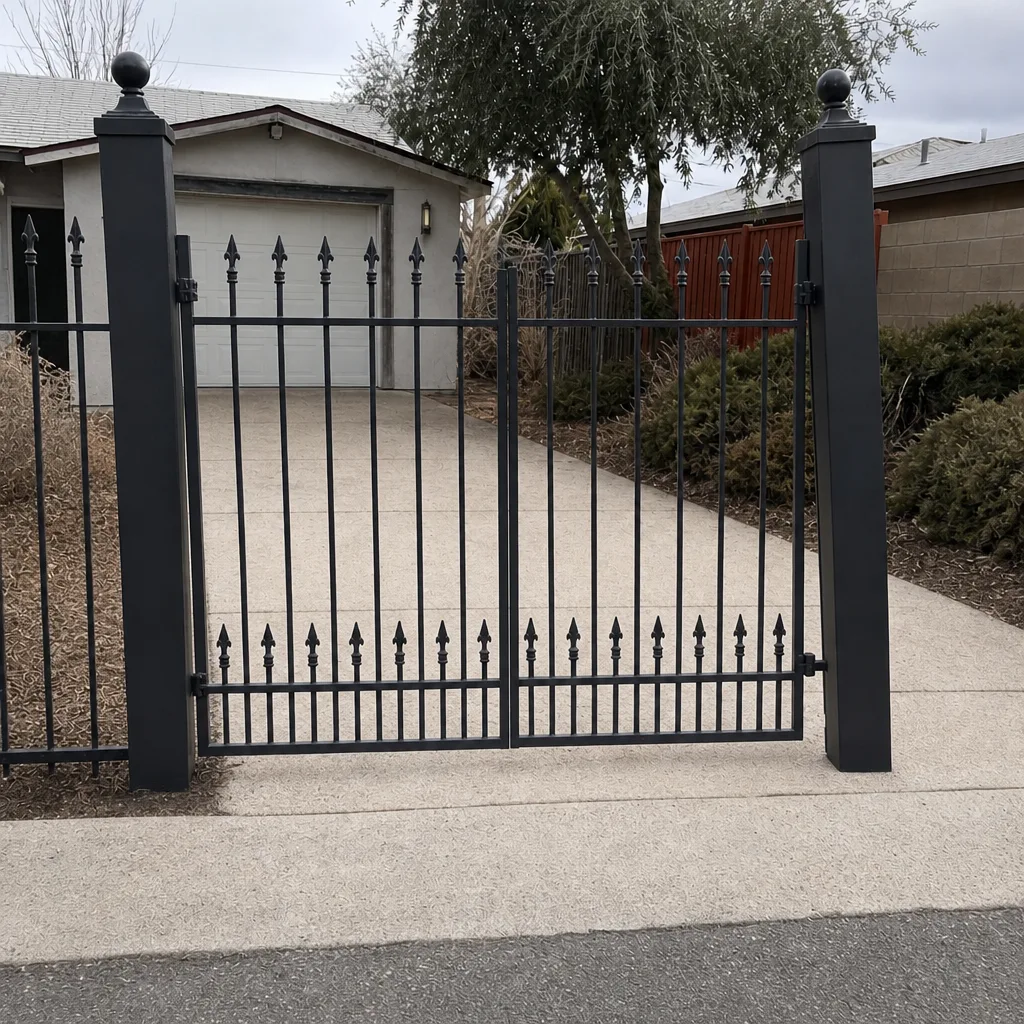 After
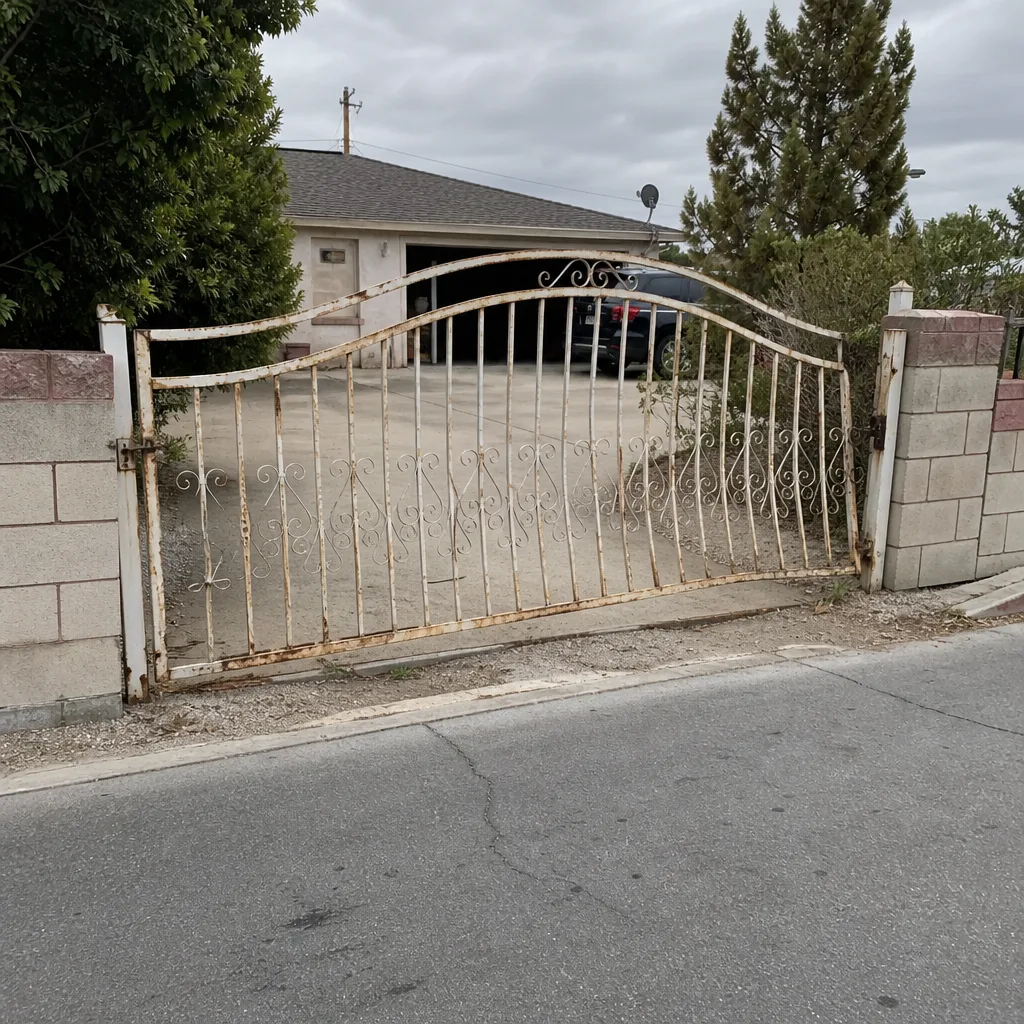 Before
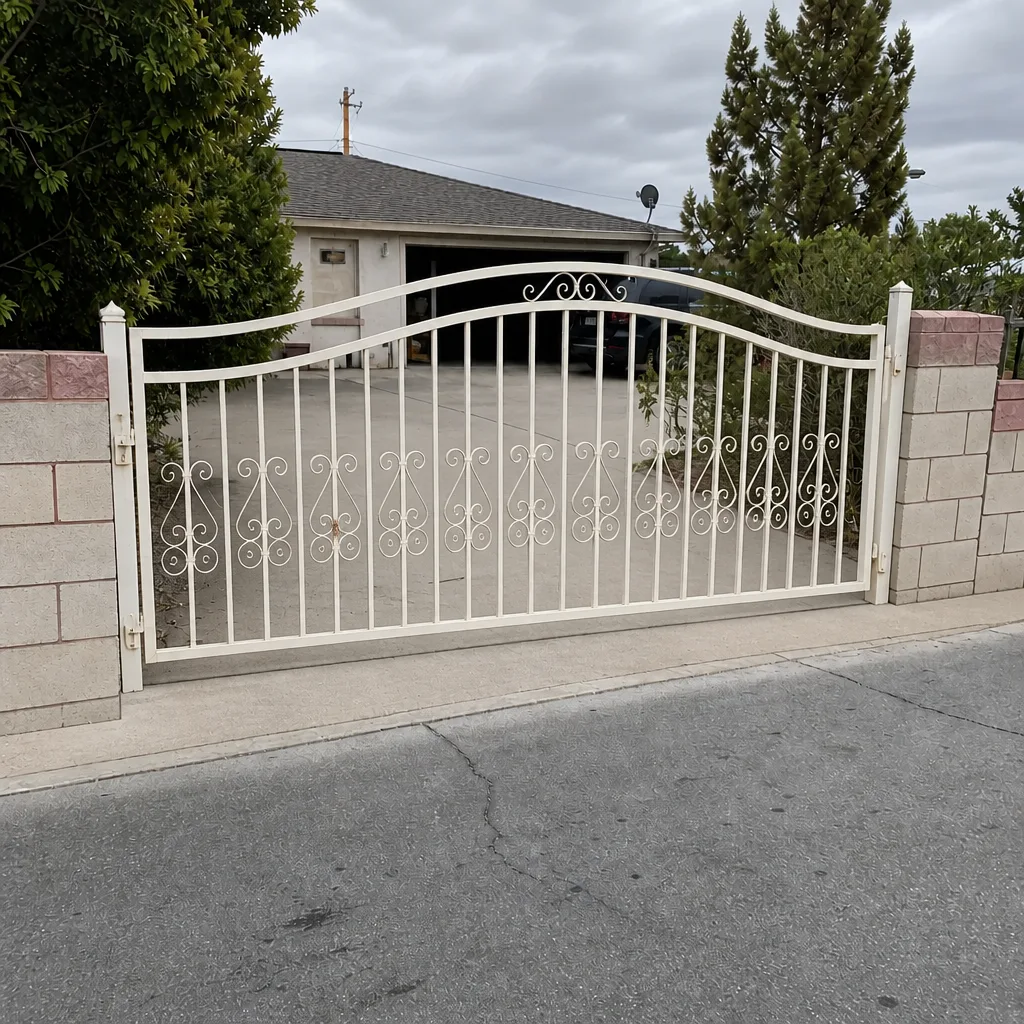 After
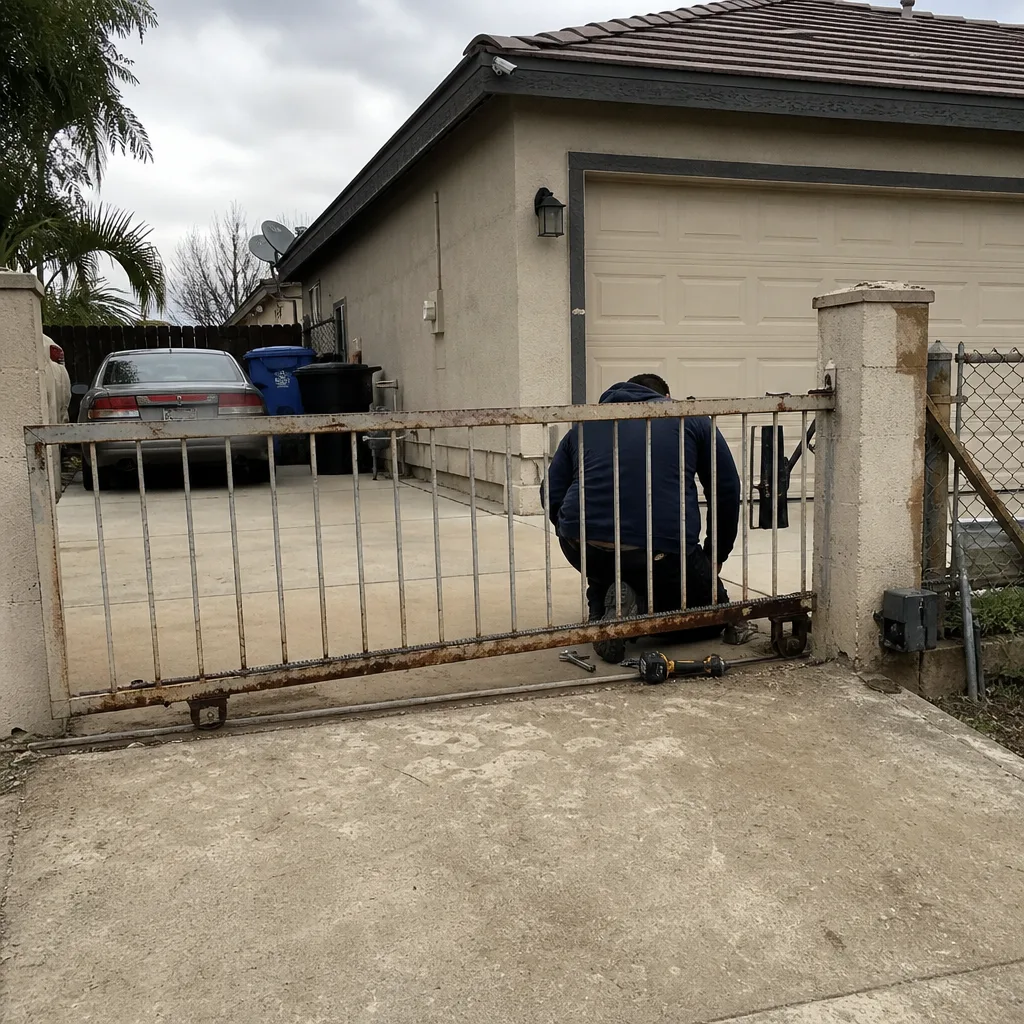 Before
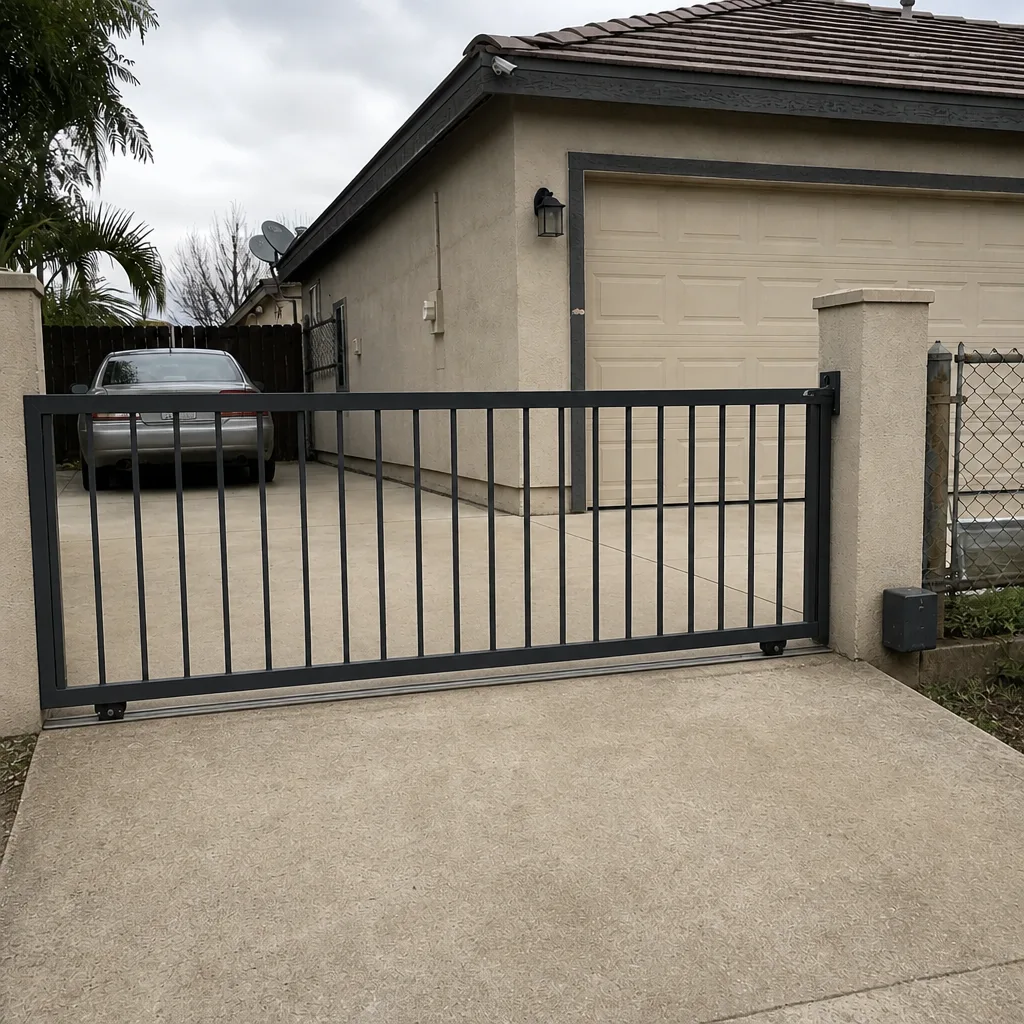 After
Frequently Asked Questions
For latches, lubrication, minor hinge adjustment, and weatherstrip, DIY is usually cheaper because the parts run $10 to $40 and the job takes under an hour. For operator issues, post repair, or welding, professional repair is almost always cheaper once you account for parts you don’t use and the real time cost of a first-time fix. Call (888) 300-3906 for an exact quote, and estimates are free.
Latch and catch replacement, lubrication, minor hinge adjustment on a solid post, and weatherstrip are all safely homeowner-friendly. None of them carry structural load from post to panel or involve electricity. If the repair suddenly needs a welder, a hammer drill, or a multimeter, it’s time to call us.
Yes. An automatic gate operator combines line voltage, low-voltage control wiring, and safety devices in one job, so operator wiring carries shock risk, board-damage risk, and entrapment risk at the same time. In our experience, a miswired safety sensor can burn out a logic board, and bypassing a safety edge leaves the gate able to close on a person. This is the repair we most strongly recommend leaving to a trained professional.
Often yes, as long as the hardware is new, stock, from a mainstream brand, and matched to your gate. Being upfront with the installer before you buy is the key. A pro may decline to warranty labor on your part, and most will rightly hesitate on safety devices, so ask before you spend the money. Call (888) 300-3906 and we’ll tell you whether your plan is workable.
Sometimes. If a level confirms the hinge post is plumb and solid, a minor hinge adjustment or a new hinge pin can correct a small sag, and that’s a fair DIY job. If the gate has dropped noticeably or the post has any movement, professional attention to the footing is the smarter path. A quick in-person look is the fastest way to know which is which.
No trip charge applies inside the county. We also offer $40 off any repair over $200, a free second opinion on any written estimate, and a permanent 10% discount for seniors and veterans. Our technicians have up to 25 years of experience. Call (888) 300-3906 for a free estimate.
The Bottom Line
The DIY-versus-professional decision on gate repair comes down to three questions. Is the post solid? Is the repair surface hardware? Does it touch the operator’s wiring or safety devices? If the post is solid and the job is surface hardware, you can probably handle it with the tools we’ve listed. If any of those answers points to the post, the panel, the welder, or the operator, professional repair is the cheaper path, not the more expensive one. In Spring Valley, the common mistake is a homeowner-friendly fix applied to a post that needed professional work, and that’s how a modest repair becomes a bigger one. A free estimate settles the question, and there’s no pressure to buy work your gate doesn’t need.
Ready to have someone look at it with you? Call (888) 300-3906 for a free estimate. A live person answers, and we’ll tell you straight whether it’s a Saturday job or a lay-it-on-us job.
Written by the team at Gatewood Fence & Gate Spring Valley.