
Last updated November 18, 2026
 Wrought iron
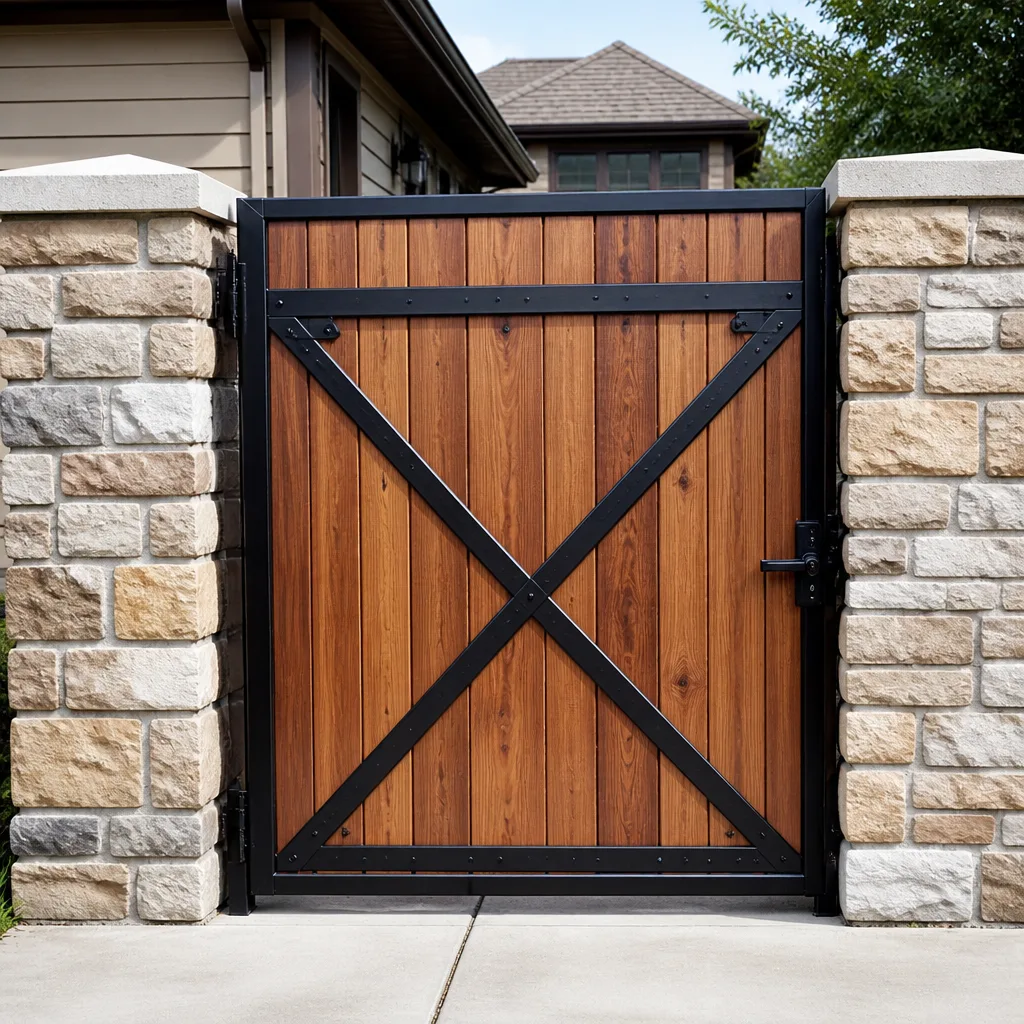 Wood & steel frame
 Farm & ranch
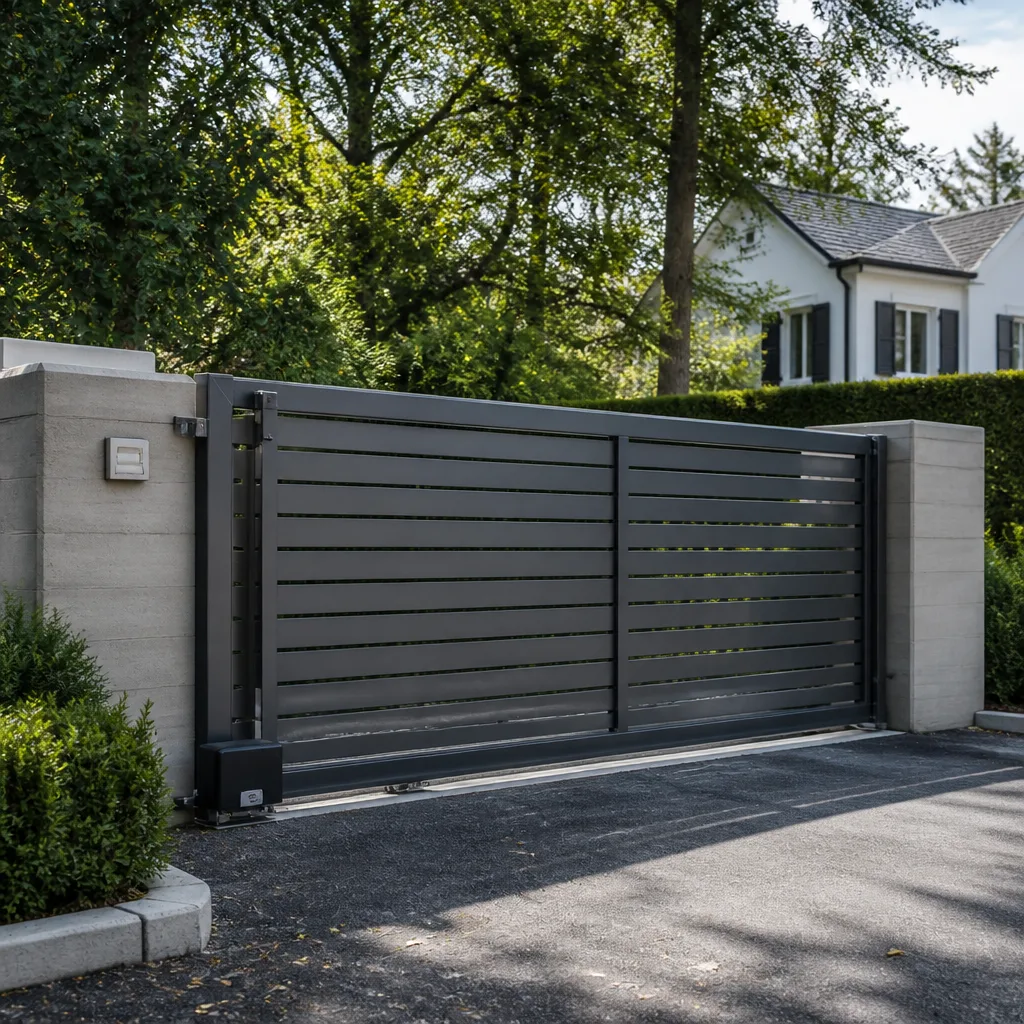 Sliding driveway gates
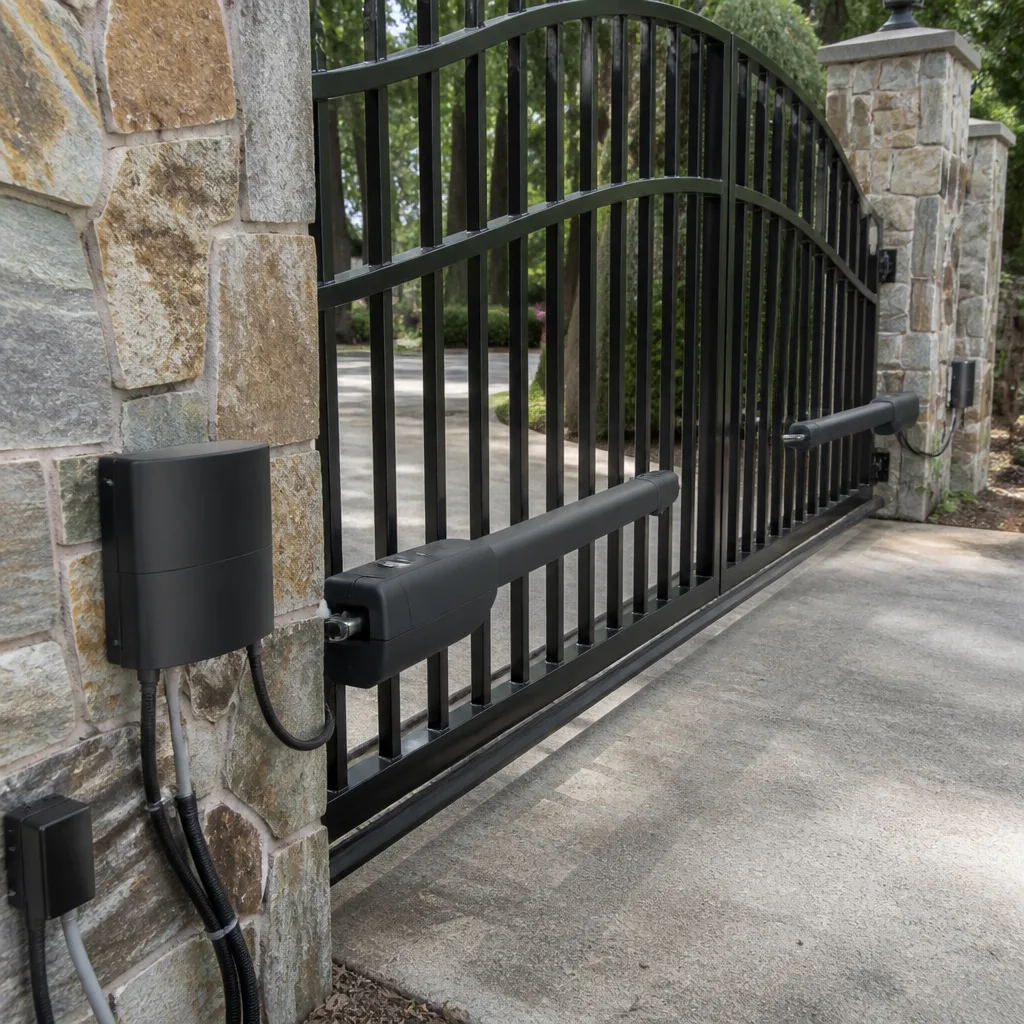 LiftMaster operators
Free on-site gate assessment - hinges, posts, and your LiftMaster or Nice gate operator checked before anything is quoted
The assessment is free and the quote is the invoice.
Get your free estimateGate Repair Maintenance Checklist for Spring Valley Homeowners
Most gate failures aren’t sudden. They send warnings for months – a sag here, a rattle there, a gate that starts stopping an inch short of where it used to close. Homeowners in Spring Valley walk past those warnings every day without knowing what they’re looking at, and then the gate stops working entirely. That repair runs $400, $600, sometimes more, and it was avoidable. This checklist is built around the specific hardware, weather, and soil conditions that actually beat up gates in Spring Valley. It’s task-by-task, it tells you exactly what a bad result looks like, and it flags the three items most homeowners skip until the bill arrives.
Quick Answer
A gate maintenance checklist for Spring Valley homeowners should cover five things every spring and fall: hinge lubrication and hardware inspection, post sag and footing checks, operator and battery testing, safety sensor alignment, and a written log of symptoms. The specific failures worth watching for in Spring Valley are heat-baked hinge grease, sun-cracked concrete footings from caliche clay movement, and heat-damaged operator batteries that still pass a power test but fail on a real load. Skip the footing and hinge checks and you’ll usually get a post failure or hinge weld failure within 18 months.
Styles & brands we work with
- Wrought iron
- Wood & steel frame
- Farm & ranch
- Sliding driveway gates
- LiftMaster operators
Table of Contents
- Step 1: The Hinge and Sag Check (Do This First)
- Step 2: The Concrete Footing Inspection Nobody Does
- Step 3: Operator, Battery, and Safety Sensor Checklist
- Step 4: Lubricating for Desert Heat, Not the Package Directions
- Step 5: Latches, Tracks, and the Stops Along the Way
- Step 6: The Log Sheet That Cuts Your Repair Bill
- Spring Valley Maintenance Calendar
- Repair or Replace? A Straight Answer
Step 1: The Hinge and Sag Check (Do This First)
A gate sags in the hinge post, not in the middle – and that’s where we start. You don’t need special tools for this one. You need a tape measure and a four-foot level.
- Close the gate. Measure the gap between the bottom rail and the ground at the hinge side, then at the latch side. Write both numbers down.
- Open the gate 90 degrees. Hold the level vertical against the gate face near the hinge. A perfectly plumb gate with fresh hardware holds its line. A gate that’s leaning 3/16 inch or more is bad news – the footing or the hinge weld is letting go.
- Now grab the gate near the top hinge and push and pull it toward you and away. Any movement at the hinge is loose hardware. Movement in the post itself is worse – that’s footing failure.
Here’s the rule of thumb we use: a gap of 1/2 inch or more between hinge-side and latch-side bottom measurements is your early warning. That’s not a repair bill yet. That’s a torque-and-weld call. If you wait until the gate is dragging on the ground, the post has already been losing torque for 6 to 12 months and you’re usually looking at a footing rebuild instead of an adjustment.
In Spring Valley, most of the gate hardware we see is three styles: heavy butt hinges on wrought iron and steel-frame gates, weld-on strap hinges on wood-frame ranch gates and rural properties, and ball-bearing pivot hinges on the newer ornamental installs. Each one fails differently. Butt hinges seize – the pin takes the load and wears the barrel. Weld-on straps crack at the weld seam, usually on the top hinge first because that’s where the pull is. Ball-bearing pivots develop a wobble you can feel but can’t see. Know which one you have before you call anyone – it changes the fix.
Step 2: The Concrete Footing Inspection Nobody Does
Every other checklist I’ve seen skips the footing. It’s the most expensive failure on a gate, and it’s also the most predictable. Look at where the post meets the concrete. Get on your knees. Take a photo with your phone so you can compare it in six months.
Here’s what a failing footing looks like before the post actually leans:
- Hairline cracks radiating out from the post base. One crack is fine. Four cracks in a starburst pattern is the ground moving under the concrete.
- A raised lip of concrete around the base of the post. That’s the post pushing up through the slab. Spring Valley’s caliche clay swells when it gets wet and shrinks hard when it dries out, and the post gets squeezed up and down with it.
- Soil pulling away from the footing edge. If you can see daylight into a gap between the concrete and the dirt, the footing has shifted.
- A gap between the post and the concrete collar. The post is supposed to be grouted or welded into the footing. If it’s moving inside the collar, the next windstorm is going to make it worse.
The heat is the other problem in Spring Valley. Concrete that cures too fast in summer sun weakens, and a rotting wooden post inside a concrete footing rots faster than you’d expect because the moisture gets trapped inside the collar with no airflow. Steel posts inside concrete footings can rust through at the soil line. If your gate is more than ten years old and the footing has never been inspected, get eyes on it this season. Once the post leans 5 degrees, it’s not adjusting anymore – it’s rebuilding.
Step 3: Operator, Battery, and Safety Sensor Checklist
Automatic gates are the category where homeowners get handed a remote, a rough manual, and no useful instructions. The manufacturers we service – FAAC, BFT, Linear, Viking and the rest – all recommend an annual operator service. Very few installers explain what that actually means. Here’s the version you can do yourself in fifteen minutes.
- Battery backup load test. Don’t just look at the “battery OK” light. Kill the power to the operator at the breaker and open the gate on battery alone. If it strains, slows, or fails to complete one full cycle, the battery is done. Desert heat kills sealed lead-acid gate batteries in 18 to 30 months on average, well before the tester says so.
- Limit switch drift. Open and close the gate three times. If it stops within an inch of the same spot every time, good. If it stops short, then overshoots, then stops short again, the limit switches have drifted. That’s a symptom, not a solution – the real fix is adjusting and re-torquing the actuator arm.
- Obstruction sensor alignment. Walk between the posts while the gate is closing. It should stop and reverse immediately. If it hesitates, or stops only when you’re directly in front of the photo eye, the beams are out of alignment. Sun, dust, and spider webs throw these off constantly in Spring Valley.
- Manual release test. Every operator has a key release. Find it, use it, and make sure the gate moves freely by hand when released. If it doesn’t, the hinge or track is dragging and the operator is working against itself.
The fourth item is the one that saves operators. We see more premature motor wear in Spring Valley from dragging gates than from any electrical issue. If the gate won’t move smoothly by hand, the operator is going to burn out trying. That’s a gate repair in Spring Valley problem, not a motor problem, and the fix is usually a hinge and track adjustment, not a new operator.
Step 4: Lubricating for Desert Heat, Not the Package Directions
Most hinge lubricants on the shelf are rated for a mild climate. Spring Valley summer afternoons push gate hardware well past 130 degrees in direct sun, and a general-purpose grease will run out of a butt hinge by July and leave the pin running dry by August. That’s the sound you’re hearing on a hot afternoon – metal on metal, not the gate complaining for no reason.
What we use and recommend:
- For butt hinges: a lithium-complex grease or a dry PTFE spray. Wet spray lubricants attract the fine desert dust, and dust plus wet grease becomes grinding paste. Dry film is better here.
- For weld-on straps: a light machine oil at the pivot pin, not grease. The strap needs to swing freely, and grease in the pin pocket collects grit.
- For ball-bearing pivots: the sealed-bearing design means you can’t effectively re-grease them from the outside. Listen for a rumble. If you hear one, the bearing is going and the pivot needs replacing.
Schedule this once in late spring and once in early fall. Not more – over-lubricating traps dust. If you’re running a gate motor & opener in Spring Valley setup, also check the actuator arm pivot points on the same schedule. That’s the most overlooked grease point on automatic gates and it’s usually the first place wear shows.
Step 5: Latches, Tracks, and the Stops Along the Way
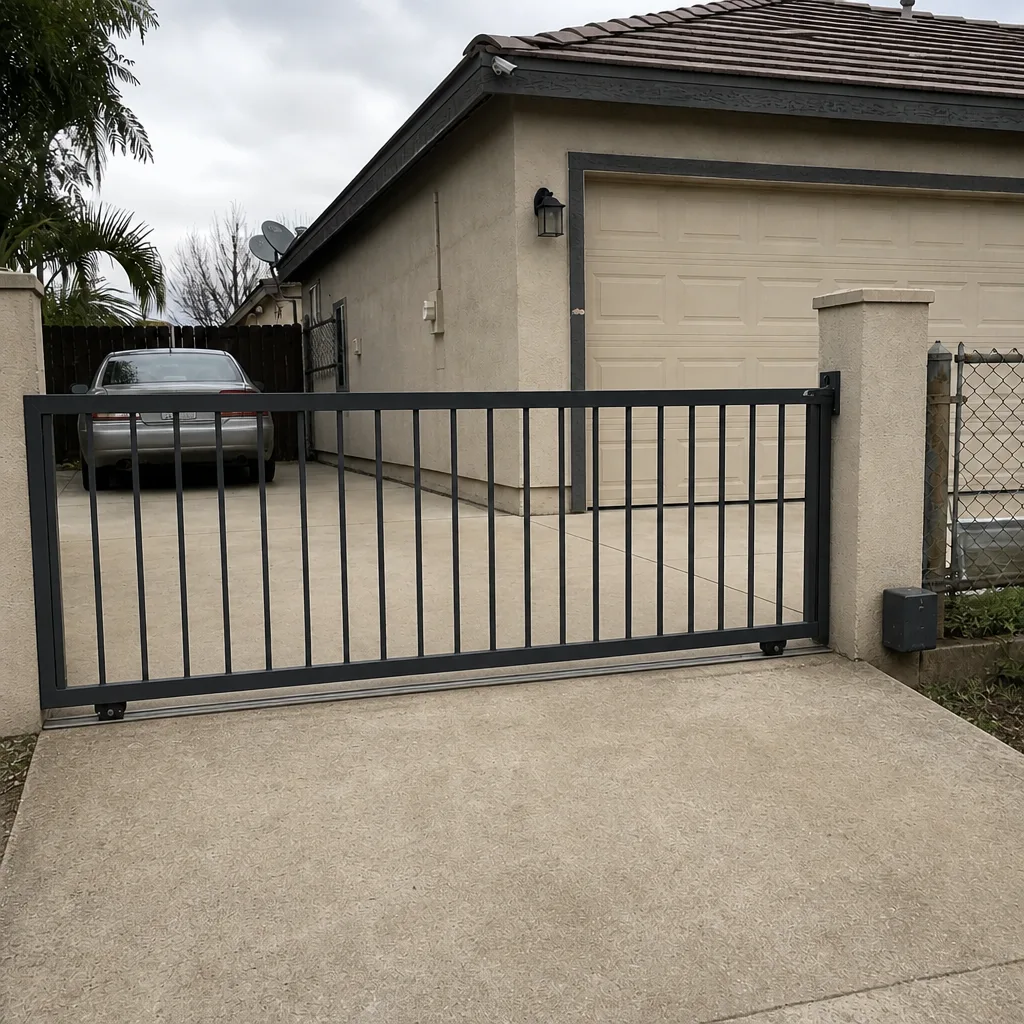
Two things to look at here. First, the latch. A latch that thunks solid when the gate closes is good. A latch that rattles, or that you have to lift or push to engage, is one winter away from failing closed. The latch post on a rolling gate is where most people miss the sag – a rolling gate sags at the guide roller, not at the frame. Check that the roller still spins freely by hand; if it clunks, the roller bearing has gone.
Second, look at the ground track. Ground tracks and V-groove wheels collect sand and grit. Run a push broom down the track every few weeks, especially in the dry season. And check any auto-close stop sensors or magnetic stops along the way – a stop post that’s cracked or leaning means your operator is stopping against a spot that’s already moving.
If you have a gate installation in Spring Valley that’s under two years old, this section is your warranty checklist. Hardware that’s failing early should be caught while it’s still on the installer’s tab, not your own.
Step 6: The Log Sheet That Cuts Your Repair Bill
This is the piece almost nobody talks about, and it’s saved our customers real money. Keep a page in a kitchen drawer, in a garage cabinet, or on your phone. Every time you notice a strange noise, a stall, a wobble, or a change in where the gate stops, write four things:
- The date. Day and month is enough.
- What you noticed. “Gate stopped 6 inches short of latch” or “loud creak on opening, near top hinge.”
- What was happening. Time of day, hot or cool, after rain or dry, gate opening or closing.
- What you did. “Wiped hinge with rag, cycled three times, no change.”
When a repair tech walks onto the property with that log, they skip the twenty-question interview and go straight to the diagnosis. That cuts call time and sometimes cuts the bill. When your guy shows up, a log is what turns a two-hour mystery into a thirty-minute adjustment. Bring the log to the appointment. A service call that says “symptom started in July, only in hot afternoons, only on the close direction” tells a trained eye almost everything.
Spring Valley Maintenance Calendar
Gates in Spring Valley live through two seasons that stress hardware hard: the dry summer stretch from May through September, and the cool season from November through February when we can get wind and the occasional soaking rain. Plan your two annual inspections around those shifts.
- April inspection: Hinge lubrication, footing photographic review, operator battery test, sensor alignment, and a full open-and-close cycle while watching for anything new. This is your pre-summer prep.
- October inspection: Re-grease hinges, re-check footings after the summer moving cycle, clean the ground track, test the manual release, and look for any hardware that vibrated loose through the hot months.
- Monthly five-minute check: Listen to the gate open and close once a week. Anything new – a rattle, a pause, a change in the sound – goes in the log.
Spring Valley’s bigger HOA and master-planned communities run heavy gate traffic and shared-hinge wear, and those gates typically need service on the tighter end of the schedule. Rural properties on county roads see more dust and more wind load, so the footing check matters more and the lubricant schedule should be strictly adhered to. The whole loop takes under two hours if nothing’s wrong, and it’s the cheapest two hours of gate maintenance you’ll ever spend.
Repair or Replace? A Straight Answer
Most of the time, the gate is repairable. Onsite welding fixes a cracked strap hinge in less than an hour. A post re-weld with the footing still intact is a repair, not a replacement. The realistic replace-only list is short: a post that’s already leaning more than 5 degrees, a concrete footing that’s broken into multiple pieces, or an operator so far past service life that it fails the battery load test with a new battery in it.
We’ve seen gates that other companies quoted for full replacement and needed a hinge weld and a re-hang. We’ve also seen gates worth replacing that people kept throwing money at. The way to know which one you have is a free second opinion on any written estimate you’ve been handed. Bring it in, get a straight read on what’s actually wrong before you sign anything.
Common Mistakes to Avoid
- Greasing hinges with whatever’s on the garage shelf. General-purpose grease runs out of spring and summer hinges in Spring Valley heat and doesn’t come back with the cooler weather. Use a dry film or lithium-complex grease rated for high temperature.
- Adjusting a sagging gate without finding out why it’s sagging. If you crank the gate back level without checking the hinge post and the footing, you’ll be back on the ladder in two months. Fix the post and you fix the gate.
- Ignoring the concrete around the post. Starburst cracks and raised concrete at the post base are the earliest warning of footing failure, and nobody looks. Get eyes on the base of every gate post once a year.
- Trusting the operator’s battery light. A battery that reads “OK” on the tester will still fail under a real load. Kill the power and cycle the gate on battery alone – that’s the only test that matters.
- Over-lubricating. More grease is not better. Wet grease traps desert dust, and dust plus grease grinds a hinge down faster than dry metal.
- Running the gate while it’s dragging on the ground. Every cycle with drag on it wears the operator motor against a load it wasn’t built for. If the gate doesn’t move freely by hand, stop opening it and get it looked at.
- Not keeping a log. Your memory of when the symptom started is going to be wrong. The log is more accurate than the memory and it saves diagnostic time.
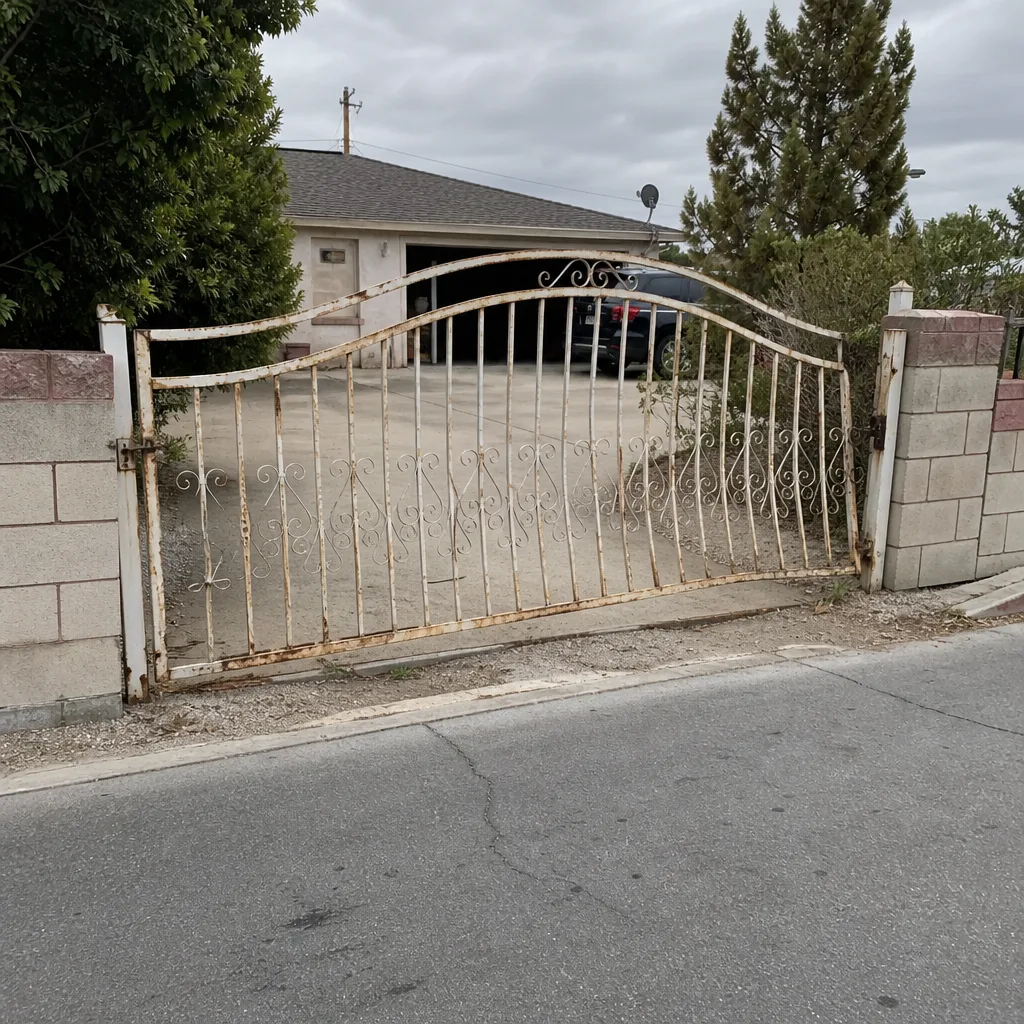
See the difference
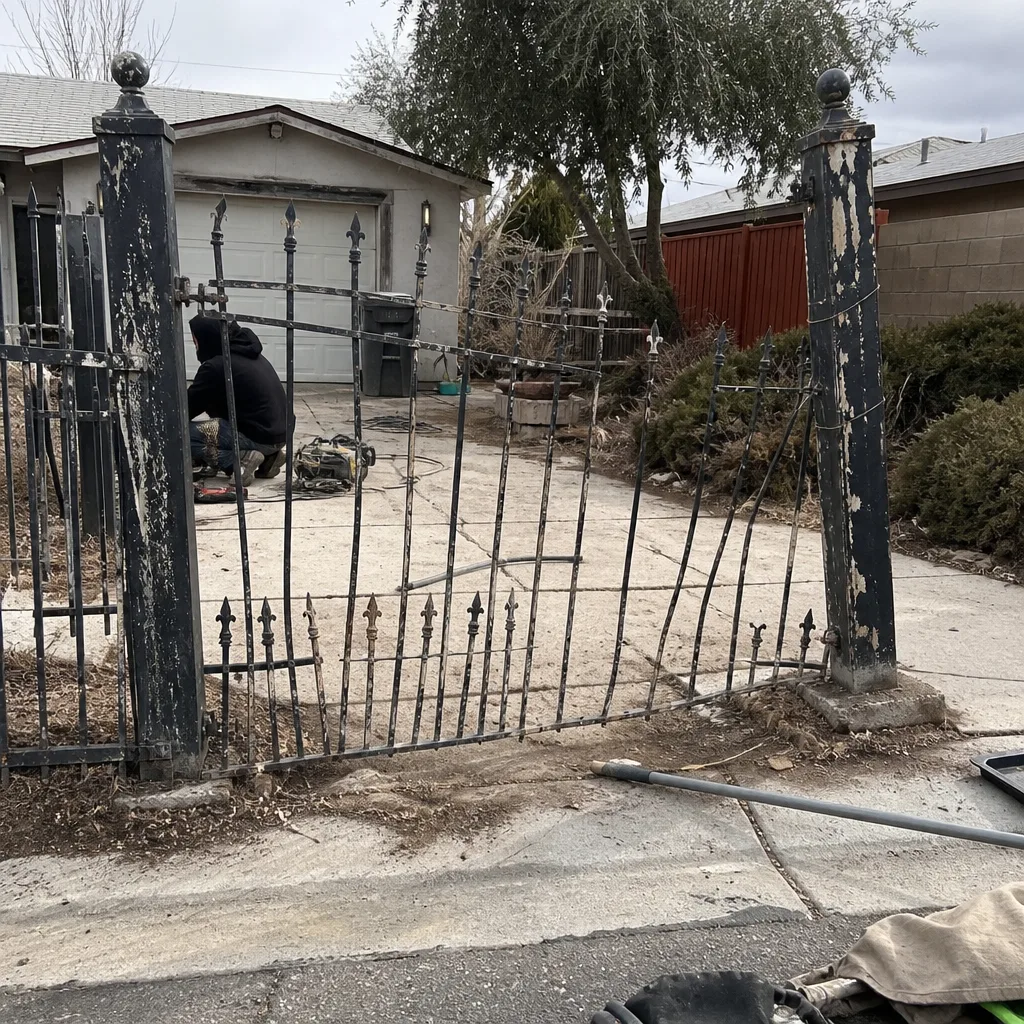 Before
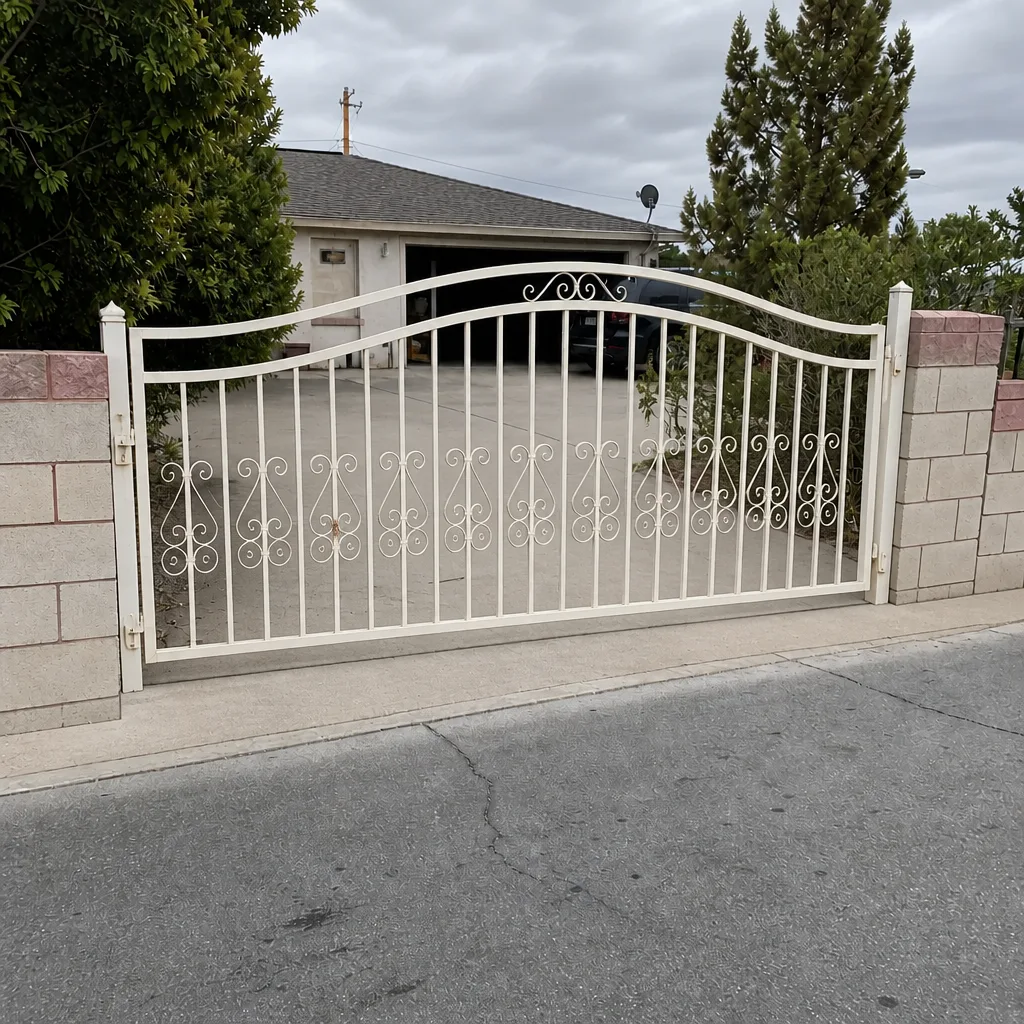
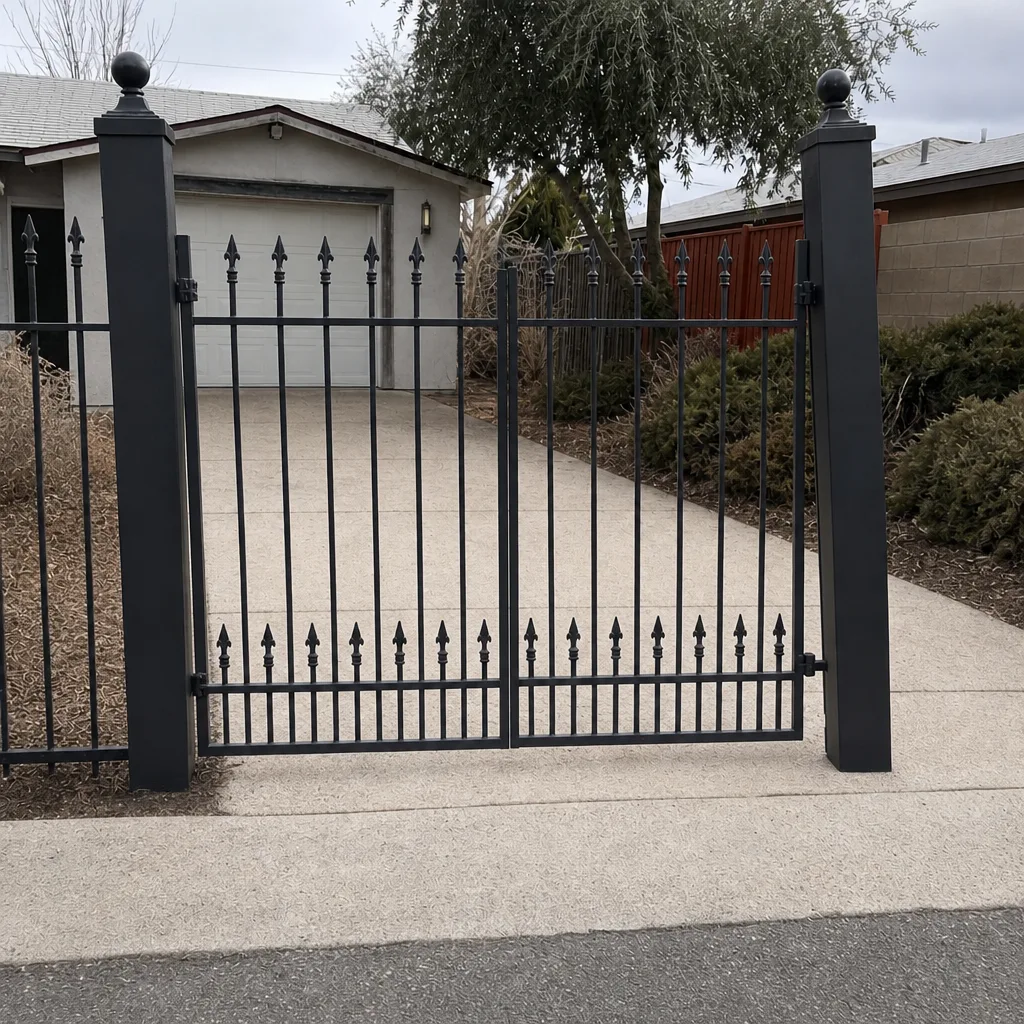 After
 Before
 After
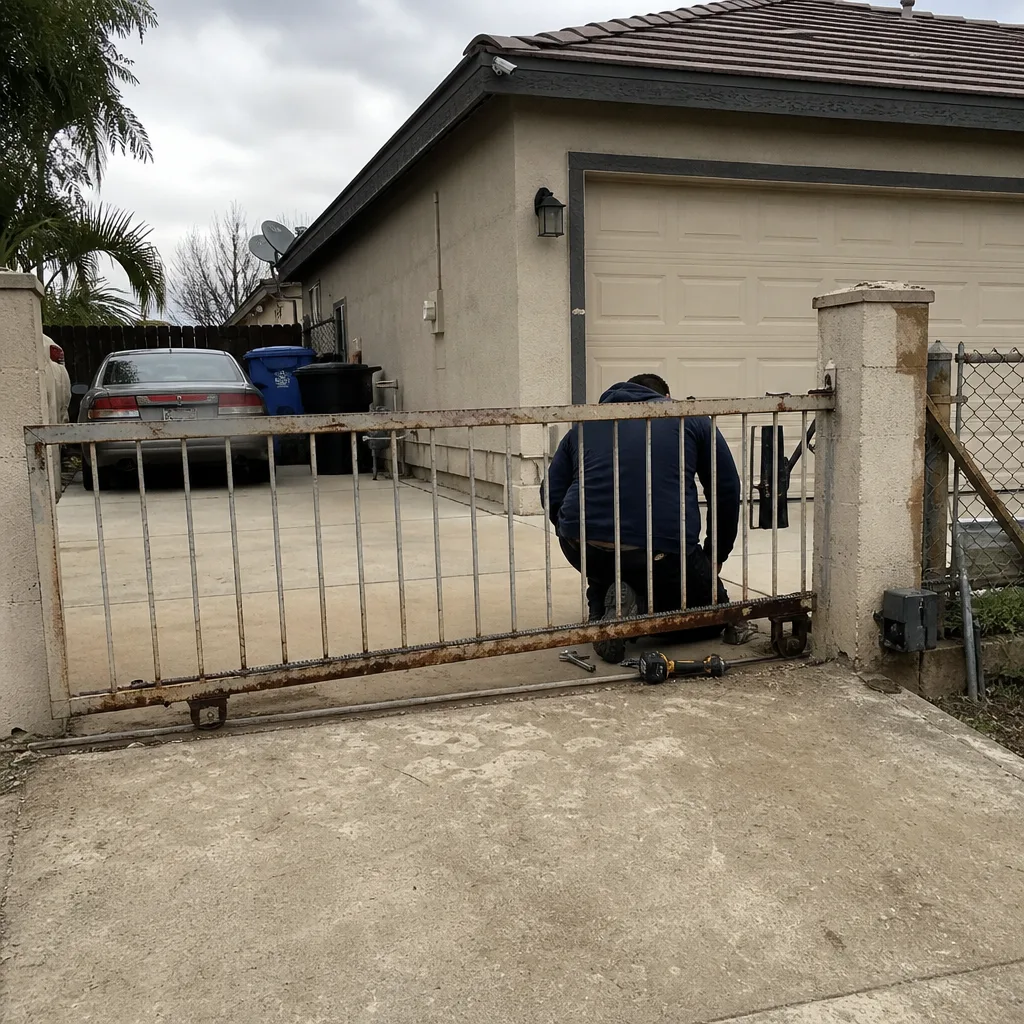 Before
 After
When to Call a Professional
Call someone before you touch the gate if you find any of these: a post leaning more than an inch off plumb, a footing that’s cracked into multiple pieces, a weld that’s actually separated at the hinge strap, an operator that fails the battery load test with a fresh battery in it, or any electrical fault on the operator circuit. Gate repair involves high-tension springs and welded steel under load – the kind of thing that sends people to the ER when a homeowner tries it with a screwdriver and a hope. Don’t do that. Get a trained set of eyes on it. Gatewood Fence & Gate Spring Valley offers free estimates in Spring Valley – call (888) 300-3906 and we’ll take a look, tell you what’s actually wrong, and give you a written price before anything gets started. The price on the estimate is the price on the invoice.
Frequently Asked Questions
Twice a year – once in spring and once in fall – plus a quick monthly listen-and-look. Spring Valley’s dry summers and cool wet winters stress hardware in two directions, and the calendar reflects that. HOA and shared-access gates typically need the tighter end of that schedule.
Not if it’s a post or footing problem. A hinge bolt that’s worked loose is a homeowner fix. A gate that’s out of plumb by more than a quarter inch is a post or footing repair, and that’s a weld job. Trying to torque the gate back to level without addressing the post usually makes the problem worse within a season.
Heat. Sealed gate batteries in Spring Valley fail in 18 to 30 months on average because the operator housing gets hot enough to shorten the battery’s service life well before the tester says so. Keep the operator housing shaded if you can, and test the battery under real load every fall.
Top-hinge weld failure on weld-on strap hinges, and footing movement on gate posts set in caliche clay. Both give months of warning. Both are fixable cheaply if caught early and expensive if ignored.
Yes – FAAC, BFT, Linear, Viking, and the rest of the major brands all call for an annual service in their documentation. Very few installers explain what that covers. Battery load test, limit switch check, obstruction sensor alignment, manual release test, and hinge/track inspection are the core of it.
You bring us a written estimate from another company, and we’ll give you a straight read on whether the work described matches what’s actually wrong with the gate. If a repair will do the job, we’ll say so. If the estimate is right, we’ll say that too. Call (888) 300-3906 to set it up – the estimate itself is free.
The Bottom Line
A gate maintenance checklist is only worth something if it tells you what a bad result actually looks like. That’s the whole point of this one. Measure the sag, photograph the footing, cycle the operator on battery alone, use the right lubricant for a Spring Valley summer, and keep a log of every symptom. Those five things catch almost every gate failure six to twelve months before it happens. The hardware that’s actually failing in Spring Valley isn’t random – it’s heat-baked grease, sun-cracked footings, dust-clogged tracks, and heat-killed operator batteries. Do the two inspections a year on the calendar, keep the log going, and you’ll spend a fraction of what a rebuild costs. When something needs a hand, Gatewood Fence & Gate Spring Valley home is one call away at (888) 300-3906, and every job comes with the 90-Day Done Right Promise in writing. Call for a free estimate and get a straight answer on what’s actually wrong with your gate.
Written by the team at Gatewood Fence & Gate Spring Valley.